


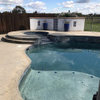
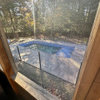
?? Basic plans for a fire pit?
tsunami
15 years ago
Sort by:Oldest
Comments (10)
Related Stories
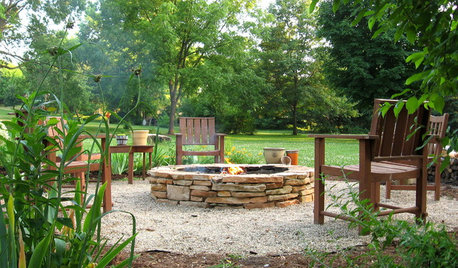
GARDENING AND LANDSCAPINGHow to Make a Stacked Stone Fire Pit
See how to build a cozy outdoor gathering place for less than $500
Full Story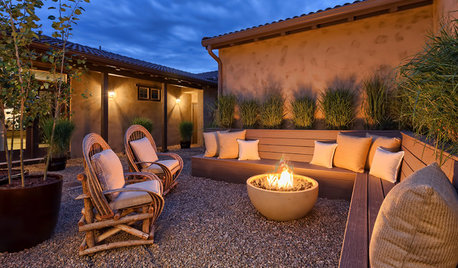
GARDENING AND LANDSCAPINGNew This Week: 3 Fire Pits Herald the Start of Summer
Toast summer — and marshmallows — with these sizzling fire pit designs recently uploaded to Houzz
Full Story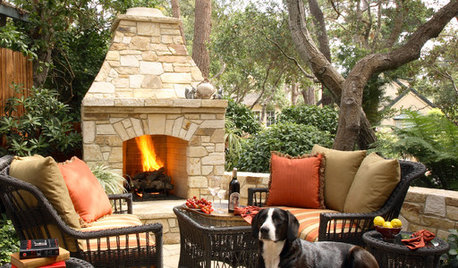
PATIOSSpring Patio Fix-Ups: Install an Outdoor Fireplace or Fire Pit
Make your yard the place to be by adding a fire feature that draws a crowd
Full Story
GREEN BUILDINGGoing Solar at Home: Solar Panel Basics
Save money on electricity and reduce your carbon footprint by installing photovoltaic panels. This guide will help you get started
Full Story
RUSTIC STYLE10 Cabin Rental Basics for City Slickers
Stay warm, dry and safe while you’re enjoying winter cabin life with this valuable advice
Full Story
WORKING WITH PROSGo Beyond the Basics When Interviewing Architects
Before you invest all that money and time, make sure you and your architect are well matched beyond the obvious levels
Full Story
GREEN BUILDINGInsulation Basics: Heat, R-Value and the Building Envelope
Learn how heat moves through a home and the materials that can stop it, to make sure your insulation is as effective as you think
Full Story
GREEN BUILDINGInsulation Basics: Natural and Recycled Materials
Consider sheep’s wool, denim, cork, cellulose and more for an ecofriendly insulation choice
Full Story
MATERIALSRaw Materials Revealed: Drywall Basics
Learn about the different sizes and types of this construction material for walls, plus which kinds work best for which rooms
Full Story
trhought
barco
Related Professionals
Santa Paula Swimming Pool Builders · Suffern Landscape Architects & Landscape Designers · Choctaw Landscape Contractors · Flagstaff Landscape Contractors · Hendersonville Landscape Contractors · Kaysville Landscape Contractors · Nutley Landscape Contractors · Quincy Landscape Contractors · Kingsburg Landscape Contractors · Boise Decks, Patios & Outdoor Enclosures · Greeley Decks, Patios & Outdoor Enclosures · Lancaster Decks, Patios & Outdoor Enclosures · Miami Decks, Patios & Outdoor Enclosures · Richmond Decks, Patios & Outdoor Enclosures · Wentzville Decks, Patios & Outdoor Enclosuresbarco
trhought
eyoung
trhought
tsunamiOriginal Author
trhought
womanowned
tsunamiOriginal Author