


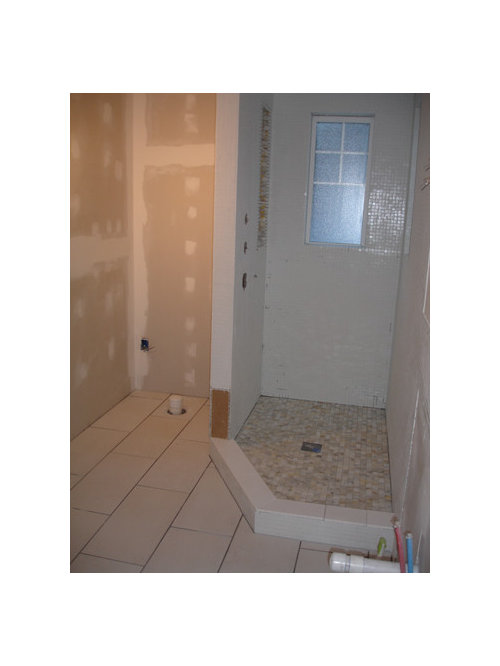
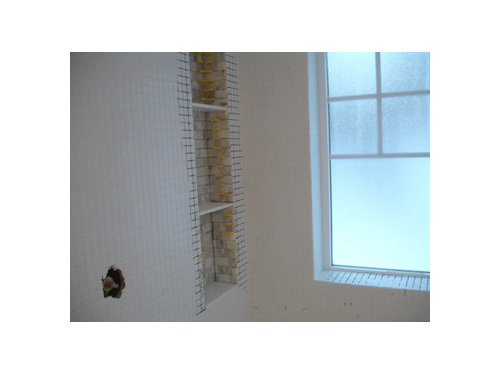
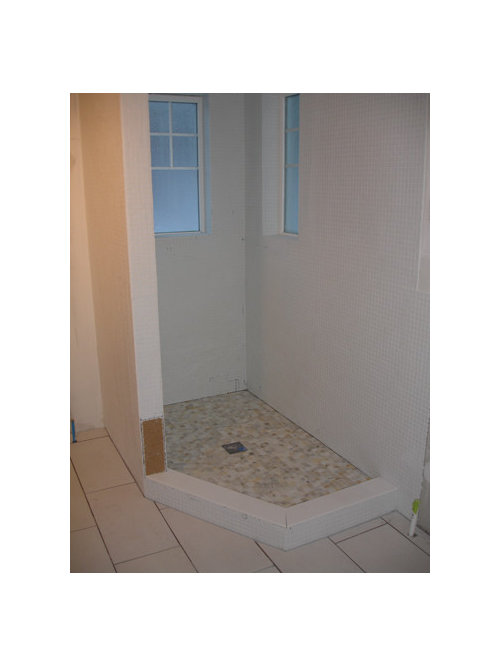
Semi-modern bathroom.. Tile is almost finished!!! Beautiful!!!
Stacey Collins
14 years ago


Sort by:Oldest
Comments (64)
Related Stories

MODERN HOMESHouzz TV: Seattle Family Almost Doubles Its Space Without Adding On
See how 2 work-from-home architects design and build an adaptable space for their family and business
Full Story
BEDROOMS10 Ways With (Almost) All-White Bedrooms
White rooms need a thoughtful tweak or two to bring on the sweet dreams
Full Story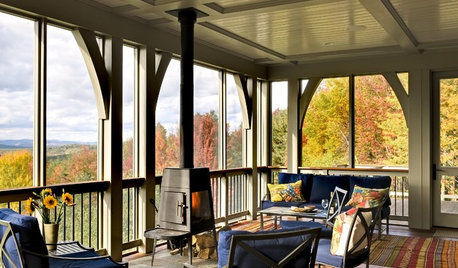
GARDENING AND LANDSCAPINGScreen the Porch for More Living Room (Almost) All Year
Make the Most of Three Seasons With a Personal, Bug-Free Outdoor Oasis
Full Story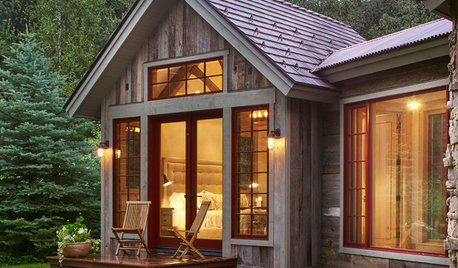
GUESTHOUSESHouzz Tour: A River (Almost) Runs Through It in Aspen
This guesthouse on a family compound has rustic charm, modern touches and dramatic river views
Full Story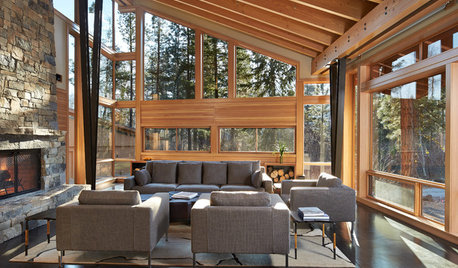
MODERN HOMESHouzz Tour: Organic Beauty in a Remote Washington Valley
An architect designs almost everything — rugs, light fixtures, counter stools and more — in this modern handcrafted home
Full Story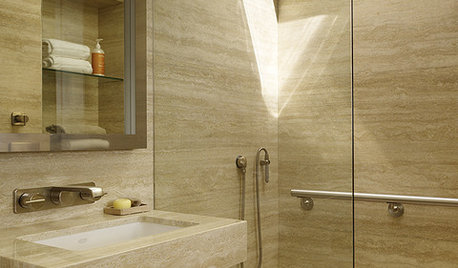
BATHROOM DESIGNSafety Goes Beautiful in the Bath
High-style grab bars, benches and handrails make falls less likely but great design almost guaranteed
Full Story
PRODUCT PICKSGuest Picks: 20 Fab Outdoor Finds, Almost All Under $100
Sprinkle these budget-friendly furniture, decor and tableware pieces around a porch or patio for an easy warm-weather update
Full Story
COLOR5 Ways to Go Bold With (Almost) All White
Take away color to gain focus on textures and interesting details and create a purely relaxing mood
Full Story
HOUZZ TOURSHouzz Tour: A Three-Story Barn Becomes a Modern-Home Beauty
With more than 9,000 square feet, an expansive courtyard and a few previous uses, this modern Chicago home isn't short on space — or history
Full Story
MODERN HOMESHouzz Tour: Modern Beauty on a California Mountaintop
A new family home features midcentury and custom furnishings and views of natural surroundings
Full StorySponsored
Columbus Area's Luxury Design Build Firm | 17x Best of Houzz Winner!
More Discussions


tanem
Stacey CollinsOriginal Author
Related Professionals
College Park Kitchen & Bathroom Designers · Shamong Kitchen & Bathroom Remodelers · Channahon Kitchen & Bathroom Remodelers · Lisle Kitchen & Bathroom Remodelers · Rolling Hills Estates Kitchen & Bathroom Remodelers · Fairmont Kitchen & Bathroom Remodelers · Ashburn Glass & Shower Door Dealers · Tampa Glass & Shower Door Dealers · Waco Glass & Shower Door Dealers · Winnetka Glass & Shower Door Dealers · Berkeley Heights Cabinets & Cabinetry · Effingham Cabinets & Cabinetry · Lackawanna Cabinets & Cabinetry · Rolling Meadows Window Treatments · San Jose Window Treatmentshouseful
bill_g_web
bill_vincent
bill_g_web
mahatmacat1
reyesuela
mahatmacat1
bill_vincent
desertsteph
bill_vincent
reyesuela
slateberry
Stacey CollinsOriginal Author
mahatmacat1
bill_vincent
Stacey CollinsOriginal Author
firstmmo
mahatmacat1
Stacey CollinsOriginal Author
Stacey CollinsOriginal Author
hmsweethm
callieandkarin
Stacey CollinsOriginal Author
Stacey CollinsOriginal Author
bill_vincent
Stacey CollinsOriginal Author
susanlynn2012
Stacey CollinsOriginal Author
jejvtr
bill_vincent
jejvtr
bill_vincent
bill_vincent
jejvtr
desertsteph
bill_vincent
emilymch
Stacey CollinsOriginal Author
emilymch
Stacey CollinsOriginal Author
emilymch
Stacey CollinsOriginal Author
bill_vincent
valery123
pinch_me
Stacey CollinsOriginal Author
bill_vincent
minette99