


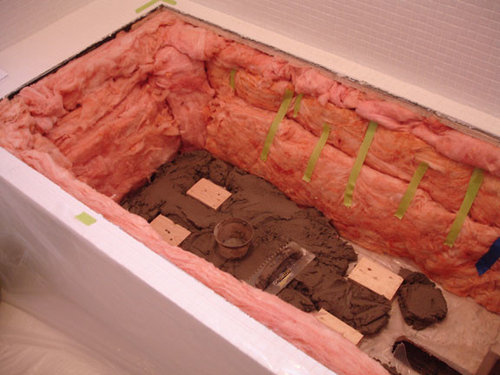
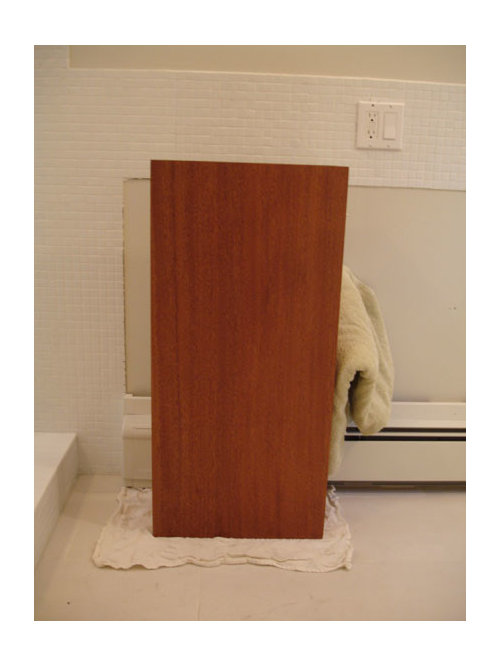
Semi-modern bathroom: Progress Photos, tub install onward...
Stacey Collins
14 years ago


Related Stories

REMODELING GUIDESContractor Tips: How to Install Tile
Before you pick up a single tile, pull from these tips for expert results
Full Story
BATHROOM DESIGNRoom of the Day: Geometry Rules in a Modern Master Bathroom
Careful planning pays off in this clean-lined bathroom with his-and-her vanities, a semiopen shower and a soaking tub
Full Story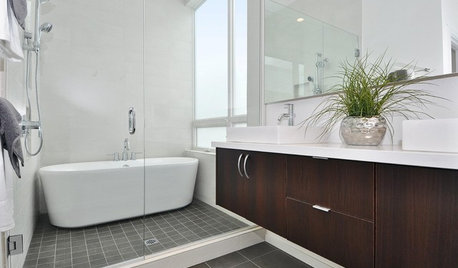
BATHROOM DESIGNWhy You Might Want to Put Your Tub in the Shower
Save space, cleanup time and maybe even a little money with a shower-bathtub combo. These examples show how to do it right
Full Story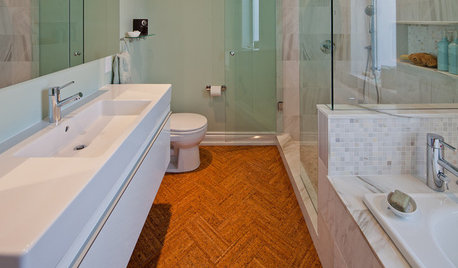
FLOORSWill Cork Float for Your Bathroom Floor?
Get the facts on advantages, disadvantages, costs and installation to see if a cork bathroom floor is right for you
Full Story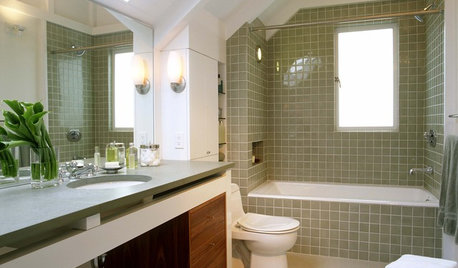
BATHROOM DESIGN12 Things to Consider for Your Bathroom Remodel
Maybe a tub doesn’t float your boat, but having no threshold is a no-brainer. These points to ponder will help you plan
Full StoryREMODELING GUIDESBathroom Remodel Insight: A Houzz Survey Reveals Homeowners’ Plans
Tub or shower? What finish for your fixtures? Find out what bathroom features are popular — and the differences by age group
Full Story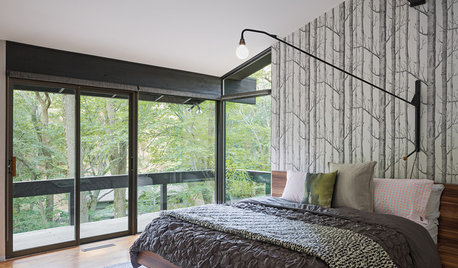
GREAT HOME PROJECTSHow to Get New Wallpaper and Wallcoverings
Learn about the inventive treatments available today, where to use them and how to find expert installers
Full Story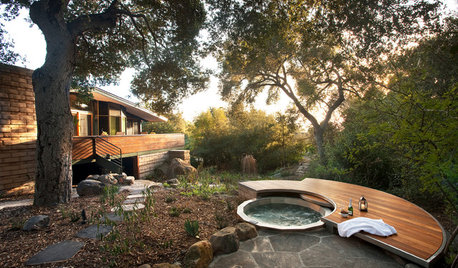
GARDENING AND LANDSCAPING12 Naturally Beautiful Hot Tubs
Prefer a no-plastic look for your patio or yard? Wood, stone and concrete make these hot tubs fit right in with nature
Full Story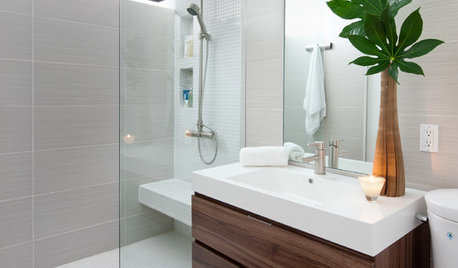
REMODELING GUIDESHow People Upgrade Their Main Bathrooms, and How Much They Spend
The latest Houzz Bathroom Trends Study reveals the most common budgets, features and trends in master baths. Now about that tub …
Full Story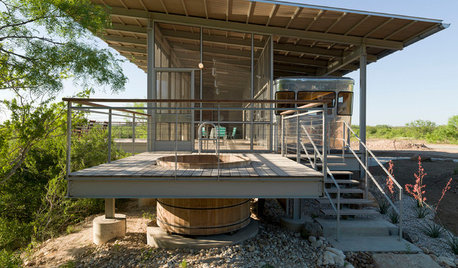
ARCHITECTUREHouzz Tour: A Most Unusual Trailer in Texas
With an air-conditioned bathroom, screened porches and a sleeping loft, this riverside trailer site has it all
Full StoryMore Discussions
just_julie
Stacey CollinsOriginal Author
Related Professionals
Fox Lake Kitchen & Bathroom Designers · Ramsey Kitchen & Bathroom Designers · Wentzville Kitchen & Bathroom Designers · Overland Park Kitchen & Bathroom Remodelers · Phoenix Kitchen & Bathroom Remodelers · Salinas Kitchen & Bathroom Remodelers · Spokane Kitchen & Bathroom Remodelers · Sharonville Kitchen & Bathroom Remodelers · Reston Glass & Shower Door Dealers · Springville Glass & Shower Door Dealers · Allentown Cabinets & Cabinetry · Watauga Cabinets & Cabinetry · Short Hills Cabinets & Cabinetry · Berkeley Window Treatments · Baytown Window Treatmentsmom2-3boys
coolbeansw
elizgonz
pharaoh
plumberry
bill_vincent
gmnolen