


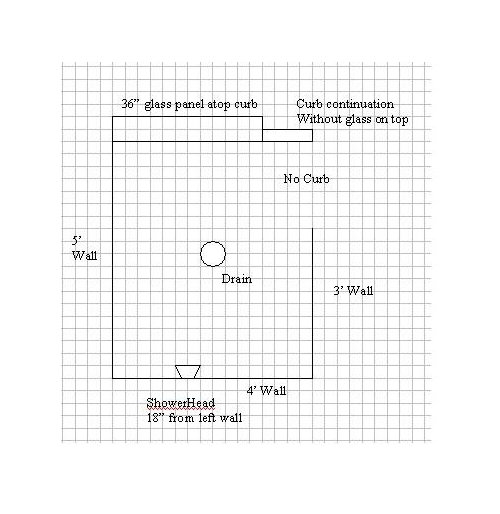
Partial Curb Possible??
jaidog
12 years ago
Sort by:Oldest
Comments (12)
Related Stories
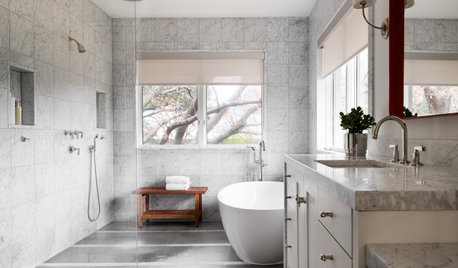
BATHROOM DESIGNDoorless Showers Open a World of Possibilities
Universal design and an open bathroom feel are just two benefits. Here’s how to make the most of these design darlings
Full Story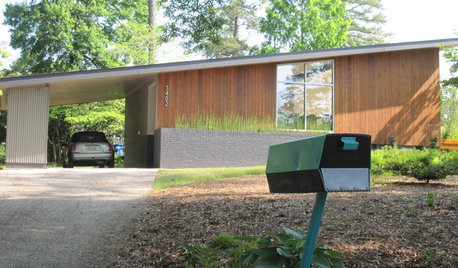
MIDCENTURY STYLEFollow One Man’s Midcentury-Mailbox Dream
An ill-fitting mailbox leads a determined dad on a quest — and possibly to a new business
Full Story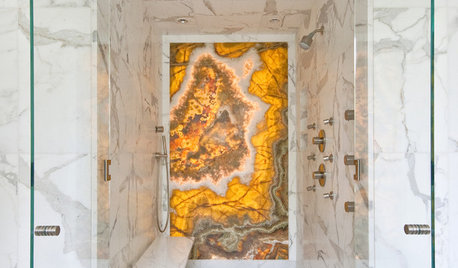
BATHROOM DESIGNHow to Build a Better Shower Curb
Work with your contractors and installers to ensure a safe, stylish curb that keeps the water where it belongs
Full Story
GREAT HOME PROJECTSHow to Give Your Driveway and Front Walk More Curb Appeal
Prevent injuries and tire damage while making a great first impression by replacing or repairing front paths
Full Story
GARDENING AND LANDSCAPINGSpring Checklist: Freshen Up Your Home's Curb Appeal
Step outside and use these tips to show off your home to its best advantage this spring
Full Story
GREAT HOME PROJECTSUpgrade Your Front Yard for Curb Appeal and More
New project for a new year: Revamp lackluster landscaping for resale value, water savings and everyday enjoyment
Full Story
RUSTIC STYLENail Your Curb Appeal: Rustic Style
Start with warm woods, rough stone and a touch of color to achieve this naturalistic look
Full Story
EXTERIORSCurb Appeal Feeling a Little Off? Some Questions to Consider
Color, scale, proportion, trim ... 14 things to think about if your exterior is bugging you
Full Story
CURB APPEAL9 Ways to Boost Winter Curb Appeal
No blossoms and a barren yard? You can still make your home attractive and inviting from the street
Full Story
REMODELING GUIDESDesigner's Touch: Boost Your Home's Curb Appeal
From pavers to plantings, these professional tips can help your home make an instant impact on the street
Full Story


nycbluedevil
davidro1
jaidogOriginal Author
suero
David
lazypup
davidro1
jaidogOriginal Author
davidro1
jaidogOriginal Author
davidro1
jaidogOriginal Author