


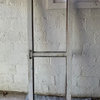
Floating a base cabinet
bsspewer
12 years ago

Sort by:Oldest
Comments (8)
Related Stories
CONTEMPORARY HOMESHouzz Tour: A Bark-Covered Floating Getaway on Lake Union
If the unusual siding doesn’t clue you in to the fine craftsmanship in this floating home, the handmade handrails, lights and furniture will
Full Story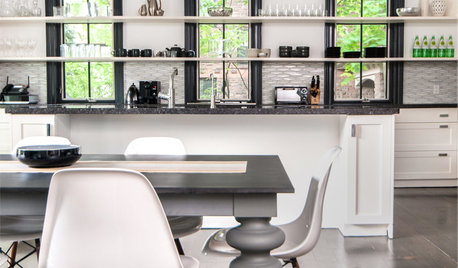
MOST POPULAR8 Beautiful Ideas for Floating Shelves
Get clean-lined storage and display on walls, over windows and in nooks using versatile floating shelving
Full Story
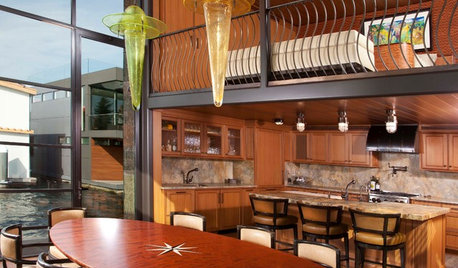
HOUZZ TOURSHouzz Tour: Big Bay Views Buoy a Seattle Floating Home
Two glass sides bring spectacular scenes into this newly industrial modern home on the water
Full Story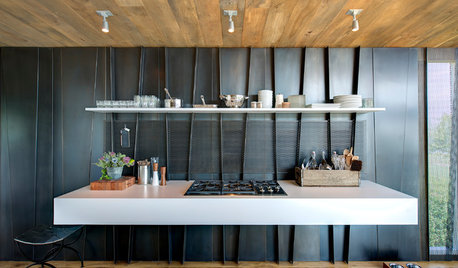
MODERN STYLE12 Stylish Kitchen Counters That Seem to Float in Space
Take your culinary zone to new heights with a cantilevered countertop that’s visually appealing and practical
Full Story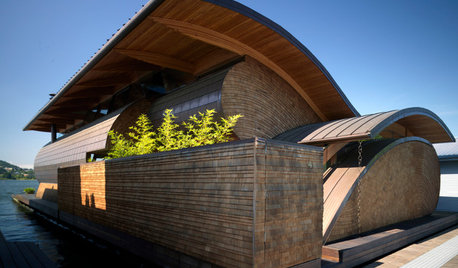
CONTEMPORARY HOMESHouzz Tour: Curves Ahoy! See a Unique Floating Home
It appeared on ‘Portlandia,’ but it doesn’t take a camera crew to see how special this home on a river is
Full Story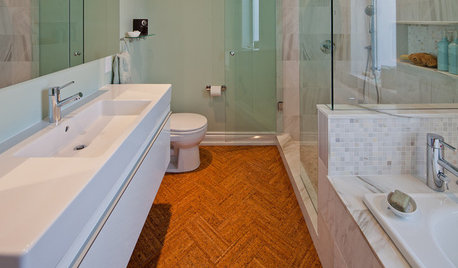
FLOORSWill Cork Float for Your Bathroom Floor?
Get the facts on advantages, disadvantages, costs and installation to see if a cork bathroom floor is right for you
Full Story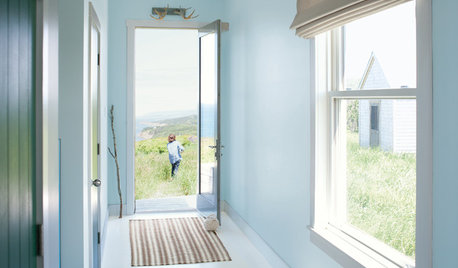
COLORBenjamin Moore Floats Breath of Fresh Air as Its Color of 2014
Touted as a new neutral, this baby blue can stand on its own or support bolder colors. Here's how to use it
Full Story
REMODELING GUIDESDouble Take: 'Floating' Wine Bottles Rack Up Style Points
Look closely to spy the secret of this wine rack, concocted by a clever homeowner needing a design workaround
Full Story
CONTEMPORARY HOMESHouzz Tour: Light, Art and a Floating Bed in a Chic London Flat
A Notting Hill apartment is opened up, drenched in white and furnished with clever pieces and the first-time homeowner’s DIY art
Full Story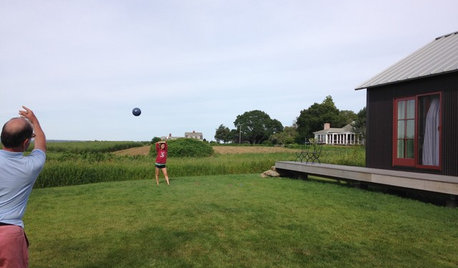
VACATION HOMESHouzz Tour: Shipshape Cabins Float Between the Woods and the Coast
A Massachusetts vacation property takes its cues from the trees, marshes, meadow, ocean and farm buildings all around it
Full StorySponsored
Leading Interior Designers in Columbus, Ohio & Ponte Vedra, Florida
More Discussions

randy427
bsspewerOriginal Author
Related Professionals
Salisbury Cabinets & Cabinetry · Happy Valley Carpenters · Coto De Caza Carpenters · Eastvale Flooring Contractors · Fort Pierce Flooring Contractors · Homestead Flooring Contractors · Menifee Flooring Contractors · Mountain Top Flooring Contractors · Randolph Flooring Contractors · Taunton Flooring Contractors · Atlanta Furniture & Accessories · Bronx Furniture & Accessories · Brooklyn Furniture & Accessories · Zionsville Furniture & Accessories · Holliston Furniture & AccessoriesUser
bsspewerOriginal Author
aidan_m
bsspewerOriginal Author
sombreuil_mongrel
Kirsten Vaughan