


Clear coat TIG before or after ceiling install?
andalee
12 years ago
Featured Answer
Sort by:Oldest
Comments (6)

mike_kaiser_gw
12 years agoRRM1
12 years agomike_kaiser_gw
12 years agoandalee
12 years agobrickeyee
12 years ago
Related Stories

DOORS5 Questions to Ask Before Installing a Barn Door
Find out whether that barn door you love is the right solution for your space
Full Story
REMODELING GUIDESContractor Tips: How to Install Tile
Before you pick up a single tile, pull from these tips for expert results
Full Story
KITCHEN BACKSPLASHESHow to Install a Tile Backsplash
If you've got a steady hand, a few easy-to-find supplies and patience, you can install a tile backsplash in a kitchen or bathroom
Full Story
BATHROOM DESIGNShould You Install a Urinal at Home?
Wall-mounted pit stops are handy in more than just man caves — and they can look better than you might think
Full Story
MATERIALSThe Most Popular Roofing Material is Affordable and Easy to Install
Asphalt shingles, the most widely used roof material in the U.S. are reliable and efficient, and may be right for you
Full Story
FENCES AND GATESHow to Install a Wood Fence
Gain privacy and separate areas with one of the most economical fencing choices: stained, painted or untreated wood
Full Story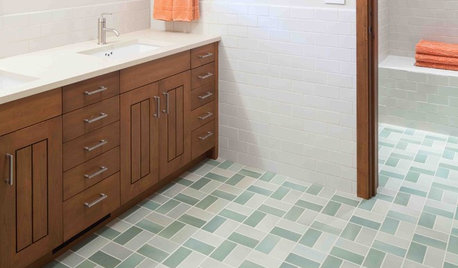
GREAT HOME PROJECTSHow to Install a New Tile Floor
Is it time to replace your tile floor? Here’s how to get it done, which pros to call and what it will cost
Full Story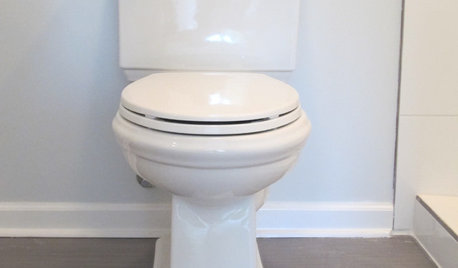
BATHROOM DESIGNHow to Install a Toilet in an Hour
Putting a new commode in a bathroom or powder room yourself saves plumber fees, and it's less scary than you might expect
Full Story
GREAT HOME PROJECTSHow to Install Energy-Efficient Windows
Learn what Energy Star ratings mean, what special license your contractor should have, whether permits are required and more
Full StoryBATHTUBSBefore and After: Tubs That Say Hello to Glass
Clear glass enclosures give these 5 tub-shower combos a sleek new look. Could this be an option for you?
Full StoryMore Discussions


andaleeOriginal Author