


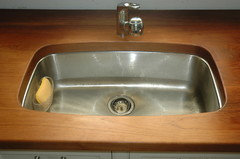
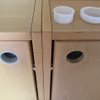
routing of sink cut out
PoorOwner
15 years ago
Featured Answer
Sort by:Oldest
Comments (13)

aidan_m
15 years agoRelated Professionals
Key Biscayne Cabinets & Cabinetry · Riverbank Cabinets & Cabinetry · Boca Raton Flooring Contractors · Faribault Flooring Contractors · Hastings Flooring Contractors · Oregon City Flooring Contractors · Orem Flooring Contractors · Redlands Flooring Contractors · Slidell Flooring Contractors · West Chester Flooring Contractors · Whitman Flooring Contractors · Boston Furniture & Accessories · Charleston Furniture & Accessories · Beverly Hills Furniture & Accessories · Urbandale Furniture & Accessoriesjustnigel
15 years agoPoorOwner
15 years agoMongoCT
15 years agoJon1270
15 years agoMongoCT
15 years agoJon1270
15 years agoPoorOwner
15 years agobrickeyee
15 years agoMongoCT
15 years agoPoorOwner
15 years agoMongoCT
15 years ago

Related Stories

LANDSCAPE DESIGNTake Your Garden on a Rural Route With Plant-Dominant Designs
Let plants take center stage for a garden that recalls idyllic pastures fashioned by nature's hand
Full Story
KITCHEN DESIGNKitchen Counters: Try an Integrated Cutting Board for Easy Food Prep
Keep knife marks in their place and make dicing and slicing more convenient with an integrated butcher block or cutting board
Full Story
DECORATING GUIDESSpring Style: Fresh-Cut Flowers for Every Room
Graceful, lively or dramatic, fresh flowers make rooms of every shape, size and style that much lovelier
Full Story
HOME OFFICESQuiet, Please! How to Cut Noise Pollution at Home
Leaf blowers, trucks or noisy neighbors driving you berserk? These sound-reduction strategies can help you hush things up
Full Story
KITCHEN DESIGNButcher Block Makes the Cut for Holiday Kitchen Prep
Countertops and cutting boards will likely take a beating over the holidays. These butcher blocks have the chops to perform under pressure
Full Story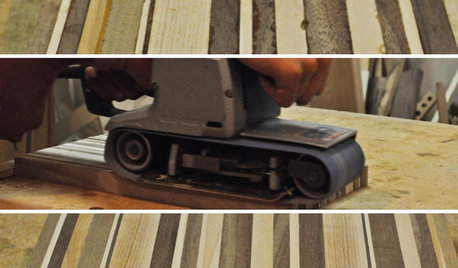
DIY PROJECTSFashion a High-Quality Cutting Board From Scrap Wood
Waste not, want not. This DIY project saves scraps from the landfill, hones your woodworking skills and produces a gorgeous kitchen piece
Full Story
BUDGET DECORATINGSimple Pleasures: Treat Yourself to Cut Flowers
Enjoy priceless beauty with just a few inexpensive stems — and you don’t need fancy vases, either
Full Story
KITCHEN DESIGNBreaking Out of the Kitchen Work Triangle
Keep the efficiency but lose the rigidity with kitchen designs that don't box you in
Full Story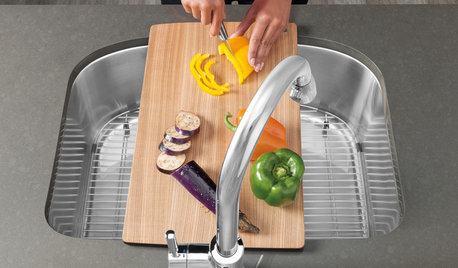
KITCHEN DESIGNClever Extras for a Perfectly Personalized Kitchen Sink
Streamline cooking prep and cleanup with integrated sink racks, baskets, inventive cutting boards and more
Full Story
KITCHEN DESIGNTrick Out Your Kitchen Backsplash for Storage and More
Free up countertop space and keep often-used items handy by making your backsplash more resourceful
Full StorySponsored
Columbus Area's Luxury Design Build Firm | 17x Best of Houzz Winner!
More Discussions


Jon1270