


Crown moulding without coping?
PoorOwner
15 years ago
Sort by:Oldest
Comments (5)
Related Stories
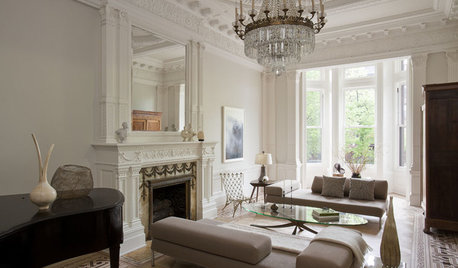
REMODELING GUIDESCrown Molding: Is It Right for Your Home?
See how to find the right trim for the height of your ceilings and style of your room
Full Story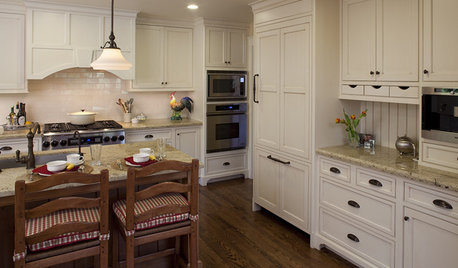
KITCHEN DESIGN9 Molding Types to Raise the Bar on Your Kitchen Cabinetry
Customize your kitchen cabinets the affordable way with crown, edge or other kinds of molding
Full Story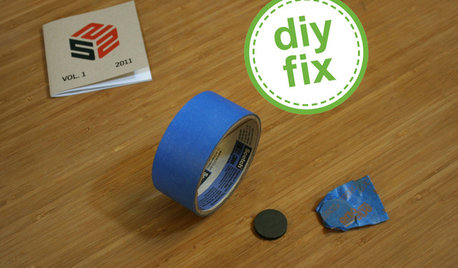
DECORATING GUIDESQuick Fix: Find Wall Studs Without an Expensive Stud Finder
See how to find hidden wall studs with this ridiculously easy trick
Full Story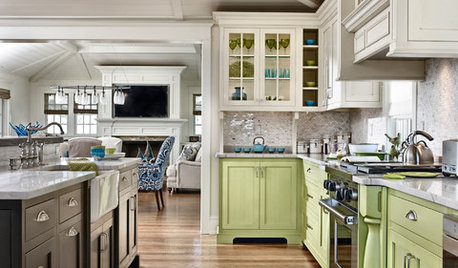
KITCHEN DESIGN11 Ways to Update Your Kitchen Without a Sledgehammer
Give your kitchen a new look by making small improvements that have big impact
Full Story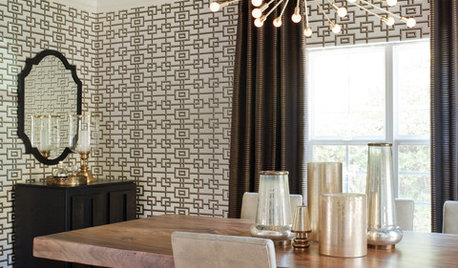

REMODELING GUIDESHow to Size Interior Trim for a Finished Look
There's an art to striking an appealing balance of sizes for baseboards, crown moldings and other millwork. An architect shares his secrets
Full Story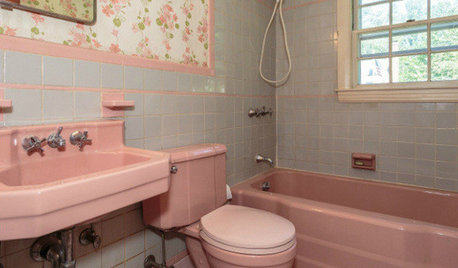
BATHROOM COLOR8 Ways to Spruce Up an Older Bathroom (Without Remodeling)
Mint tiles got you feeling blue? Don’t demolish — distract the eye by updating small details
Full Story
REMODELING GUIDESFrame Your Views With Great Moldings and Casings
How to Work With Trim to Give Your Space Depth and Interest
Full Story
TRIMMolding: Add Texture by Detailing Your Detail
Take the Architectural Accent to the Next Level with These Extra Elements
Full Story
REMODELING GUIDESDesign Details: Moldings — or Not?
16 new and unusual ways to trim your doors, floors and ceilings
Full Story

cloudcrasher
PoorOwnerOriginal Author
Related Professionals
Newcastle Cabinets & Cabinetry · Jamaica Plain Carpenters · Oak Lawn Carpenters · Odenton Carpenters · Tualatin Carpenters · Tucson Carpenters · Bridgewater Flooring Contractors · Everett Flooring Contractors · Fargo Flooring Contractors · Glendale Flooring Contractors · Oak Ridge Flooring Contractors · Owings Mills Flooring Contractors · Wyomissing Flooring Contractors · Eagan Furniture & Accessories · Carpinteria Furniture & Accessoriesjustnigel
2ajsmama
moonkat99