


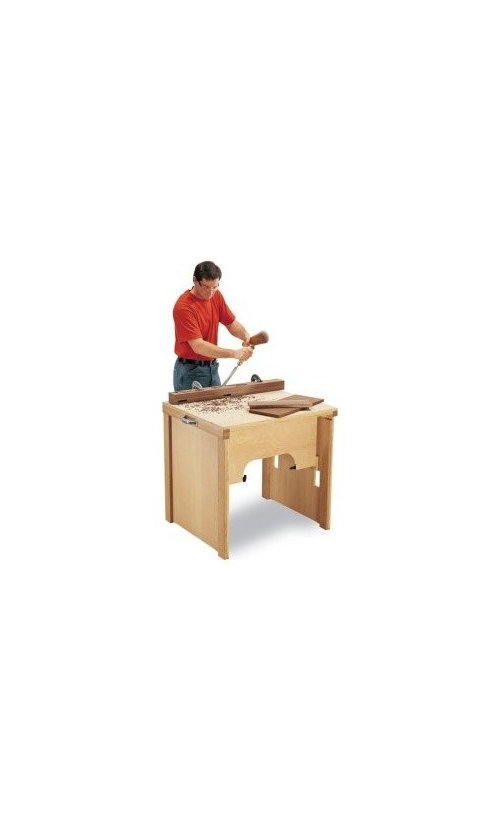
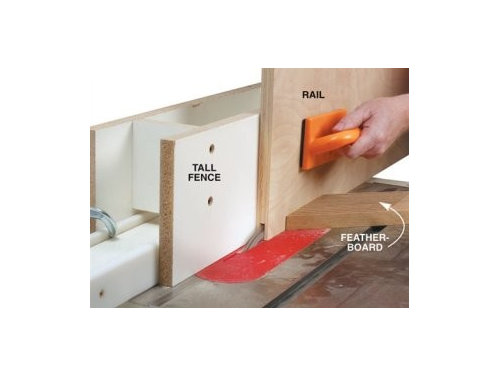
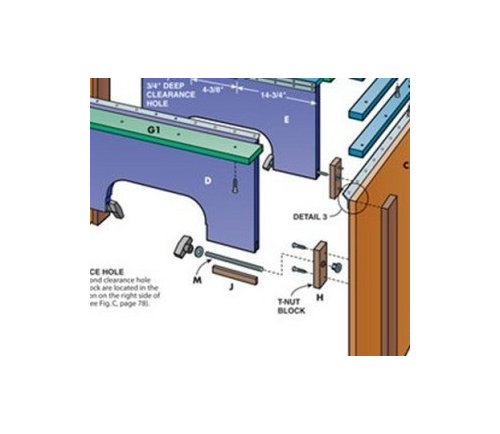
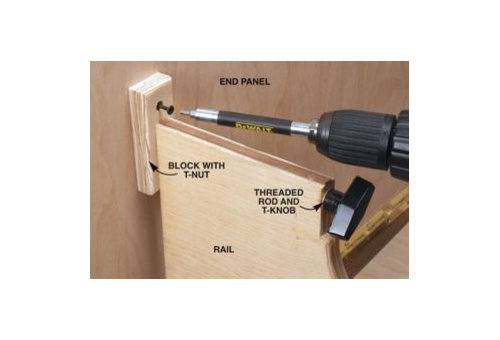
help me simplify these plans
talley_sue_nyc
10 years ago

Related Stories
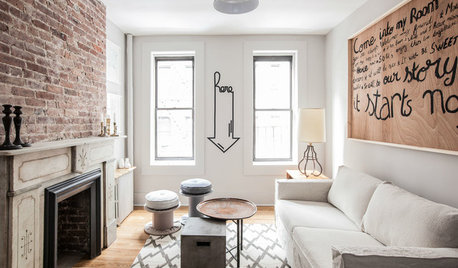
CONTEMPORARY HOMESHouzz Tour: Careful Space Planning Simplifies Life for a Family of 6
Redesigned rooms, streamlined cabinetry and strategic color choices keep this home organized and clutter-free
Full Story
DECORATING GUIDESSmall Changes to Simplify Your Long-Term Storage
Conquer your attic and basement storage in more than a day, with these easy, bite-size steps for sorting, storing and protecting your stuff
Full Story
LIFEHow to Simplify Life This Summer
Kick off your shoes, roll up the rugs and try a few more of these ideas for easier living
Full StoryHOUZZ TOURSMy Houzz: Empty Nesters Simplify in a Portland Loft
Chucking two-thirds of their stuff and heading to the city, a couple discovers the freedom of downsizing
Full Story

HOUSEKEEPINGThree More Magic Words to Help the Housekeeping Get Done
As a follow-up to "How about now?" these three words can help you check more chores off your list
Full Story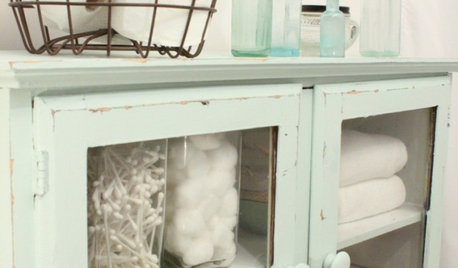
LIFEDecluttering — How to Get the Help You Need
Don't worry if you can't shed stuff and organize alone; help is at your disposal
Full Story
SELLING YOUR HOUSEHelp for Selling Your Home Faster — and Maybe for More
Prep your home properly before you put it on the market. Learn what tasks are worth the money and the best pros for the jobs
Full Story
COLORPick-a-Paint Help: How to Create a Whole-House Color Palette
Don't be daunted. With these strategies, building a cohesive palette for your entire home is less difficult than it seems
Full Story
talley_sue_nycOriginal Author
klem1
Related Professionals
Langley Park Cabinets & Cabinetry · Crestview Cabinets & Cabinetry · Little Chute Cabinets & Cabinetry · Red Bank Cabinets & Cabinetry · Miller Place Carpenters · Garland Flooring Contractors · Hazleton Flooring Contractors · Kalispell Flooring Contractors · Manteca Flooring Contractors · Roseville Flooring Contractors · Toledo Flooring Contractors · Town and Country Flooring Contractors · Philadelphia Furniture & Accessories · Discovery Bay Furniture & Accessories · Fillmore Furniture & Accessoriestalley_sue_nycOriginal Author
klem1
talley_sue_nycOriginal Author
klem1
talley_sue_nycOriginal Author
talley_sue_nycOriginal Author
sombreuil_mongrel
talley_sue_nycOriginal Author
lazy_gardens
talley_sue_nycOriginal Author
lazy_gardens
lazy_gardens
talley_sue_nycOriginal Author
aidan_m
talley_sue_nycOriginal Author
talley_sue_nycOriginal Author