


Oh, curse you--you skinny non mortise hinges! Help!!
bayareafrancy
15 years ago
Featured Answer
Sort by:Oldest
Comments (9)

bayareafrancy
15 years agolast modified: 9 years agoRelated Professionals
Fort Lauderdale Cabinets & Cabinetry · Reading Cabinets & Cabinetry · Birmingham Carpenters · Enterprise Carpenters · Saint Charles Carpenters · La Mesa Flooring Contractors · Little Falls Flooring Contractors · Norwood Flooring Contractors · Sarasota Flooring Contractors · Scottsdale Flooring Contractors · St. Louis Flooring Contractors · Willoughby Flooring Contractors · Frisco Furniture & Accessories · Mesa Furniture & Accessories · Naples Furniture & Accessoriesbayareafrancy
15 years agolast modified: 9 years agopasigal
15 years agolast modified: 9 years agobayareafrancy
15 years agolast modified: 9 years agorockhead515
15 years agolast modified: 9 years agobayareafrancy
15 years agolast modified: 9 years agorockhead515
15 years agolast modified: 9 years agoscoville
15 years agolast modified: 9 years ago


Related Stories
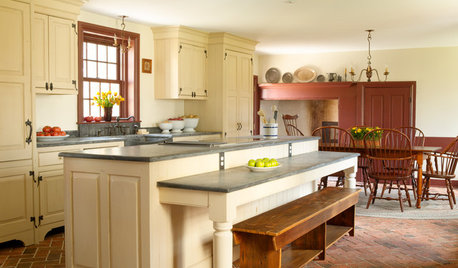
KITCHEN DESIGNKitchen of the Week: Modern Conveniences and a Timeless Look
A 1700s Pennsylvania kitchen is brought up to date, while custom cabinets and rustic finishes help preserve its old-time charm
Full Story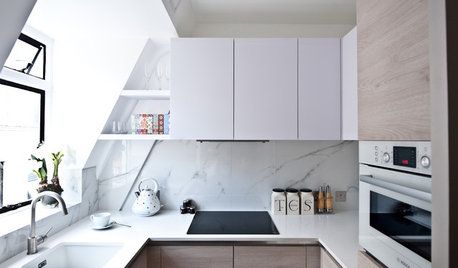
THE HARDWORKING HOMESmart Ways to Make the Most of a Compact Kitchen
Minimal square footage is no barrier to fulfilling your culinary dreams. These tips will help you squeeze the most out of your space
Full Story
KITCHEN WORKBOOK8 Kitchen Amenities You'll Really Wish You Had
Keep kitchen mayhem and muck to a minimum with these terrific organizers and other time-saving, mess-preventing features
Full Story
SMALL HOMES16 Smart Ideas for Small Homes From People Who’ve Been There
Got less than 1,000 square feet to work with? These design-savvy homeowners have ideas for you
Full Story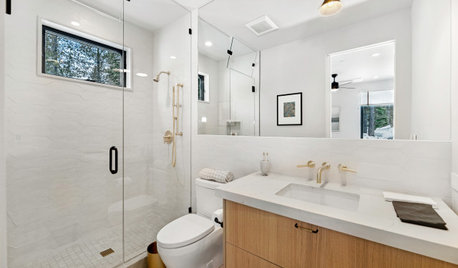
BATHROOM DESIGNKey Measurements to Make the Most of Your Bathroom
Fit everything comfortably in a small or medium-size bath by knowing standard dimensions for fixtures and clearances
Full Story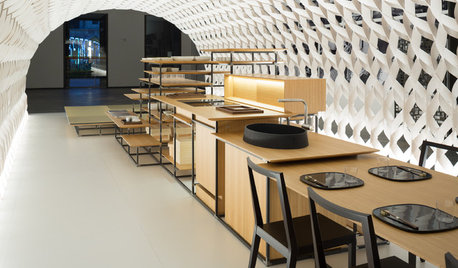
HOMES AROUND THE WORLDThe Kitchen of Tomorrow Is Already Here
A new Houzz survey reveals global kitchen trends with staying power
Full Story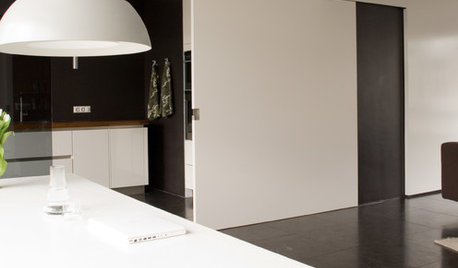
DESIGN DETAILSThe Secret to Pocket Doors' Success
Pocket doors can be genius solutions for all kinds of rooms — but it’s the hardware that makes all the difference. See why
Full Story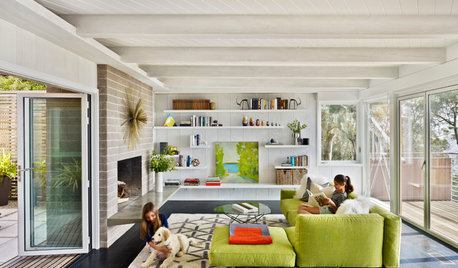
MOVINGHome-Buying Checklist: 20 Things to Consider Beyond the Inspection
Quality of life is just as important as construction quality. Learn what to look for at open houses to ensure comfort in your new home
Full Story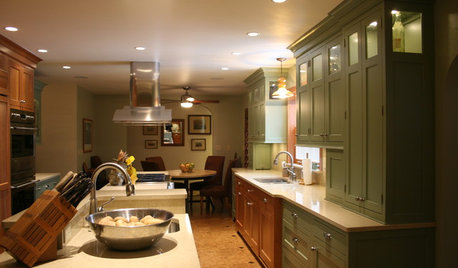
KITCHEN DESIGNSmart Investments in Kitchen Cabinetry — a Realtor's Advice
Get expert info on what cabinet features are worth the money, for both you and potential buyers of your home
Full Story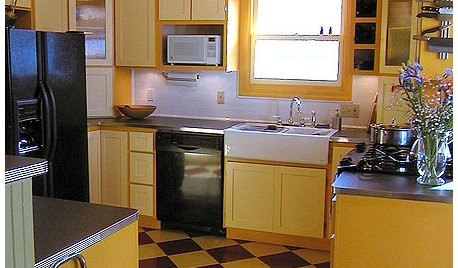
KITCHEN DESIGNKitchen Remodel Costs: 3 Budgets, 3 Kitchens
What you can expect from a kitchen remodel with a budget from $20,000 to $100,000
Full Story


rockhead515