


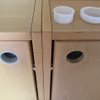
Sanding scratches on radiata pine
2ajsmama
14 years ago
Sort by:Oldest
Comments (8)
Related Stories
DECORATING GUIDESLessons in Living Comfortably: Embrace the Scratches and Dents
When you celebrate wear and tear, you send a message that your home is designed for relaxation
Full Story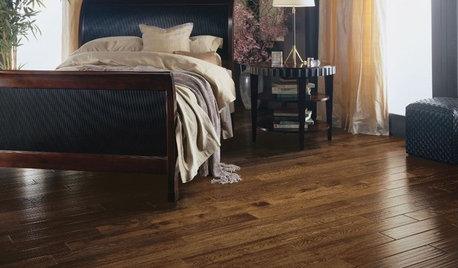
REMODELING GUIDESYour Floor: An Introduction to Solid-Plank Wood Floors
Get the Pros and Cons of Oak, Ash, Pine, Maple and Solid Bamboo
Full Story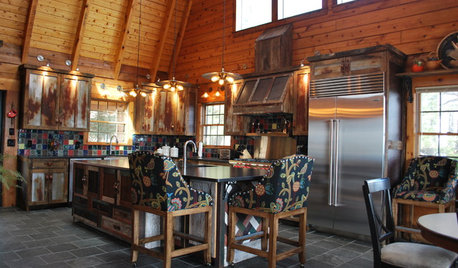
WORKING WITH PROSInside Houzz: New Rustic Style for a Mountain Cabin's Kitchen
A North Carolina couple takes a log cabin kitchen from knotty-pine tear-down to modern-day knockout with rusty tin and reclaimed barnwood
Full Story
PETSDealing With Pet Messes: An Animal Lover's Story
Cat and dog hair, tracked-in mud, scratched floors ... see how one pet guardian learned to cope and to focus on the love
Full Story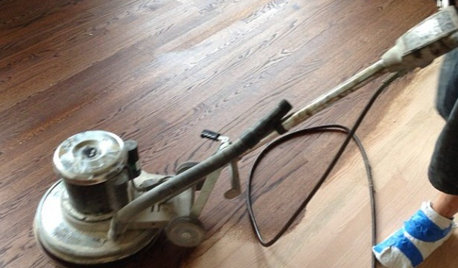
GREAT HOME PROJECTSWhat to Know Before Refinishing Your Floors
Learn costs and other important details about renewing a hardwood floor — and the one mistake you should avoid
Full Story
SMALL HOMESMy Houzz: Heirlooms and Family Art Fill a 1920s Bungalow
Personal touches trump a huge design budget for a Florida couple with a taste for Americana
Full Story
PETS5 Finishes Pets and Kids Can’t Destroy — and 5 to Avoid
Save your sanity and your decorating budget by choosing materials and surfaces that can stand up to abuse
Full Story
PAINTINGKnotty to Nice: Painted Wood Paneling Lightens a Room's Look
Children ran from the scary dark walls in this spare room, but white paint and new flooring put fears and style travesties to rest
Full Story
REMODELING GUIDESDesigner Confessions: Torn Between Wood Floors
19 Photos to Help You Choose a Wood Floor Finish
Full StoryMore Discussions


User
2ajsmamaOriginal Author
Related Professionals
Hopkinsville Cabinets & Cabinetry · Atwater Carpenters · Killeen Carpenters · Apple Valley Flooring Contractors · Decatur Flooring Contractors · Fort Myers Flooring Contractors · Oakdale Flooring Contractors · Palm Springs Flooring Contractors · Tigard Flooring Contractors · Lebanon Furniture & Accessories · Los Angeles Furniture & Accessories · Aliso Viejo Furniture & Accessories · Carlsbad Furniture & Accessories · Fallbrook Furniture & Accessories · Highland Park Furniture & AccessoriesUser
brickeyee
2ajsmamaOriginal Author
2ajsmamaOriginal Author
sombreuil_mongrel
2ajsmamaOriginal Author