


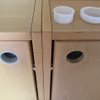
Is this something I can do with a Ryoba japanese saw?
demit
15 years ago
Related Stories
LIFEThe Polite House: How Can I Kindly Get Party Guests to Use Coasters?
Here’s how to handle the age-old entertaining conundrum to protect your furniture — and friendships
Full Story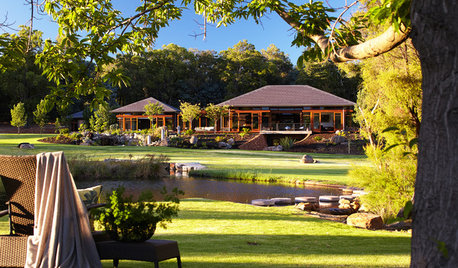
HOUZZ TOURSWe Can Dream: Rural Retirement Home a Haven of Beauty and Tranquillity
A retired couple builds a spacious Japanese-inspired indoor-outdoor sanctuary to enjoy with extended family
Full Story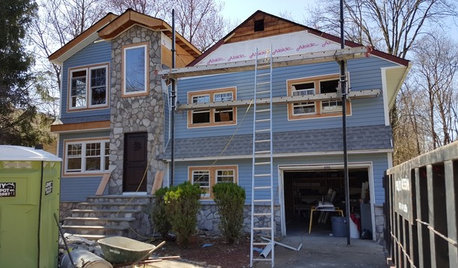
LIFEThe Polite House: How Can I Tell a Construction Crew to Pipe Down?
If workers around your home are doing things that bother you, there’s a diplomatic way to approach them
Full Story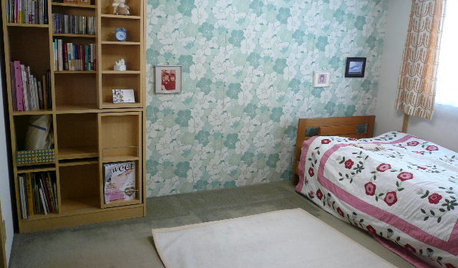
BOOKSCan Tidying Up Result in Life-Changing Magic?
Organizing phenom Marie Kondo promises big results — if you embrace enormous changes and tough choices
Full Story
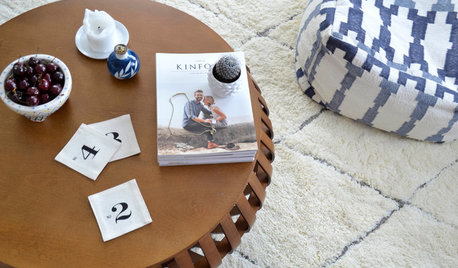
DECORATING GUIDESSee How Wabi-Sabi Can Bring Harmony and Beauty to Your Home
Create your own wabi-style style with beautifully weathered, humble materials around the house
Full Story
GROUND COVERSNative Alternatives to English Ivy, Japanese Pachysandra and Periwinkle
These shade-loving ground covers are good for the environment and say something about where you are
Full Story
TREESGreat Design Plant: Coral Bark Japanese Maple, a Winter Standout
Go for garden gusto during the chilly season with the fiery red stems of this unusual Japanese maple
Full Story
APARTMENTSHouzz Tour: Modern Japanese Penthouse Atop a Designer’s Office
Vintage obis, petrified wood, Samurai armbands and antique fans are just a few of the materials that warm this California apartment
Full Story
TREES11 Japanese Maples for Breathtaking Color and Form
With such a wide range to choose from, there’s a beautiful Japanese maple to suit almost any setting
Full Story
PATIOSBackyard Ideas: Writer's Studio and a Japanese-Inspired Garden
A nearby Japanese garden inspires a feature-packed backyard and studio for a work-from-home Portland writer
Full Story
Jon1270
Jon1270
Related Professionals
Graham Cabinets & Cabinetry · North New Hyde Park Cabinets & Cabinetry · Pearland Carpenters · Valdosta Carpenters · Sunset Carpenters · Franklin Flooring Contractors · Jenison Flooring Contractors · Land O' Lakes Flooring Contractors · Palatine Flooring Contractors · St. Louis Flooring Contractors · West Linn Flooring Contractors · Winchester Flooring Contractors · Athens Furniture & Accessories · Greenville Furniture & Accessories · Ventura Furniture & AccessoriesdemitOriginal Author
Jon1270
demitOriginal Author