


wood filler and staining new trim
nurse-r
14 years ago
Sort by:Oldest
Comments (10)
Related Stories
REMODELING GUIDESPro Finishing Secret: Aniline Dye for Wood
Deeper and richer than any stain, aniline dye gives wood stunningly deep color and a long-lasting finish
Full Story
KITCHEN CABINETSKitchen Cabinet Color: Should You Paint or Stain?
Learn about durability, looks, cost and more for wooden cabinet finishes to make the right choice for your kitchen
Full Story
TRIMTrim Color Tips: Get Your White Trim Right
Set off wood tones, highlight architectural features, go minimalist ... white trim is anything but standard when you know how to use it
Full Story
KITCHEN DESIGN8 Stunning Stain Colors for Kitchen Cabinets
Transform raw wood for custom-looking cabinetry with a stain that fills your need for color but lets the grain show through
Full Story
COLOR11 Terrific Paint Color Matches for Wood Details
Pair your wood trim and cabinets with the right shade of wall paint to bring out the beauty in both
Full Story
REMODELING GUIDESWood Floor Care: Polish Your Skills
Help your wood floors stay gorgeous by learning how to keep stains, dullness and warping at bay
Full Story
FENCES AND GATESHow to Install a Wood Fence
Gain privacy and separate areas with one of the most economical fencing choices: stained, painted or untreated wood
Full Story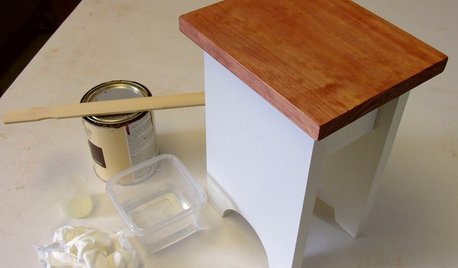
DIY PROJECTSCool Tip: Mimic Stain With a DIY Color Wash
Get the look of an oil-based stain without all the bother, using this easy wash made with paint
Full Story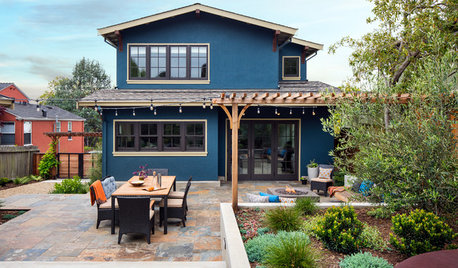
LANDSCAPE DESIGNHow to Make Your Painted or Stained House Feel at Home in the Landscape
Use color and texture to create a pleasing connection between your house and garden
Full Story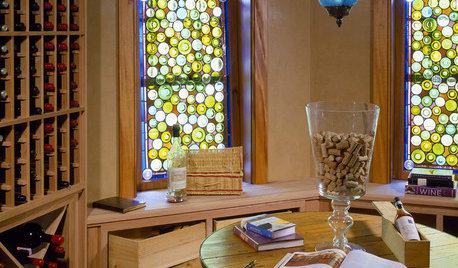
DECORATING GUIDESColor Your Home's View With Stained Glass
Interiors get an enchanting perspective with stained glass windows, doors and fixtures that dapple the light
Full Story

User
Jon1270
Related Professionals
Land O Lakes Cabinets & Cabinetry · Wells Branch Cabinets & Cabinetry · Liberty Township Cabinets & Cabinetry · Lisle Carpenters · Roselle Carpenters · Solana Beach Carpenters · Tucson Carpenters · Valley Stream Carpenters · Cranston Flooring Contractors · Green Bay Flooring Contractors · Sun City Flooring Contractors · Uxbridge Flooring Contractors · Columbia Furniture & Accessories · Greenville Furniture & Accessories · Sahuarita Furniture & Accessoriesglennsfc
aidan_m
brickeyee
skanman14
sombreuil_mongrel
bobismyuncle
KVANNOSTRAND_EC_R_COM
someone2010