


Crown molding- faux illusions
adh673
14 years ago
Related Stories
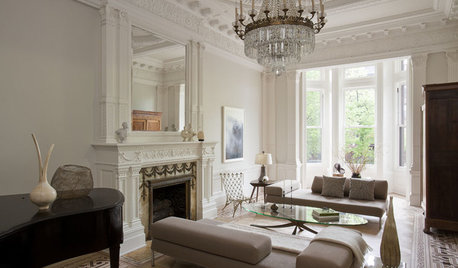
REMODELING GUIDESCrown Molding: Is It Right for Your Home?
See how to find the right trim for the height of your ceilings and style of your room
Full Story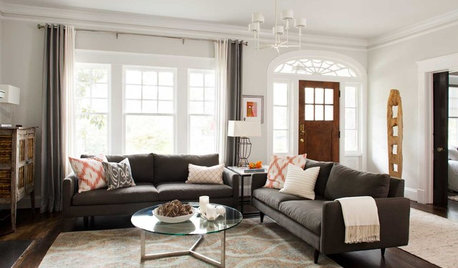
ENTRYWAYSNo Entryway? Create the Illusion of One
Create the feeling of an entry hall even when your door opens straight into the living room. Here are 12 tricks to try
Full Story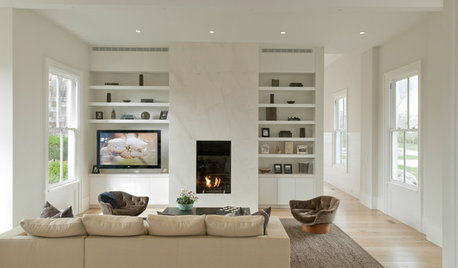
CEILINGS13 Ways to Create the Illusion of Room Height
Low ceilings? Here are a baker’s dozen of elements you can alter to give the appearance of a taller space
Full Story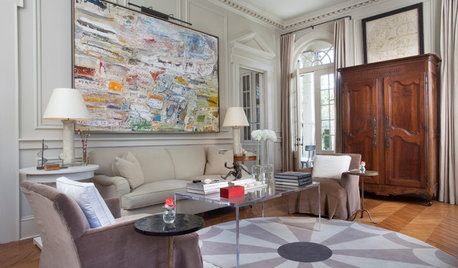
HOUZZ TOURSHouzz Tour: Artistry and Illusion Season a Baton Rouge Townhouse
A Louisiana family home blends 19th-century style with contemporary bravado
Full Story
TRIMMolding: Add Texture by Detailing Your Detail
Take the Architectural Accent to the Next Level with These Extra Elements
Full Story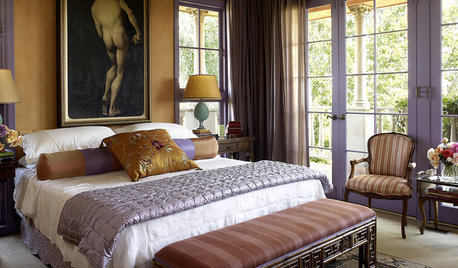
DECORATING GUIDESChoose an Unexpected Color for Your Trim
Go Beyond Glossy White Molding for a Room With Distinction
Full Story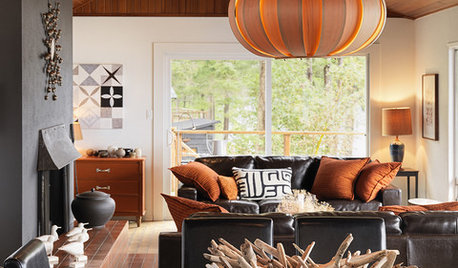
HOUZZ TOURSHouzz Tour: Creative Design Moves Rescue an Island Cottage
Facing down mold and nicotine, two industrious Canadian designers transform an uninhabitable wreck into an artful getaway
Full Story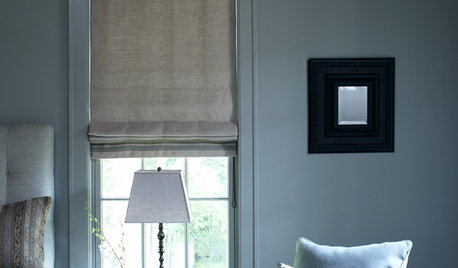
DECORATING GUIDESRoman Shades: The Just-Right Window Coverings for Summer
Calm and minimal, frilly or faux, There's a Roman shade for you
Full Story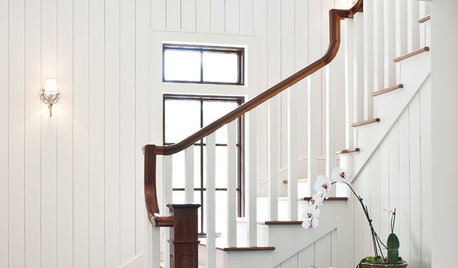
REMODELING GUIDESHeighten a Room With Vertical Tongue and Groove Wall Paneling
Visually increase space while upping architectural interest by giving your walls this texturally rich treatment
Full Story
More Discussions


someone2010
twosit
Related Professionals
Bedford Carpenters · Cedar Park Carpenters · Centreville Carpenters · La Grange Carpenters · Arlington Flooring Contractors · Chula Vista Flooring Contractors · Jamaica Plain Flooring Contractors · Lenexa Flooring Contractors · Lexington Flooring Contractors · Melbourne Flooring Contractors · Monroe Flooring Contractors · Panama City Beach Flooring Contractors · Jacksonville Furniture & Accessories · Midland Furniture & Accessories · Los Gatos Furniture & Accessoriesmmike032
MongoCT
southerngalinnyc