


gluing up table top
john_al
17 years ago
Sort by:Oldest
Comments (19)
Related Stories
KITCHEN DESIGNGlued to the Tube: 14 Ways to Put a TV in the Kitchen
If you must, here's how to work a flat screen into your kitchen design
Full Story
DIY PROJECTSDiscover the DIY Secret Weapon of Decoupage Glue
With this liquid glue and sealant in your crafting arsenal, you can tackle a variety of home DIY projects in a single bound
Full Story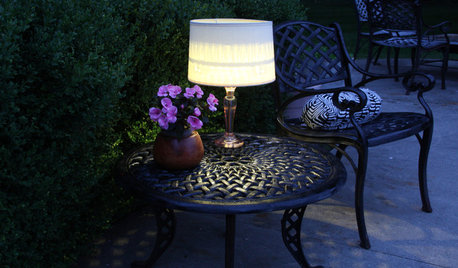
DIY PROJECTSLight Up Your Night With an Easy Outdoor Table Lamp
Hit up Goodwill and the hardware store to make this lamp for a deck or poolside patio in minutes
Full Story
KIDS’ SPACESStep Right Up to a Top Model’s Circus-Inspired Nursery
Based on the big top and set in a real castle’s turret, this nursery could be the setting for a storybook
Full Story
DIY PROJECTSSpruce Up the House With 50 Clever DIY Ideas
How to make a modern chandelier, glam dresser, chalkboard table and more
Full Story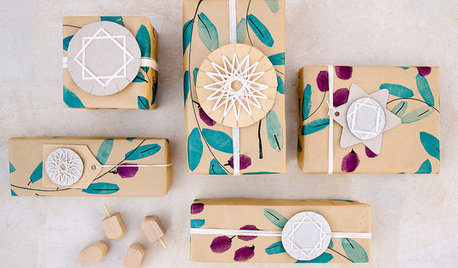
HOLIDAYSHoliday DIY: Get Wrapped Up in These Geometric Star Paper Crafts
No glue required: Just a ball of string and some cardboard are all you need to get started making a garland or gift tag
Full Story
DECORATING GUIDES12 Coffee Tables to Stir Up a Living Room Look
Keep drinks on the down low or sip in high style. You'll find a coffee table style for every design taste here
Full Story
SHOP HOUZZShop Houzz: Up to 70% Off a Chic Console Table Vignette
Enhance your space with a personal and stylish tablescape
Full Story0

FURNITUREThe Coffee Table Grows Up
These statement pieces reinvent the coffee table and can transform the living room
Full Story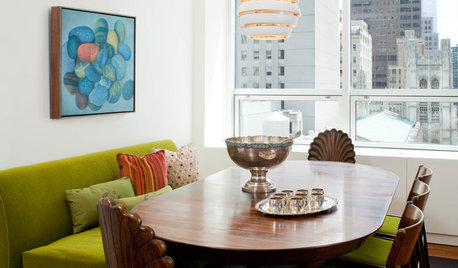
DINING ROOMSCozy Up to a Loveseat at the Table
11 Reasons to Consider a Little Sofa for the Dining Room
Full Story

daveh644
Jon1270
Related Professionals
Alton Cabinets & Cabinetry · Prior Lake Cabinets & Cabinetry · Wells Branch Cabinets & Cabinetry · Concord Carpenters · Las Vegas Carpenters · Mountain Home Carpenters · Cedar Park Flooring Contractors · Elgin Flooring Contractors · Palm Valley Flooring Contractors · Scottsboro Flooring Contractors · Tigard Flooring Contractors · Worcester Flooring Contractors · Fort Wayne Furniture & Accessories · Memphis Furniture & Accessories · Fallbrook Furniture & Accessoriesjohn_alOriginal Author
kmealy
Jon1270
Jon1270
john_alOriginal Author
Pooh Bear
brickeyee
sombreuil_mongrel
Pooh Bear
Jon1270
sombreuil_mongrel
chiefneil
Jon1270
kmealy
john_alOriginal Author
Pooh Bear
john_alOriginal Author