


How to repair holes in wood moulding?
artemis78
11 years ago
Featured Answer
Sort by:Oldest
Comments (11)

sloyder
11 years agoartemis78
11 years agoRelated Professionals
Mount Holly Cabinets & Cabinetry · Salisbury Cabinets & Cabinetry · Miami Springs Carpenters · River Forest Carpenters · Round Rock Carpenters · Windsor Carpenters · Danvers Flooring Contractors · Little Rock Flooring Contractors · Oak Ridge Flooring Contractors · St. Louis Flooring Contractors · Jacksonville Furniture & Accessories · Mansfield Furniture & Accessories · Mesa Furniture & Accessories · Norwalk Furniture & Accessories · Tampa Furniture & Accessoriesartemis78
11 years agobrickeyee
11 years agoartemis78
11 years agoglennsfc
11 years agosloyder
11 years agoartemis78
11 years agobrickeyee
11 years agoartemis78
11 years ago
Related Stories
HOUSEKEEPINGQuick Fix: How to Patch a Drywall Hole
Dents and dings disappear, leaving your walls looking brand new, with this fix that even a novice can do
Full Story
DISASTER PREP & RECOVERYHow to Combat Mold in a Flooded House
Before you rebuild or restore your water-damaged home, take these steps to keep mold at bay
Full Story
BATHROOM TILEQuick Fix: Repair Cracked Bathroom Grout
Banish an eyesore and safeguard your bathroom from water damage in 30 minutes or less with this DIY repair
Full Story
HOUSEKEEPINGDIY Fix: How to Repair a Broken Glass Door Pane
Don't let broken glass shatter your self-esteem. You can fix it more easily and more inexpensively than you might realize
Full Story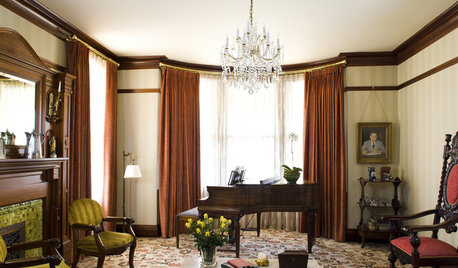
GREAT HOME PROJECTSHow to Bring Out Your Home’s Character With Trim
New project for a new year: Add moldings and baseboards to enhance architectural style and create visual interest
Full Story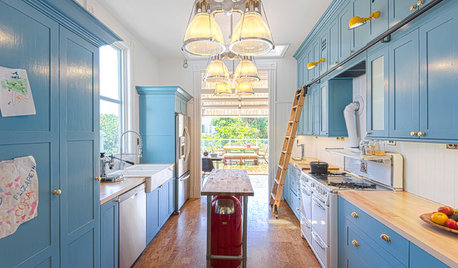
KITCHEN DESIGNKitchen of the Week: Pushing Boundaries in a San Francisco Victorian
If the roll-up garage door doesn’t clue you in, the blue cabinets and oversize molding will: This kitchen is no ordinary Victorian galley
Full Story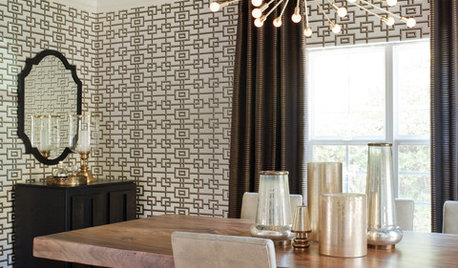
REMODELING GUIDESDecorated Ceilings Are Looking Up
Whether with a simple coat of paint or intricate molding, ceilings are getting some long-deserved attention in interior designs
Full Story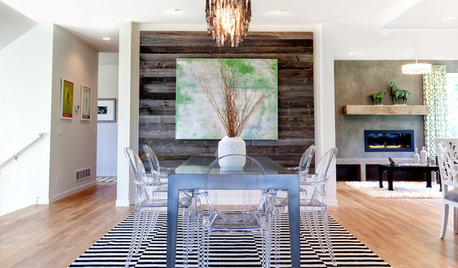
GREAT HOME PROJECTSWhat to Know About Adding a Reclaimed-Wood Wall
Here’s advice on where to put it, how to find and select wood, what it might cost and how to get it done
Full Story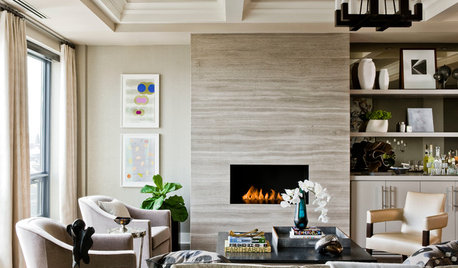
LIVING ROOMSHow to Convert Your Wood-Burning Fireplace
Learn about inserts and other options for switching your fireplace from wood to gas or electric
Full Story
FENCES AND GATESHow to Install a Wood Fence
Gain privacy and separate areas with one of the most economical fencing choices: stained, painted or untreated wood
Full StoryMore Discussions


User