


how to use sliding compound miter saw
choochnbob
15 years ago
Sort by:Oldest
Comments (9)
Related Stories
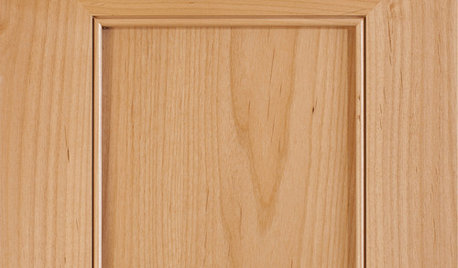
DESIGN DICTIONARYMiter
A miter cuts right to the point with beveled edges on moldings, cabinet doors and more
Full Story
HOUZZ TOURSMy Houzz: Contemporary Camp Style Wows on the U.S. West Coast
Guest cabins, a barn for parties and a spacious communal bathroom make a couple's coastal home an entertaining dream
Full Story
CRAFTSDIY Project: Home Improvement Store Pop Art
Turn Drywall Mud and Paint Into a Minimalist Conversation Piece
Full Story
ARCHITECTUREMust-Know Modern Homes: The Glass House
Little privacy, much inventiveness. Philip Johnson’s 1949 see-through structure offers a clear view of his eclecticism
Full Story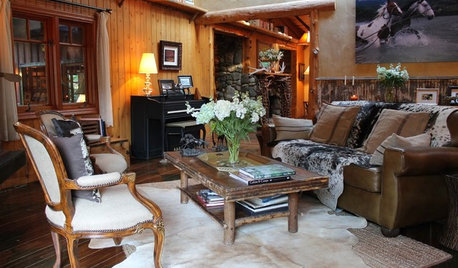
HOUZZ TOURSMy Houzz: Happy Trails at a Rustic Canyon Lodge
This warm ranch hideaway, complete with horses, dogs, cowhides and natural materials aplenty, is a delight for the senses
Full Story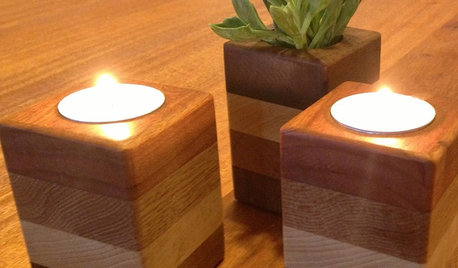
WOODWORKING5 Holiday Decorations to Craft From Scrap Wood
Give them as gifts or let your own home reap the rewards — these quality crafted pieces will last through many holidays to come
Full Story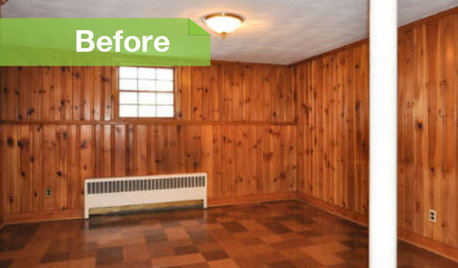
PAINTINGKnotty to Nice: Painted Wood Paneling Lightens a Room's Look
Children ran from the scary dark walls in this spare room, but white paint and new flooring put fears and style travesties to rest
Full Story
KITCHEN BACKSPLASHESHow to Install a Tile Backsplash
If you've got a steady hand, a few easy-to-find supplies and patience, you can install a tile backsplash in a kitchen or bathroom
Full Story
DIY PROJECTS14 Power Tools for the Home Shop
Want the thrill of building it yourself? These "big guns" help the handy homeowner tackle just about any job
Full Story
PRODUCT PICKSGuest Picks: Indispensable Tools for DIYers
Build your tool arsenal with these, and you’ll have the right equipment for any home project you take on
Full Story

furnone
mike_kaiser_gw
Related Professionals
Langley Park Cabinets & Cabinetry · Ham Lake Cabinets & Cabinetry · Needham Carpenters · Tacoma Carpenters · Bradenton Flooring Contractors · Carmel Flooring Contractors · Cranston Flooring Contractors · Decatur Flooring Contractors · Elmhurst Flooring Contractors · Johnson City Flooring Contractors · Los Angeles Flooring Contractors · Palm Springs Flooring Contractors · Plainfield Flooring Contractors · Saint Louis Park Flooring Contractors · Peachtree City Furniture & AccessorieschoochnbobOriginal Author
bobismyuncle
choochnbobOriginal Author
sierraeast
mike_kaiser_gw
choochnbobOriginal Author
jeannesavelle