


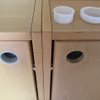
How to cut curves
Debbie Downer
17 years ago
Sort by:Oldest
Comments (9)
Related Stories

LANDSCAPE DESIGNIs Your Garden Cut Out for Matisse Inspiration?
Look to the artist’s paper collages for a creative and easy approach to garden design
Full Story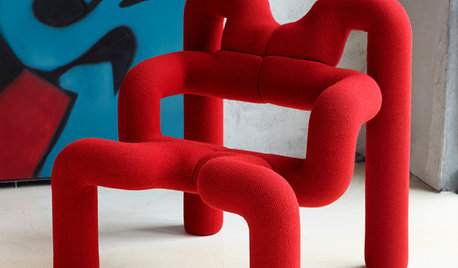
DECORATING GUIDESOn Trend: Cut It Out With Norwegian Seating
You may find these nipped-out chairs extra full of modern style and comfort, thanks to their savvy designs
Full Story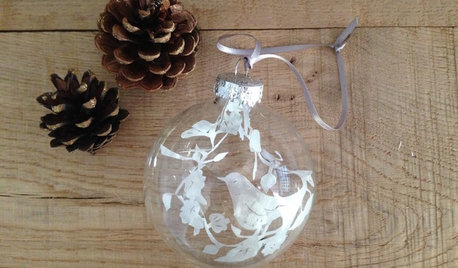
DIY PROJECTSHow to Make a Festive Paper-Cut Ornament
Add a personal touch to your Christmas tree this year with this pretty handmade decoration
Full Story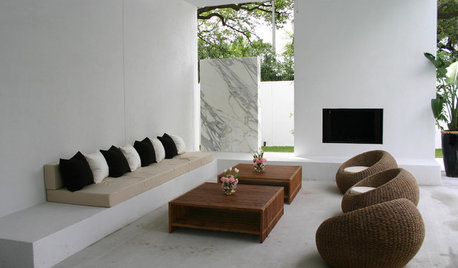
DECORATING GUIDESWicker Style: Cottage to Cutting Edge
Find Wicker for Every Look, From Classic Porch Chair to Spaceship Daybed
Full Story
DECORATING GUIDESHow to Get Curves in All the Right Spaces
Use the softening effect of curves to enhance and define your indoor and outdoor areas
Full Story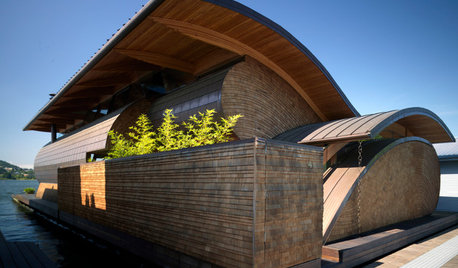
CONTEMPORARY HOMESHouzz Tour: Curves Ahoy! See a Unique Floating Home
It appeared on ‘Portlandia,’ but it doesn’t take a camera crew to see how special this home on a river is
Full Story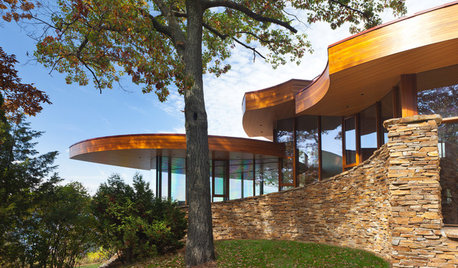
CONTEMPORARY HOMESHouzz Tour: Stunning Curved Architecture Rises Among the Trees
You can see the love of nature and organic shapes at first glance. Look more closely at this Wisconsin home and you’ll also see amazing flow
Full Story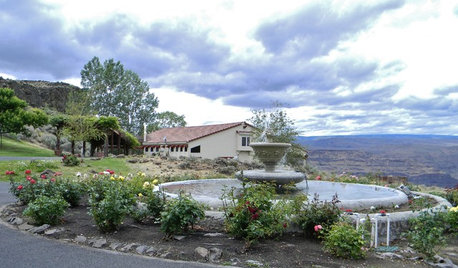
CONTEMPORARY HOMESMy Houzz: Check Out the Curves on This Cliffside Home
Circular forms star in a home on a Washington gorge, from the boulder pile downstairs to an exterior side with nary a straight line
Full Story
ARCHITECTURESculptural Modern Homes Throw Architecture Some Curves
Curvy profiles, roofs and interiors make these modern Australian homes straight-up stunning
Full Story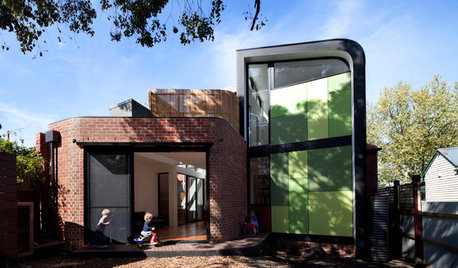
HOUZZ TOURSHouzz Tour: Curves Ahead for a Modern Melbourne Addition
Contemporary and Edwardian get along capitally in an expanded Australian home for a family
Full Story

haydukeii
Debbie DownerOriginal Author
Related Professionals
Maywood Cabinets & Cabinetry · Warr Acres Cabinets & Cabinetry · Lake Shore Carpenters · Las Vegas Carpenters · Bolingbrook Flooring Contractors · North Aurora Flooring Contractors · Novi Flooring Contractors · Scotts Valley Flooring Contractors · Uxbridge Flooring Contractors · Easton Furniture & Accessories · Hilton Head Island Furniture & Accessories · San Diego Furniture & Accessories · Ventura Furniture & Accessories · Aventura Furniture & Accessories · Dumont Furniture & AccessoriesJon1270
flgargoyle
russmahogany
bob_am
Debbie DownerOriginal Author
sombreuil_mongrel
russmahogany