


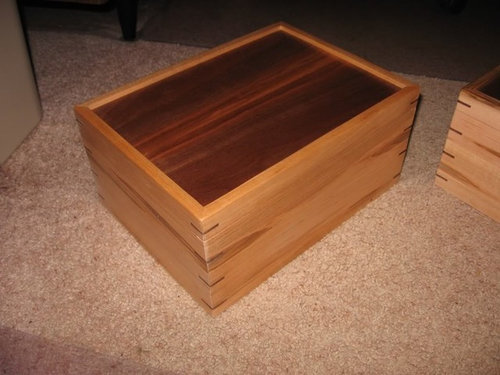
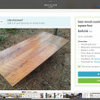
Shellac on walnut
bobismyuncle
14 years ago
Related Stories
KITCHEN COUNTERTOPSHow to Care for Wood Kitchen Countertops
Install your wood work surfaces correctly and keep them in top condition with these expert tips
Full Story
KITCHEN CABINETSKitchen Cabinet Color: Should You Paint or Stain?
Learn about durability, looks, cost and more for wooden cabinet finishes to make the right choice for your kitchen
Full Story
MOST POPULAR8 Great Kitchen Cabinet Color Palettes
Make your kitchen uniquely yours with painted cabinetry. Here's how (and what) to paint them
Full Story
KITCHEN CABINETSPainted vs. Stained Kitchen Cabinets
Wondering whether to go for natural wood or a painted finish for your cabinets? These pros and cons can help
Full Story
WOODWoodipedia: Make a Solid Choice With Oak
Forget those low-end products of old. Red and white oak today are beautiful, versatile and relatively inexpensive
Full Story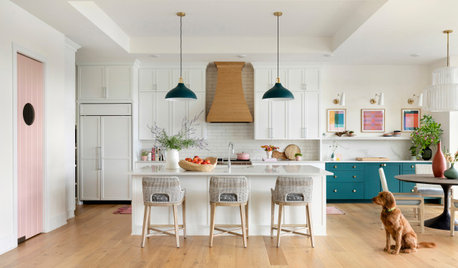
HOUSEKEEPINGHow to Clean Hardwood Floors
Gleaming wood floors are a thing of beauty. Find out how to keep them that way
Full StoryMOST POPULARFrom the Pros: How to Paint Kitchen Cabinets
Want a major new look for your kitchen or bathroom cabinets on a DIY budget? Don't pick up a paintbrush until you read this
Full Story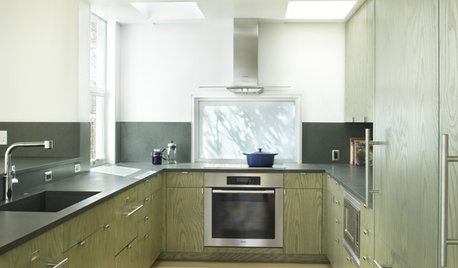
REMODELING GUIDESPro Finishing Secret: Aniline Dye for Wood
Deeper and richer than any stain, aniline dye gives wood stunningly deep color and a long-lasting finish
Full Story
KITCHEN DESIGNKitchen of the Week: A Onetime Carnegie Library Gets Cooking
Trading books for baguettes, this California kitchen underwent years of remodels before its latest modern incarnation
Full Story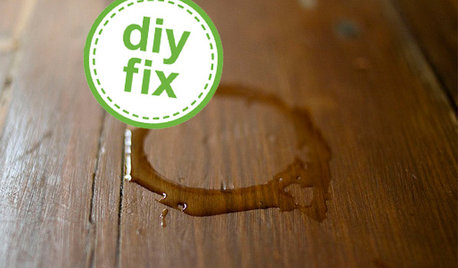
DECORATING GUIDESQuick Fix: Erase Water Rings from Furniture
A few household items can quickly rejuvenate tarnished wood tabletops
Full Story
someone2010
User
Related Professionals
White Center Cabinets & Cabinetry · Deerfield Beach Carpenters · Loveland Carpenters · Franklin Flooring Contractors · Huntington Station Flooring Contractors · Newburgh Flooring Contractors · Ossining Flooring Contractors · Riverside Flooring Contractors · Saint Louis Park Flooring Contractors · Shepherdsville Flooring Contractors · St. Louis Flooring Contractors · Suitland Flooring Contractors · Lebanon Furniture & Accessories · Lorton Furniture & Accessories · Marietta Furniture & AccessoriesbobismyuncleOriginal Author
User
stevega
bobismyuncleOriginal Author
bobismyuncleOriginal Author
stevega
bobismyuncleOriginal Author
stevega
bobismyuncleOriginal Author
someone2010
brickeyee
bobismyuncleOriginal Author
someone2010
brickeyee
bobismyuncleOriginal Author
brickeyee
someone2010