


Kitchen Cabinet refinishing - mixed Laminate and wood
adgjqetuo
9 years ago
Sort by:Oldest
Comments (9)
Related Stories
KITCHEN CABINETSGet the Look of Wood Cabinets for Less
No need to snub plastic laminate as wood’s inferior cousin. Today’s options are stylish and durable — not to mention money saving
Full Story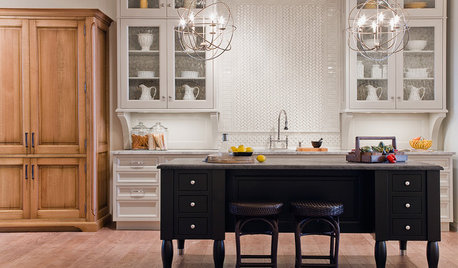
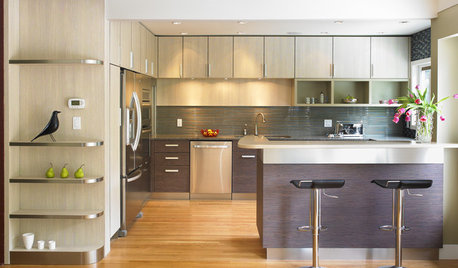
KITCHEN DESIGNYour Kitchen: Mix Wood and Painted Finishes
Create a Grounded, Authentic Design With Layers of Natural and Painted Wood
Full Story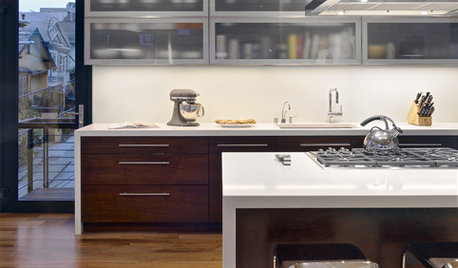
KITCHEN DESIGNMix and Match Your Kitchen Cabinet Styles
Combine contrasting materials for a kitchen all your own
Full Story
KITCHEN CABINETSKitchen Confidential: 7 Ways to Mix and Match Cabinet Colors
Can't decide on a specific color or stain for your kitchen cabinets? You don't have to choose just one
Full Story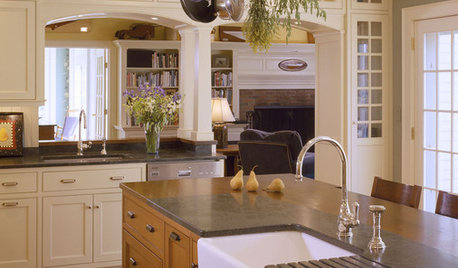

REMODELING GUIDESLaminate Floors: Get the Look of Wood (and More) for Less
See what goes into laminate flooring and why you just might want to choose it
Full Story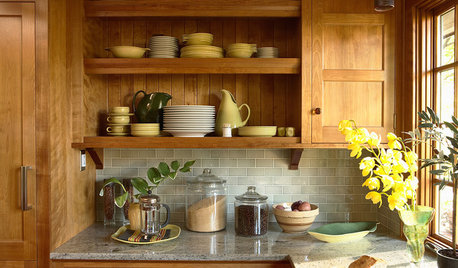
KITCHEN DESIGNWhat Goes With Wood Cabinets?
Make those high-quality cabinets look their best by pairing them with the right colors and materials
Full Story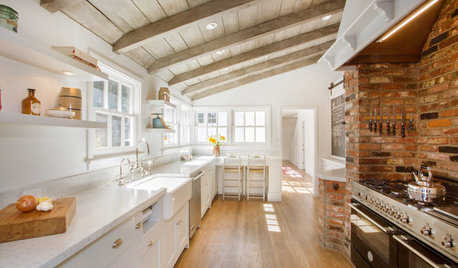
KITCHEN DESIGNKitchen of the Week: Brick, Wood and Clean White Lines
A family kitchen retains its original brick but adds an eat-in area and bright new cabinets
Full Story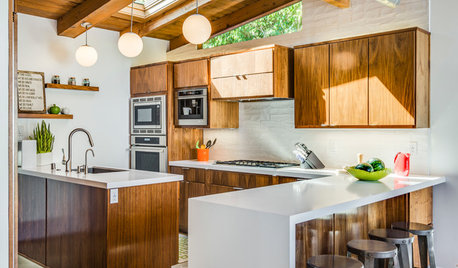
KITCHEN CABINETSNew This Week: 3 Modern Kitchens That Rock Warm Wood Cabinets
Looking for an alternative to bright white? Walnut cabinetry offers the perfect tone to warm things up
Full Story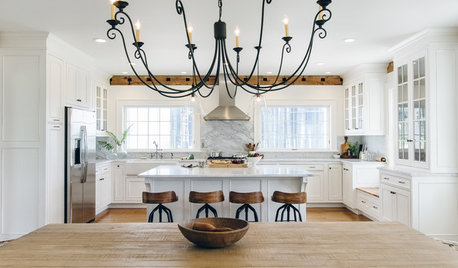
WHITE KITCHENS4 Dreamy White-and-Wood Kitchens to Learn From
White too bright in your kitchen? Introduce wood beams, countertops, furniture and more
Full Story


klem1
jeff-1010
Related Professionals
Graham Cabinets & Cabinetry · Carlsbad Carpenters · Dallas Carpenters · Apopka Flooring Contractors · Banning Flooring Contractors · Beacon Flooring Contractors · Dorchester Flooring Contractors · Fairfax Flooring Contractors · Framingham Flooring Contractors · Lutz Flooring Contractors · Patterson Flooring Contractors · The Crossings Flooring Contractors · Beaufort Furniture & Accessories · Jacksonville Furniture & Accessories · Clark Furniture & AccessoriesadgjqetuoOriginal Author
annzgw
klem1
adgjqetuoOriginal Author
adgjqetuoOriginal Author
adgjqetuoOriginal Author
klem1