


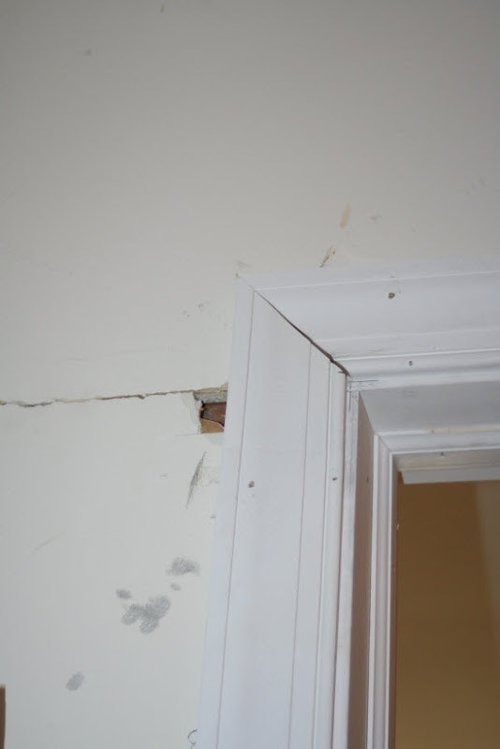
Casing
Vertise
12 years ago

Related Stories

BATHROOM DESIGNThe Case for a Curbless Shower
A Streamlined, Open Look is a First Thing to Explore When Renovating a Bath
Full Story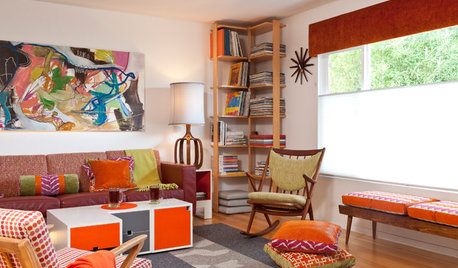
COLORFUL HOMESCase Study: The Fearless Approach to Bold Color
Bland has no place in this San Diego home. See how the designer uses vivid hues with cohesiveness and without overwhelming
Full Story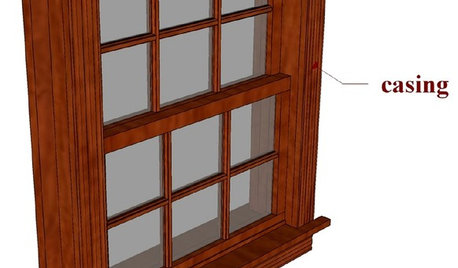
DESIGN DICTIONARYWindow Casing
Window casing covers a window's framework and can be decorative or plain
Full Story0

DECORATING GUIDESStrategies to Create Color Flow Throughout a Home — a Case Study
Unite your indoor and outdoor rooms with a consistent color palette, for cohesion and a polished look
Full Story
REMODELING GUIDESFrame Your Views With Great Moldings and Casings
How to Work With Trim to Give Your Space Depth and Interest
Full Story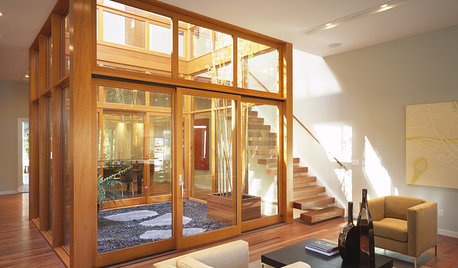
REMODELING GUIDESThe Case for Interior Courtyards
Bring the Light and Air of the Outdoors to the Heart of Your Home
Full StoryDECORATING GUIDESThe Case for the Anti-Accent Wall
Go ahead, paint everything the same color (even the trim)
Full Story
BLACKThe Case for Beautiful Black Doors
To-do list: Freshen up the house with crisp black doors, inside and out
Full Story
FURNITUREModern Icons: The Case Study Daybed
Just toss the bolsters and add a sheet — turning this classic midcentury sofa into a bed is as easy as one, two
Full Story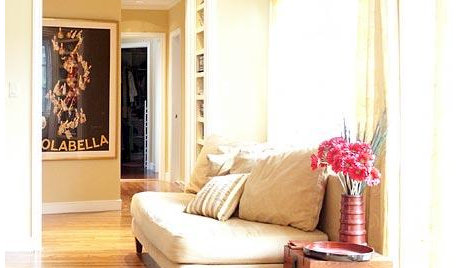
More Discussions


User
bobismyuncle
Related Professionals
Arlington Carpenters · Gardner Carpenters · Kissimmee Carpenters · Leander Carpenters · Livingston Carpenters · Murphy Carpenters · Norfolk Carpenters · Lady Lake Flooring Contractors · Whittier Flooring Contractors · Carlsbad Furniture & Accessories · Fountain Furniture & Accessories · Kansas City Furniture & Accessories · Carpinteria Furniture & Accessories · Springdale Handyman · Fish Hawk HandymanVertiseOriginal Author
User
VertiseOriginal Author
VertiseOriginal Author
brickeyee
millworkman
VertiseOriginal Author
VertiseOriginal Author
terrybull
brickeyee
VertiseOriginal Author
User
VertiseOriginal Author
millworkman
VertiseOriginal Author
millworkman
VertiseOriginal Author
aidan_m
VertiseOriginal Author
millworkman
VertiseOriginal Author
brickeyee
VertiseOriginal Author
jolj