


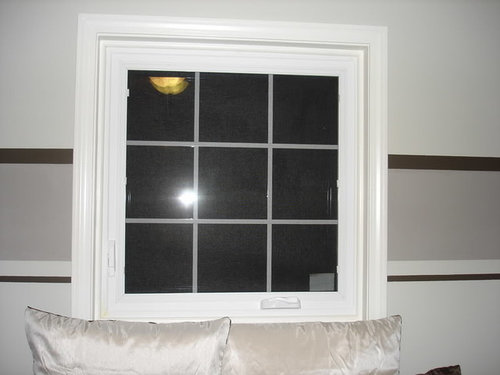
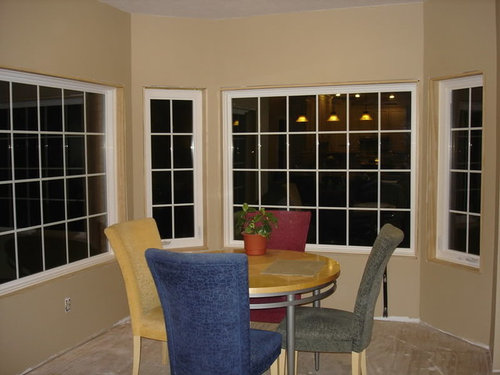
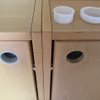
Stumped by how to do this window casing
weedyacres
15 years ago
Sort by:Oldest
Comments (6)
Related Stories
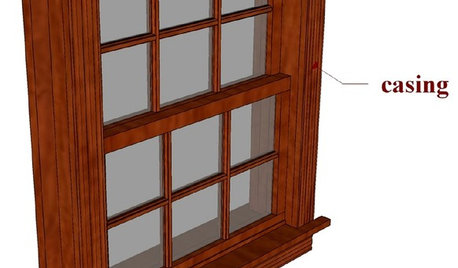
DESIGN DICTIONARYWindow Casing
Window casing covers a window's framework and can be decorative or plain
Full Story0
DECORATING GUIDESThe Case for the Anti-Accent Wall
Go ahead, paint everything the same color (even the trim)
Full Story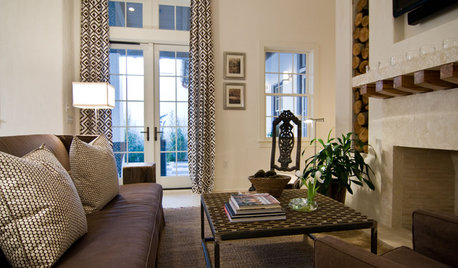
WINDOW TREATMENTSThe Case for Stationary Draperies
Curtains that open and close are great in some situations, but stationary draperies can give you a better view (and save money too)
Full Story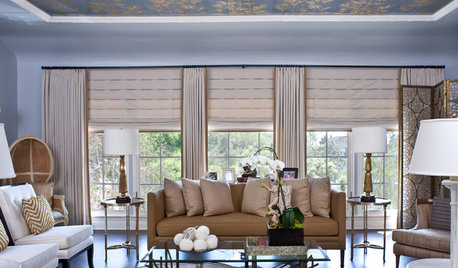
WINDOW TREATMENTSThe Drapery Diary: The Case for Custom
Use this handy guide to discover the ins and outs of customized drapery
Full Story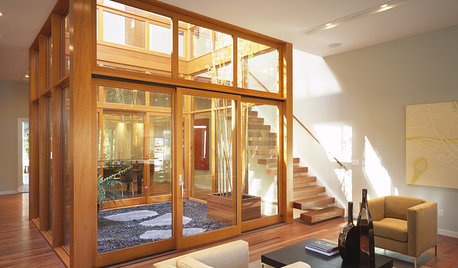
REMODELING GUIDESThe Case for Interior Courtyards
Bring the Light and Air of the Outdoors to the Heart of Your Home
Full Story
REMODELING GUIDESFrame Your Views With Great Moldings and Casings
How to Work With Trim to Give Your Space Depth and Interest
Full Story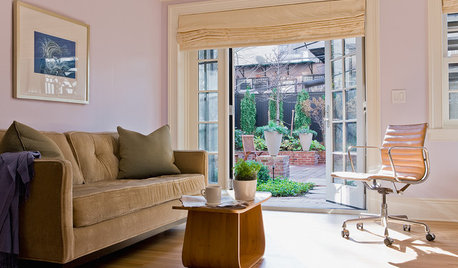
REMODELING GUIDESThe Case for Waiting to Remodel
We know, you're excited to make your home match your vision. But your vision may change once you've lived there awhile
Full Story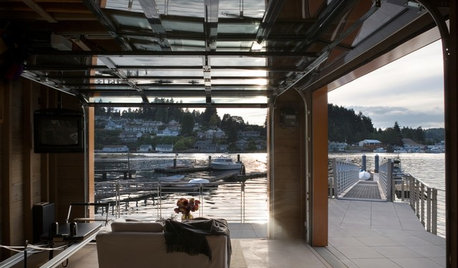
DREAM SPACESDesign Workshop: The Case for Big Overhead Doors
Garage-style doors are cost-effective solutions for opening rooms to dream views and fresh air — and they’re more stylish than ever
Full Story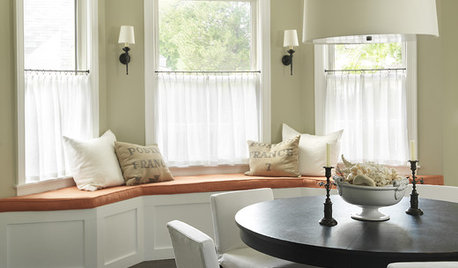
DECORATING GUIDESThe Case for In-Between Colors
These mutable hues defy easy description, but their appeal all around the home isn't hard to get
Full Story
COLORCase Study: Turn Your Wall Colors Into Art
Give your walls an artistic edge with creative color blocking that complements your architecture
Full Story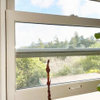

User
weedyacresOriginal Author
Related Professionals
Drexel Hill Cabinets & Cabinetry · Salisbury Cabinets & Cabinetry · White Center Cabinets & Cabinetry · Buffalo Carpenters · Hayward Carpenters · Hempstead Carpenters · Norwood Carpenters · Fishers Flooring Contractors · Mahwah Flooring Contractors · Ossining Flooring Contractors · Temple Terrace Flooring Contractors · West Chester Flooring Contractors · Bronx Furniture & Accessories · Naples Furniture & Accessories · Tamalpais-Homestead Valley Furniture & AccessoriesUser
waitingforthelight
weedavie1942
weedyacresOriginal Author