


Need help with basic table
missykdiy
14 years ago
Sort by:Oldest
Comments (8)
Related Stories

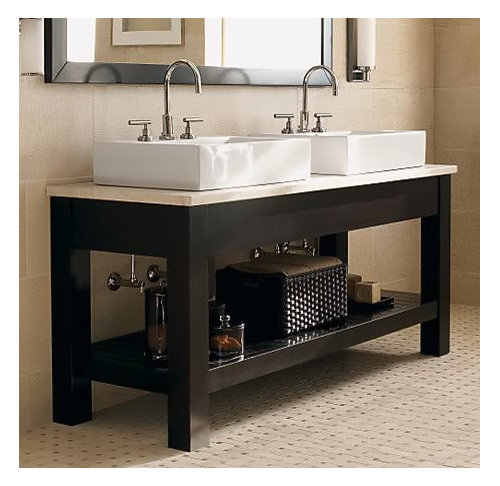
BATHROOM WORKBOOKStandard Fixture Dimensions and Measurements for a Primary Bath
Create a luxe bathroom that functions well with these key measurements and layout tips
Full Story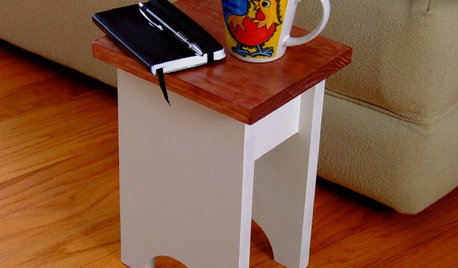
DIY PROJECTSNeat Little Project: Make a Basic Wood Stand
See how to make this handy table to hold your book, coffee or plant — then use the skills you learn to build something else later
Full Story
CONTAINER GARDENSContainer Garden Basics: How and When to Water Potted Plants
Confused about soil moisture, the best time to water and what watering device to use? This guide can help
Full Story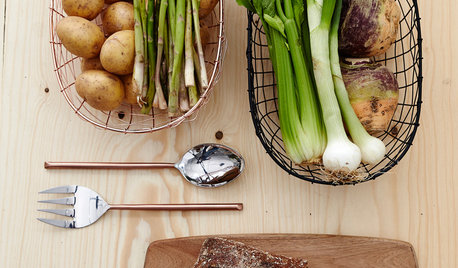
MOVINGYour First Home: Beautiful Basics and Multitaskers for Every Room
Here’s what to choose and what to avoid when outfitting a new house
Full Story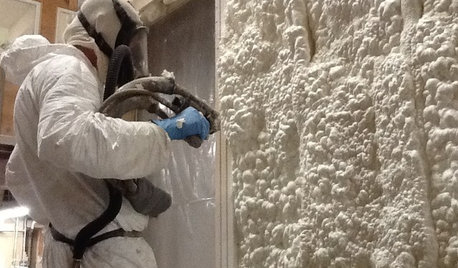
MATERIALSInsulation Basics: What to Know About Spray Foam
Learn what exactly spray foam is, the pros and cons of using it and why you shouldn’t mess around with installation
Full Story
ENTERTAININGEasy Hospitality: 3 Basics for Successful Hosting
Make guests comfortable even if resources are tight by getting these entertaining essentials down pat
Full Story
HOUZZ TOURSMy Houzz: A Basic Builder Home Gets the Glam Treatment
From blank canvas to decorated beauty, this home in Massachusetts changed a family's life in more ways than one
Full Story
GREEN BUILDINGInsulation Basics: Heat, R-Value and the Building Envelope
Learn how heat moves through a home and the materials that can stop it, to make sure your insulation is as effective as you think
Full Story
ACCESSORIESStyling Basics: 8 Favorite Accessories to Finish Your Space
Here's how to use these simple items to take your room to the next level
Full Story
DECKSDecking Materials Beyond Basic Lumber
Learn about softwoods, tropical hardwoods, composites and more for decks, including pros, cons and costs
Full Story

kudzu9
missykdiyOriginal Author
Related Professionals
Wyckoff Cabinets & Cabinetry · Arlington Carpenters · Round Rock Carpenters · Tacoma Carpenters · University City Flooring Contractors · Brooklyn Park Flooring Contractors · Gainesville Flooring Contractors · Harrisburg Flooring Contractors · Long Beach Flooring Contractors · Surprise Flooring Contractors · Indianapolis Furniture & Accessories · Philadelphia Furniture & Accessories · Alpharetta Furniture & Accessories · Sugar Hill Furniture & Accessories · Kendall Furniture & AccessoriesmissykdiyOriginal Author
kudzu9
Jon1270
sombreuil_mongrel
kudzu9
sombreuil_mongrel