


Any one using insteon technology?
andyhutch1947
13 years ago
Related Stories

HOME TECHIce Cubes Are Obsolete! New Technology Is Way Cooler
Chill drinks the smarter way than using messy old ice, with these new home tech solutions
Full Story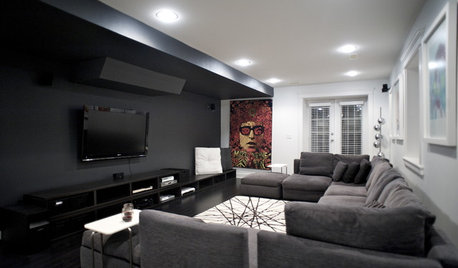
DECORATING GUIDESGoing Beyond Technology in the Media Room
The right furniture, lighting and storage will turn your media room into a comfortable place for the family to hang out in
Full Story
HOME TECHGo Ahead: Embrace Your Home Technology
It's time to make peace with the gadgets, wires and TV screens that serve us so well
Full Story
TOWNHOUSESHouzz Tour: Nature and Technology Combine in a Renovated Townhouse
See how this London property was transformed from a nondescript house into a colorful, high-tech, 21st-century home
Full Story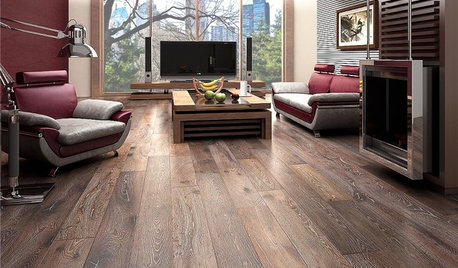
REMODELING GUIDESWhen to Use Engineered Wood Floors
See why an engineered wood floor could be your best choice (and no one will know but you)
Full Story
HOME TECHTote Your Tunes to Any Room With a Portable Wi-Fi Sound System
Free your home's music setup from wires with Wi-Fi speakers that let you take high-quality audio anywhere
Full Story
HOME TECHTech to the Rescue: How to Get Stolen Gadgets Back
Catch any crook who dares steal devices from your home with recording and tracking technology that's easy to use
Full Story
DECORATING GUIDES11 Wonderful Ways to Use Wool Around the Home
Natural and durable, wool is a stylish and practical choice for upholstery, rugs and bedding
Full Story
LIGHTINGYour Guide to Common Light Fixtures and How to Use Them
Get to know pot lights, track lights, pendants and more to help you create an organized, layered lighting plan
Full Story
COLORHow to Use Marsala, Pantone’s 2015 Color of the Year
Pantone digs deep and goes earthy with its selection. Here are ways to make it work in your home
Full Story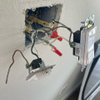
Ron Natalie
mark_anderson_us
Related Professionals
Fairview General Contractors · Hillsborough General Contractors · Lake Forest Park General Contractors · Monroe General Contractors · Mount Laurel General Contractors · Mount Vernon General Contractors · Solon General Contractors · Wallington General Contractors · Wheaton General Contractors · Freeport Solar Energy Systems · Bay Point Home Automation & Home Media · Fort Bragg Home Automation & Home Media · Keller Home Automation & Home Media · Mount Lebanon Home Automation & Home Media · Rowland Heights Home Automation & Home Mediaandyhutch1947Original Author
Ron Natalie
andyhutch1947Original Author
Ron Natalie
sniffdog
Ron Natalie
andyhutch1947Original Author
sniffdog