


Cutting holes in plaster wall for boxes
hrajotte
11 years ago
Sort by:Oldest
Comments (16)
Related Stories

HOME OFFICESQuiet, Please! How to Cut Noise Pollution at Home
Leaf blowers, trucks or noisy neighbors driving you berserk? These sound-reduction strategies can help you hush things up
Full Story
HOUSEKEEPINGQuick Fix: How to Patch a Drywall Hole
Dents and dings disappear, leaving your walls looking brand new, with this fix that even a novice can do
Full Story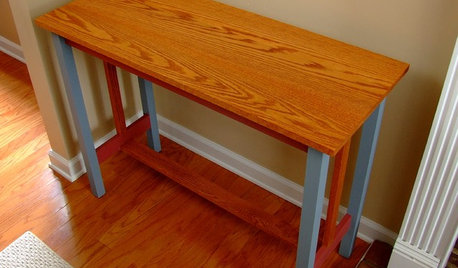
DIY PROJECTSPocket Hole Joinery, the Beginning Woodworker's Best Friend
Make a wide range of sturdy wooden pieces with just this little bit of know-how
Full Story
LIFEGet the Scoop on High-Design Litter Boxes
Unavoidable doesn't have to mean unpleasant; cats and guardians alike will purr over these terrific design solutions for the litter box
Full Story
ORGANIZINGOutside the Box: 18 Unconventional Storage Solutions
You might never think to use household standards in creative ways like these, but you’ll be glad we did
Full Story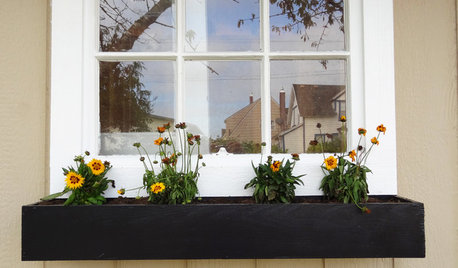
GARDENING GUIDESBuild a Modern Window Planter Box
This simply designed, easy-to-construct and inexpensive DIY window box can give your home or shed just the right touch of color
Full Story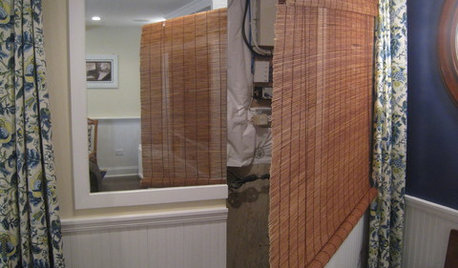
MORE ROOMSFuse Box Takes Cover
Her basement under siege from an unsightly fuse box, one Houzz user fought back with a clever camouflage
Full Story
Handmade Home: Build a Simple Flower Box
Inexpensive wood, a few tools and a little handiwork can yield a fresh look for your windows
Full Story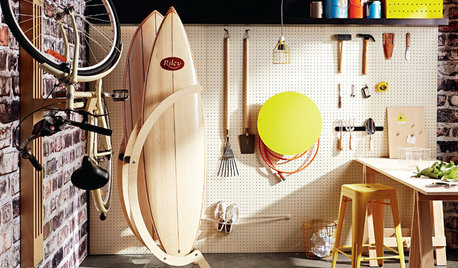
STORAGE18 Rooms Made Better With Pegboard
A grid of tiny holes punched in hardboard can be your versatile best friend in every room
Full Story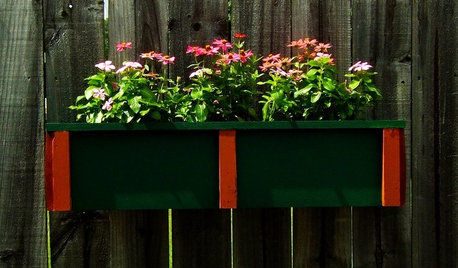
DIY PROJECTSNeat Little Project: A Wooden Planter to Hang Anywhere
Dress up a drab wall or window with this planter box you make yourself. Or just set it on a patio for the easiest 'installation' of all
Full StoryMore Discussions

bus_driver
brickeyee
Related Professionals
Concord Electricians · Bay City General Contractors · Bloomington General Contractors · Dothan General Contractors · Galveston General Contractors · Leon Valley General Contractors · Overlea General Contractors · Prichard General Contractors · Valley Stream General Contractors · Vienna Handyman · South Whittier Solar Energy Systems · Newport Beach Home Automation & Home Media · Olathe Home Automation & Home Media · Potomac Home Automation & Home Media · Saint Augustine Home Automation & Home Medianetlos
brickeyee
Ron Natalie
brickeyee
hrajotteOriginal Author
elltwo
bus_driver
elltwo
brickeyee
hrajotteOriginal Author
hrajotteOriginal Author
dkenny
David1943
brickeyee