


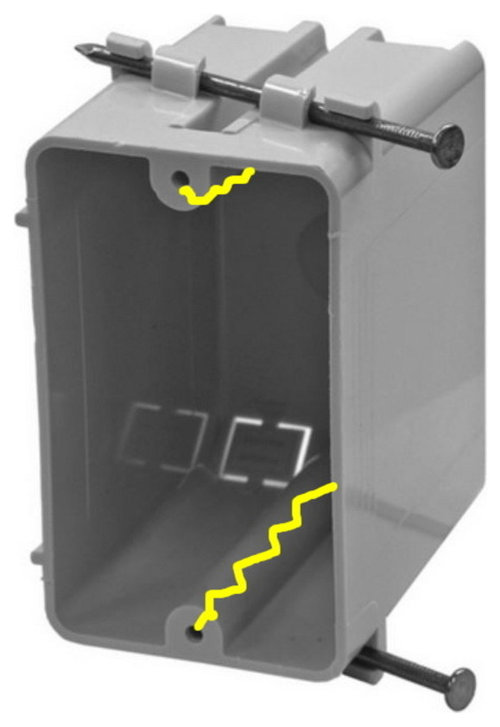
Is there a simple fix for cracked gang box
speaktodeek
10 years ago
Sort by:Oldest
Comments (19)
Related Stories
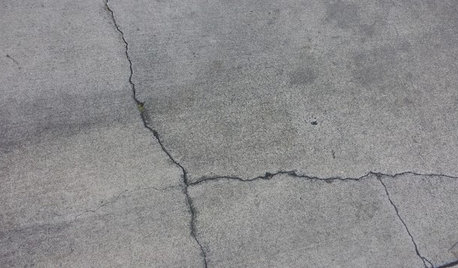
CONCRETEWhy Concrete Wants to Crack
We look at the reasons concrete has a tendency to crack — and what you can do to help control it
Full Story
DIY PROJECTSHow to Fix Up a Thrifted Lamp
Save money and earn DIY cred by rewiring and snazzing up a damaged lamp you scored on the cheap
Full Story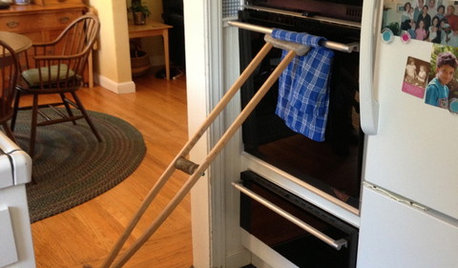
LIFEYou Showed Us: 20 Nutty Home Fixes
We made the call for your Band-Aid solutions around the house, and you delivered. Here's how you are making what's broken work again
Full Story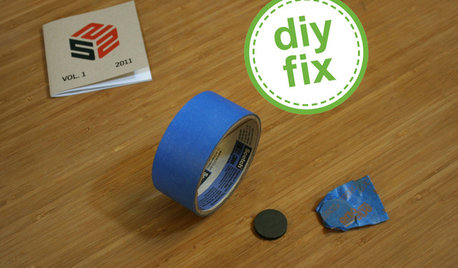
DECORATING GUIDESQuick Fix: Find Wall Studs Without an Expensive Stud Finder
See how to find hidden wall studs with this ridiculously easy trick
Full Story
SELLING YOUR HOUSE5 Savvy Fixes to Help Your Home Sell
Get the maximum return on your spruce-up dollars by putting your money in the areas buyers care most about
Full Story
SELLING YOUR HOUSEFix It or Not? What to Know When Prepping Your Home for Sale
Find out whether a repair is worth making before you put your house on the market
Full Story
GARDENING AND LANDSCAPINGSpring Patio Fix-Ups: 6 Ways to Light Your Outdoor Room
Let the good times roll well into the evening with string lights, sconces, pendants and more to illuminate your patio or deck
Full Story
HOLIDAYSHow to Have a Just-Simple-Enough Holiday
Make this the year you say no to holiday stress and yes to joy and meaning
Full Story
LIFE10 Beautifully Simple Ways to Go Greener in the New Year
You may just find more green in your wallet along the way
Full Story
SIMPLE PLEASURESThe Art of Being Neighborly
Learn the heartfelt gestures that go a long way toward creating a welcoming community
Full StoryMore Discussions


User
Bruce in Northern Virginia
Related Professionals
Sierra Madre Electricians · Bel Air General Contractors · Bryan General Contractors · Champaign General Contractors · Forest Hills General Contractors · Hayward General Contractors · Leominster General Contractors · Palestine General Contractors · Toledo General Contractors · Tuckahoe General Contractors · Warren General Contractors · West Mifflin General Contractors · Williston General Contractors · Emeryville Solar Energy Systems · Springville Home Automation & Home MediaspeaktodeekOriginal Author
hexus
bus_driver
speaktodeekOriginal Author
bus_driver
jimu57
hexus
bus_driver
speaktodeekOriginal Author
speaktodeekOriginal Author
hexus
speaktodeekOriginal Author
speaktodeekOriginal Author
speaktodeekOriginal Author
speaktodeekOriginal Author
bus_driver
speaktodeekOriginal Author