


Replacement Windows vs. New Construction Windows
scoutjr
17 years ago
Sort by:Oldest
Comments (23)
Related Stories
REMODELING GUIDESReplace vs. Restore: The Great Window Debate
Deciding what to do with windows in disrepair isn't easy. This insight on the pros and cons of window replacement or restoration can help
Full Story
Replace Your Windows and Save Money — a How-to Guide
Reduce drafts to lower heating bills by swapping out old panes for new, in this DIY project for handy homeowners
Full Story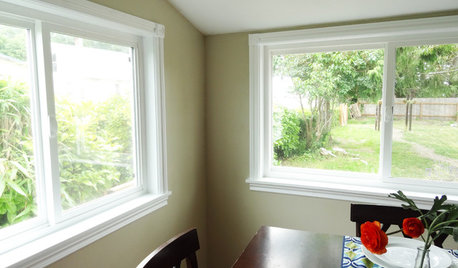
WINDOWSHow to Replace Window Trim
For finishing new windows or freshening the old, window trim gives a polished look with less effort than you may think
Full Story
GREAT HOME PROJECTSHow to Replace Your Lawn With a Garden
New project for a new year: Lose the turfgrass for energy savings, wildlife friendliness and lower maintenance
Full Story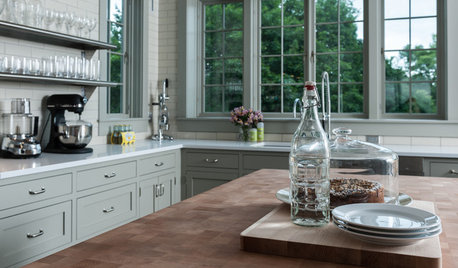
MOST POPULARKitchen Evolution: Work Zones Replace the Triangle
Want maximum efficiency in your kitchen? Consider forgoing the old-fashioned triangle in favor of task-specific zones
Full Story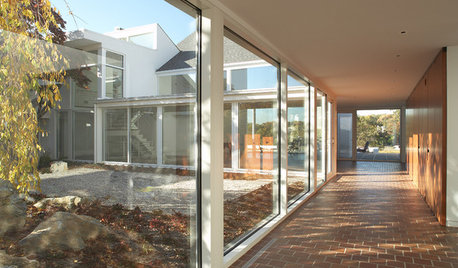
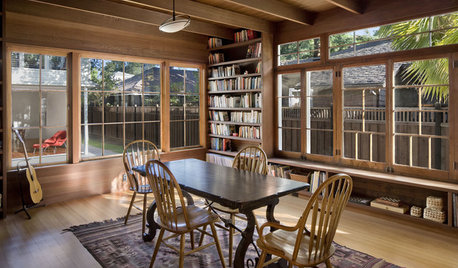
GREAT HOME PROJECTSUpdate Your Windows for Good Looks, Efficiency and a Better View
Great home project: Replace your windows for enhanced style and function. Learn the types, materials and relative costs here
Full Story
WORKING WITH PROSYour Guide to a Smooth-Running Construction Project
Find out how to save time, money and your sanity when building new or remodeling
Full Story
REMODELING GUIDESConstruction Timelines: What to Know Before You Build
Learn the details of building schedules to lessen frustration, help your project go smoothly and prevent delays
Full Story
BUDGETING YOUR PROJECTDesign Workshop: Is a Phased Construction Project Right for You?
Breaking up your remodel or custom home project has benefits and disadvantages. See if it’s right for you
Full Story
BATHROOM DESIGNWindows That Expose Your Bathroom to Light Without Exposing You
Enjoy the best of both worlds with window tricks that give you privacy along with the views and natural light
Full Story
mikie_gw
ginny12
Related Professionals
Brighton Window Contractors · Calabasas Window Contractors · Coconut Grove Window Contractors · Fort Washington Window Contractors · Discovery Bay Window Contractors · Framingham Window Contractors · Brighton General Contractors · Evans General Contractors · Mentor General Contractors · Winton General Contractors · Addison Carpenters · Dallas Carpenters · Hayward Carpenters · Merced Carpenters · South Miami Carpentersguy_exterior_man
ginny12
tumbleweed56
calbay03
scoutjrOriginal Author
akachrisinmass
thull
ginny12
guy_exterior_man
thull
guy_exterior_man
mike35
lakedog
delcogreg
calbay03
brokedownpalace
yung-cheng
mcsbldr
yung-cheng
mcsbldr
susiethecook