


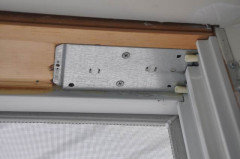
replacing cords on Anderson double hung windows
missy_d1
18 years ago
Featured Answer
Sort by:Oldest
Comments (30)

rjoh878646
18 years agorjoh878646
18 years agoRelated Professionals
San Francisco Window Contractors · Aventura Window Contractors · North Hollywood Window Contractors · Elkridge Window Contractors · East Hanover Interior Designers & Decorators · Van Wert Interior Designers & Decorators · Bloomington General Contractors · Cedar Hill General Contractors · Forest Grove General Contractors · Livermore General Contractors · North Tustin General Contractors · Parsons General Contractors · Pasadena General Contractors · Sheboygan General Contractors · Fruit Cove Carpentersmike35
18 years agomissy_d1
17 years agomike35
17 years agotom_nwnj
15 years agoggltd
14 years agobean42229_yahoo_com
12 years ago
millworkman
12 years agojohncc
12 years agomillworkman
12 years agojohncc
12 years agosnowscrubber_yahoo_com
12 years ago PRO
PROWindows on Washington Ltd
12 years agoDave Kreines
8 years agolast modified: 8 years ago- PRO
Windows on Washington Ltd
8 years ago millworkman
8 years ago- PRO
Windows on Washington Ltd
8 years ago ssbk123480
7 years agosurferdude2
7 years agolast modified: 7 years ago- PRO
Windows on Washington Ltd
7 years ago surferdude2
5 years agolast modified: 5 years agoHU-381711778
3 years ago
Cindy Belleau
3 years agoHU-915142025
2 years agomillworkman
2 years ago- PRO
Windows on Washington Ltd
2 years ago 
Guy Mouras
2 years agoMike
2 years ago

Related Stories

REMODELING GUIDESDouble-Hung Windows Offer Singular Traditional Style
They're efficient. They're visually appealing. They come in many materials and finishes. Is it any wonder double-hung windows are classics?
Full Story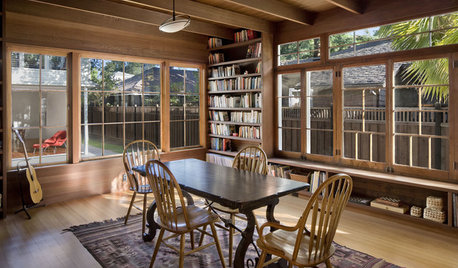
REMODELING GUIDESReplace vs. Restore: The Great Window Debate
Deciding what to do with windows in disrepair isn't easy. This insight on the pros and cons of window replacement or restoration can help
Full Story
Replace Your Windows and Save Money — a How-to Guide
Reduce drafts to lower heating bills by swapping out old panes for new, in this DIY project for handy homeowners
Full Story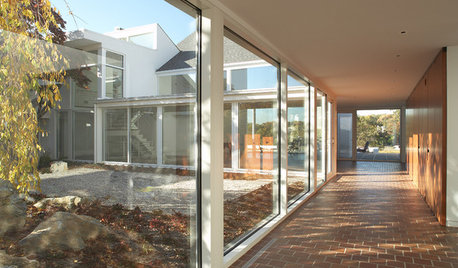
GREAT HOME PROJECTSUpdate Your Windows for Good Looks, Efficiency and a Better View
Great home project: Replace your windows for enhanced style and function. Learn the types, materials and relative costs here
Full Story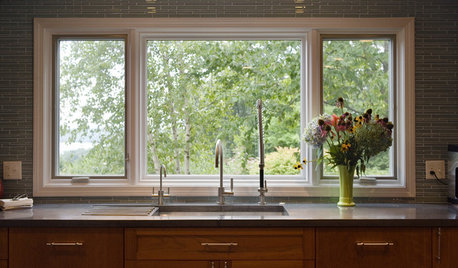
WINDOWSContractor Tips: How to Choose and Install Windows
5 factors to consider when picking and placing windows throughout your home
Full Story
REMODELING GUIDESRenovation Detail: The Casement Window
If heaving open your windows leaves you winded, let the cranks or cam handles of casement windows bring in an easier breeze
Full Story
KITCHEN DESIGNRenovation Detail: The Kitchen Sink Window
Doing dishes is anything but a chore when a window lets you drift off into the view beyond the kitchen sink
Full Story
REMODELING GUIDES9 Creative Window Designs for All Kinds of Spaces
When standard windows just won't cut it, these innovative options are a breath of fresh design air
Full Story
WINDOWSPicture Windows, Chicago-Style
Classic window design brings in big views, fresh air and versatile style
Full Story
REMODELING GUIDESRenovation Detail: The Awning Window
Although they open from the bottom, awning windows are tops at boosting air circulation — even when the rain comes knocking
Full Story

afsa