


Gallery Glass Windows
oceanna
16 years ago
Related Stories
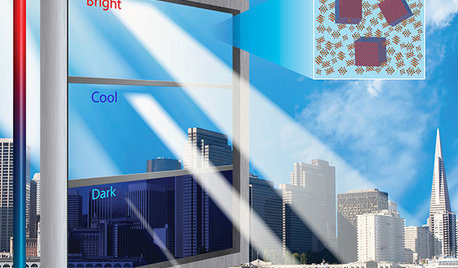
HOME TECHIs It Curtains for Curtains? Smart Glass Eliminates Window Coverings
Windows can now control light and heat through electricity and high-tech formulations, making blinds and shades optional
Full Story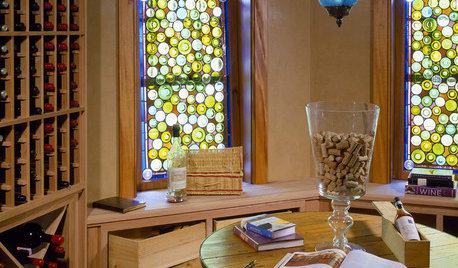
DECORATING GUIDESColor Your Home's View With Stained Glass
Interiors get an enchanting perspective with stained glass windows, doors and fixtures that dapple the light
Full Story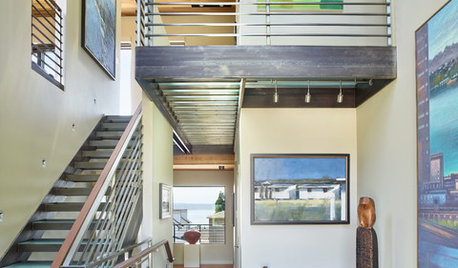
CONTEMPORARY HOMESHouzz Tour: A New Home Designed as a Gallery
A couple’s art collection and spectacular Seattle views shape this warm, contemporary space
Full Story
BUDGET DECORATINGBudget Decorator: A Most Affordable Gallery Wall
Need to fill a wall on the cheap? See how to make use of something pretty cool you may already have
Full Story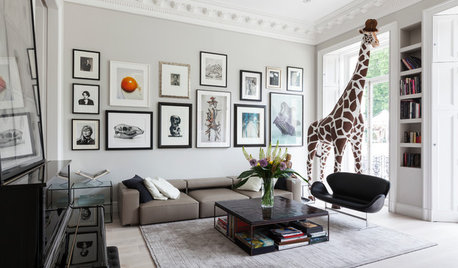
ARTAn Insider’s Guide to Creating the Perfect Gallery Wall
Bring your room to life with these expert tips for grouping artwork and photographs
Full Story
HOUZZ TOURSMy Houzz: Once a Schoolhouse and Church, Now a Home and Art Gallery
Creativity and history come alive in attached 19th-century structures in upstate New York, and the local art community makes a new friend
Full Story
SMALL HOMESMy Houzz: Walls of Art and Glass in a Brooklyn Loft
Eclectic collections, vintage furniture and favorite artworks personalize this 1,000-square-foot open-plan loft
Full Story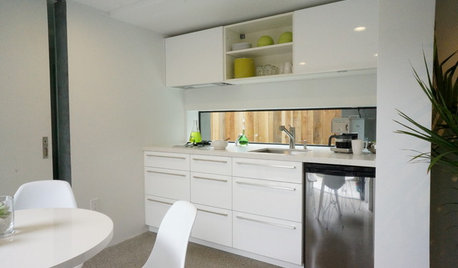
KITCHEN DESIGNPut Your Kitchen in a Good Light With a Window Backsplash
Get a view or just more sunshine while you're prepping and cooking, with a glass backsplash front and center
Full Story
ARCHITECTUREThe Bay Window Goes Modern
Square tubes, cantilevered cubes, mixed glass ... new plays on bay windows are boldly branching out in modern architecture
Full Story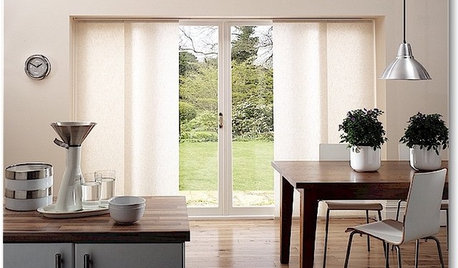
DOORSThe Art of the Window: 12 Ways to Cover Glass Doors
Learn how to use drapes, shutters, screens, shades and more to decorate French doors, sliding doors and Dutch doors
Full Story
painterman_2007
oceannaOriginal Author
Related Professionals
Chambersburg Furniture & Accessories · Redmond Furniture & Accessories · Portage Furniture & Accessories · Potomac Furniture & Accessories · Crestview Interior Designers & Decorators · Costa Mesa Painters · Dearborn Painters · Fort Washington Painters · Galveston Painters · Mastic Painters · Yorba Linda Painters · Shady Hills Painters · Norwood Custom Countertops · North Atlanta Custom Countertops · North Kingstown Custom Countertopsoddie
luvstocraft
anjabee
paintingfool
oceannaOriginal Author