


How do you store your paint containers?
citytransplant(zone5)
14 years ago
Related Stories
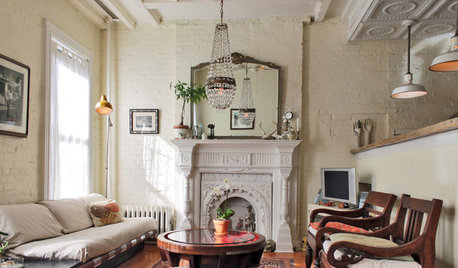
ECLECTIC STYLE5 Reasons to Hit That Secondhand Store
New things have their place, but old things have a history and beauty all their own
Full Story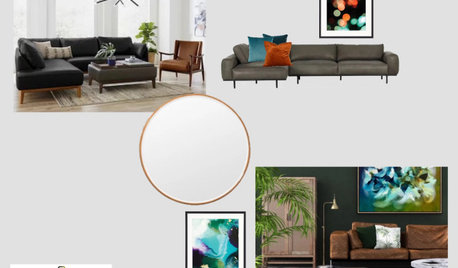
CLOSETS8 Dream Closets Go Beyond Storing Clothes
Yes, they've still got hangers and drawers. But these luxurious dressing rooms also have views, artwork or an added purpose
Full Story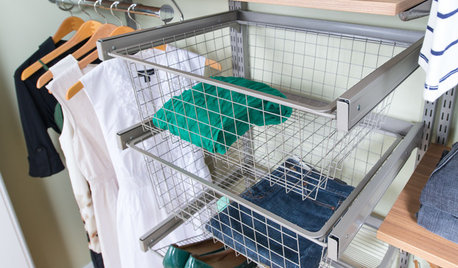
CLOSETSHow to Store Your Clothes to Keep Them Looking Good Longer
Here’s what clothes to fold, what to hang and how to stash your off-season stuff
Full Story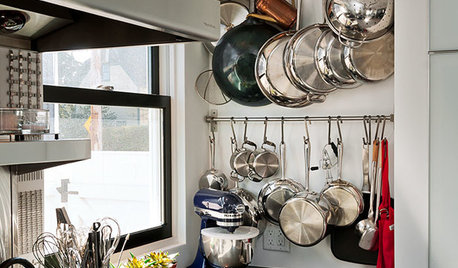
KITCHEN DESIGNHang 'Em or Hide 'Em: 10 Stylish Ways to Store Pots and Pans
Keep cookware neat and at the ready with racks, drawers and creative storage solutions
Full Story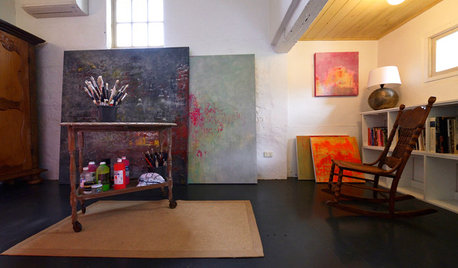
DECORATING GUIDES10 Design Ideas From the Bucket Section of the Hardware Store
These hardworking home essentials will add character galore and keep clutter at bay in modern-rustic style
Full Story
Practical and Pretty Ideas for Storing Linens
Enlist Baskets, Shelves, Armoires and More to Keep Your Towels Tidy
Full Story
KIDS’ SPACES11 Clever Ways to Display and Store Children’s Books
Inspire a love of books in young readers by keeping their beloved stories easy to see and reach
Full Story
WINTER GARDENINGBranches Bring the Winter Spirit to Container Gardens
Add dimension and drama to winter pots with branches from austere to downright colorful
Full Story
PRODUCT PICKSGuest Picks: 20 Fun Ways to Store Bath Toys
Keep bathroom clutter in check with kid-friendly containers, pouches and shelves for bath-time playthings
Full Story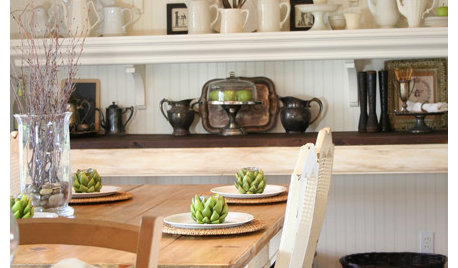
ORGANIZINGHow to Store Your Stuff in Plain Sight
Keep open storage looking smart with the right arrangements and containers
Full StorySponsored
More Discussions
cathy8091
pezabelle
Related Professionals
Glenview Furniture & Accessories · Northridge Furniture & Accessories · Garden City Interior Designers & Decorators · Canton Painters · Damascus Painters · Dearborn Painters · Huntley Painters · Midlothian Painters · Oklahoma City Painters · San Anselmo Painters · South Barrington Painters · Tacoma Painters · Castaic Painters · Jacksonville Custom Countertops · Newport Custom Countertopsluvstocraft
citytransplant(zone5)Original Author
paintingfool
kraftymom
citytransplant(zone5)Original Author
luvstocraft
pezabelle
citytransplant(zone5)Original Author
luvstocraft
Vique_Pa
luvstocraft
amandasgramma
luvstocraft
paintingfool