


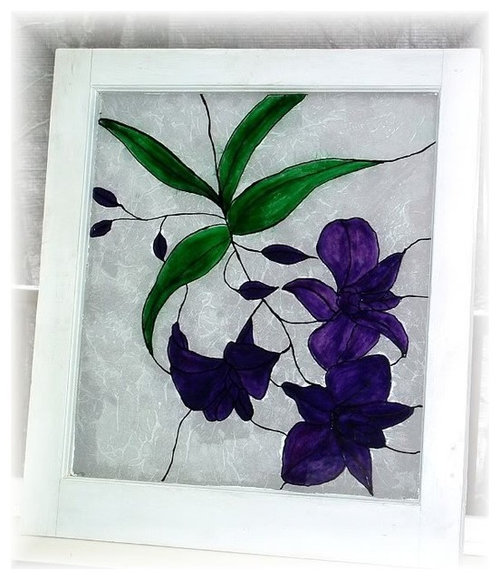
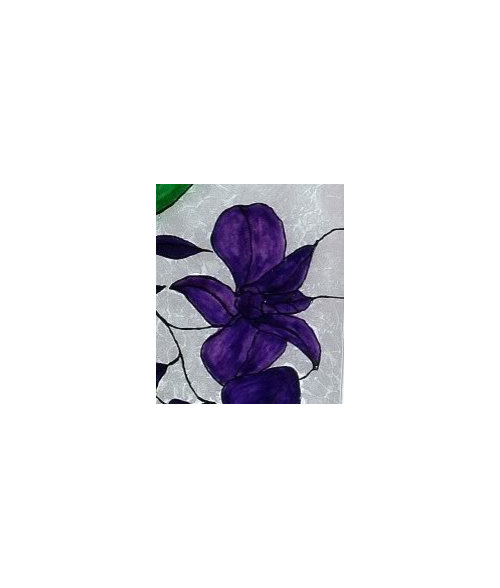
Faux stained glass project
oddie
16 years ago
Related Stories
DECORATING GUIDESColor Your Home's View With Stained Glass
Interiors get an enchanting perspective with stained glass windows, doors and fixtures that dapple the light
Full Story
Stained Glass for Every Style
Make your home glow with light and color from modern or traditional stained glass
Full Story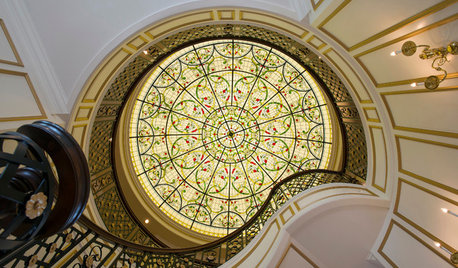
WINDOWSFlying Colors: Stained Glass Through the Ages to Today
Ancient palaces sported it. Monks were distracted by it. But today's stained glass designs may be more glorious than ever
Full Story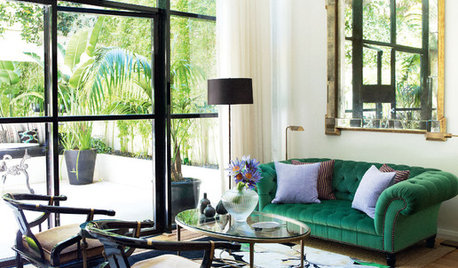
WINDOWSBlack-Framed Windows — Faux Pas or Fabulous?
Find out if black frames would be a great fit for your home — or better to avoid
Full Story
HOUSEKEEPINGHow to Clean Grout — Stains and All
If your grout is grossing you out, this deep-cleaning method will help it look new again
Full Story
DIY PROJECTSCool Tip: Mimic Stain With a DIY Color Wash
Get the look of an oil-based stain without all the bother, using this easy wash made with paint
Full Story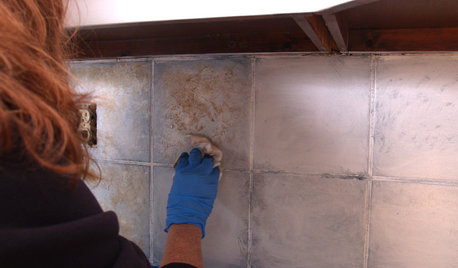
DIY PROJECTSDIY Backsplash Makeover: Get a New Tile Look for Less Than $50
Give old tile a painted faux-stone facade for a brand-new look at a superaffordable price
Full Story
DIY PROJECTS29 Home Projects to Make You a DIY Superstar
Patch up holes, turn trash to treasure, erase stains ... these doable DIY projects will better your home and boost your ego
Full Story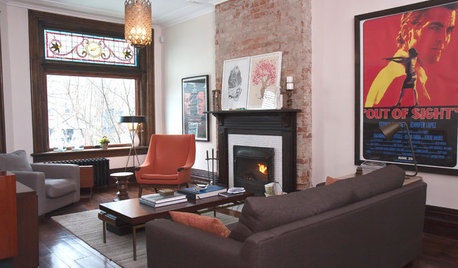
HOUZZ TOURSMy Houzz: An 1890s Victorian in Toronto Goes Modern and Open
Out went the closed-in vibe, but much stayed on in this Canadian home's renovation: stained glass, woodwork and a lot of personality
Full Story
FENCES AND GATESHow to Install a Wood Fence
Gain privacy and separate areas with one of the most economical fencing choices: stained, painted or untreated wood
Full Story
Sponsored
More Discussions
Sandi_W
sjarz
Related Professionals
Houston Furniture & Accessories · Detroit Furniture & Accessories · Rancho Santa Margarita Furniture & Accessories · Jacinto City Furniture & Accessories · Bridgewater Painters · Leesburg Painters · Carlsbad Painters · Clayton Painters · Dumont Painters · Gardena Painters · Tamarac Painters · Wheaton Painters · Palo Alto Custom Countertops · Fruit Cove Custom Countertops · Davie Custom CountertopsoddieOriginal Author
Sandi_W
luvstocraft
anjabee
oddieOriginal Author
Sandi_W
oddieOriginal Author
annabell40
oddieOriginal Author