


Reverse mosaic--my new love
loribee2
13 years ago
Related Stories
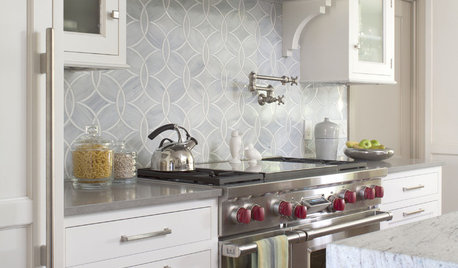
KITCHEN DESIGN8 Top Tile Types for Your Kitchen Backsplash
Backsplash designs don't have to be set in stone; glass, mirror and mosaic tiles can create kitchen beauty in a range of styles
Full Story
BATHROOM DESIGNGreen and Clean: Ecofriendly Bath Floors
Foot-massaging pebble tile, beautiful recycled glass and more can help make your bathroom beautiful and earth friendly
Full Story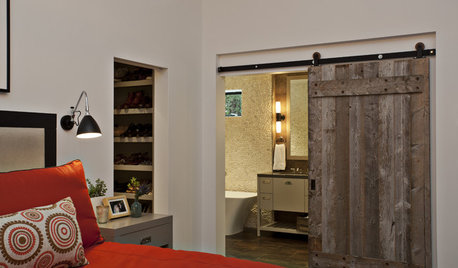
ROOM OF THE DAYRoom of the Day: Roughing Up a Contemporary Master Bath
Natural materials and toothy textures help a sleek bathroom fit a rustic house
Full Story
KITCHEN DESIGN7 Big Ideas for Small Kitchens and Baths
Make the Details Count and Your Small Space Will Shine
Full Story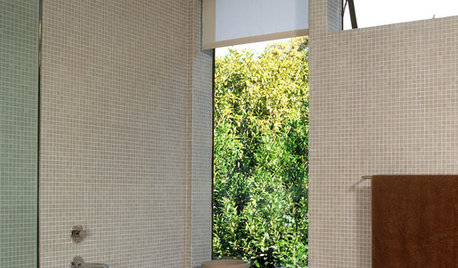
BATHROOM DESIGNFloor-to-Ceiling Tile Takes Bathrooms Above and Beyond
Generous tile in a bathroom can bounce light, give the illusion of more space and provide a cohesive look
Full Story
HOUZZ TOURSMy Houzz: European Heritage Animates an Illinois Home
An art-loving family pays tribute to their Lithuanian roots with one-of-a-kind traditional folk pieces and hand-crafted collectibles
Full Story
KITCHEN DESIGN10 Gorgeous Backsplash Alternatives to Subway Tile
Artistic installations, back-painted glass and pivoting windows prove there are backsplash possibilities beyond the platform
Full Story
MOST POPULAR7 Soothing Spaces: How to Use Color to Create Calm at Home
Started your new year on the wrong foot? Feeling the February blahs? Maybe you need a color fix in your home
Full Story
MOST POPULARHow to Remodel the Laundry Room
Use this step-by-step guide to figure out what you want and how to make it happen
Full Story
KITCHEN DESIGNMix and Match Kitchen Materials for a Knockout Design
Give your kitchen unexpected flavor by combining wood, stone, glass and more. Here’s how to get the mix right
Full StorySponsored
silvamae
loribee2Original Author
Related Professionals
East Millcreek Glass & Shower Door Dealers · Homestead Glass & Shower Door Dealers · Hutto Window Contractors · Wareham Interior Designers & Decorators · Appleton Custom Closet Designers · Fresno Custom Closet Designers · Kearns Custom Closet Designers · New Lenox Custom Closet Designers · Tavares Custom Closet Designers · Baltimore Window Contractors · Framingham Window Contractors · Kuna Window Contractors · Tamarac Window Contractors · Trinity Window Contractors · Watsonville Window Contractorstexaswild
nanatricia
shrillmtb
angs_pool
Calamity_J
laurastheme
loribee2Original Author
laurastheme
silvamae
loribee2Original Author