


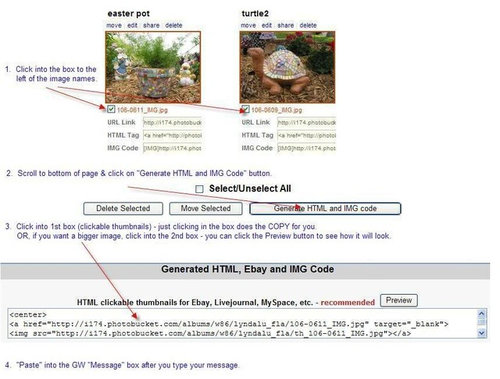
Photo Instructions
lyndalu
16 years ago
Related Stories
LATEST NEWS FOR PROFESSIONALSHow to Make the Most of Your Photos on Houzz
Increase visibility for your hard work by choosing the right photo size, adding keywords, answering questions and more
Full Story
KITCHEN DESIGNPhoto Styling the Kitchen with Food
Want to show off your kitchen? Add some instant culinary color
Full Story
CURB APPEAL77 Front Doors to Welcome You Home
Crossing the threshold is an event with these doors in a gamut of styles
Full Story
HOME TECHPicture This: Your Digital Photos Deserve Frames Too
Decorate with family memories — and swap them out in an instant — with frames made just for showing and sharing digital photos
Full Story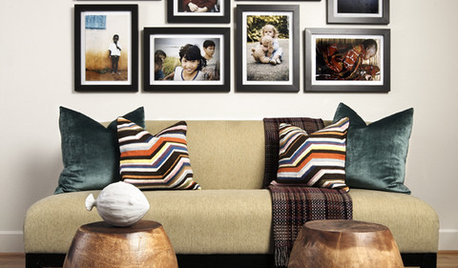
DECORATING GUIDES20 Great Ways to Display Family Photos
Turn Some Favorite Memories Into an Art Wall You'll Cherish
Full Story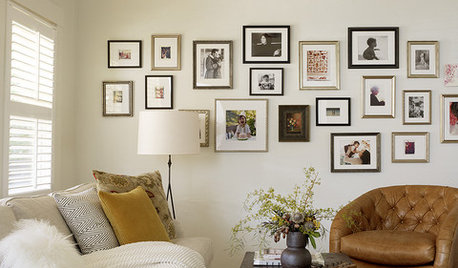
LIFEEdit Your Photo Collection and Display It Best — a Designer's Advice
Learn why formal shots may make better album fodder, unexpected display spaces are sometimes spot-on and much more
Full Story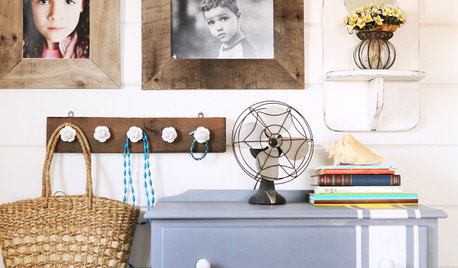
DIY PROJECTSTurn a Wooden Pallet Into Unique Photo Frames
Free wood? We're so in. Salvage a pallet or other cast-off wood to make delightfully distressed frames that fit almost any decor
Full Story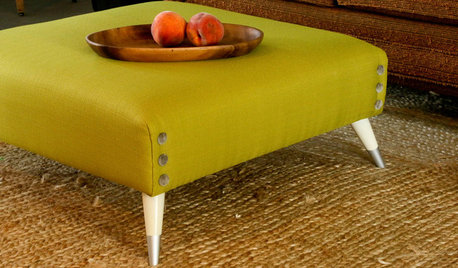
DIY PROJECTSTurn a Shipping Pallet Into a Stylish Ottoman
Get the step-by-step instructions for upholstering your own mod living room centerpiece
Full Story
ACCESSORIESWords to Live By: A Little Text for Your Wall
A few choice words in your design can instruct, entertain and mystify
Full Story
MY HOUZZHouzz Call: Show Us Your Home!
Is your home feature worthy? Share photos of your house and it could be featured on Houzz
Full Story
ladyronnie
sunshine_funshine
Related Professionals
Ashburn Glass & Shower Door Dealers · Malden Glass & Shower Door Dealers · Miami Glass & Shower Door Dealers · Edmonds Window Contractors · Fernandina Beach Window Contractors · Indian Creek Window Contractors · Berkley Custom Closet Designers · Fort Worth Custom Closet Designers · Mesa Custom Closet Designers · Thornton Custom Closet Designers · Hacienda Heights Custom Closet Designers · Jacksonville Window Contractors · East Los Angeles Window Contractors · Leicester Window Contractors · West Springfield Window Contractorsnicethyme
yellow-rose
bamasusanna
lyndaluOriginal Author
bamasusanna
sunshine_funshine
barbfrizzell1955
nicethyme
ladyronnie
mmqchdygg
shrty411
bamasusanna
bamasusanna
crackpotannie
crackpotannie
crackpotannie
texaswild
texaswild
bamasusanna
crackpotannie
lyndaluOriginal Author
barbfrizzell1955
d3bbi
nicethyme
lyndaluOriginal Author
lindee
bamasusanna
crackpotannie
nicethyme
sunshine_funshine
ladyronnie
ladyronnie
bamasusanna
ladyronnie
lyndaluOriginal Author
bamasusanna
lyndaluOriginal Author
crackpotannie
lyndaluOriginal Author
ladyronnie
sunshine_funshine
shrty411
kayjones