


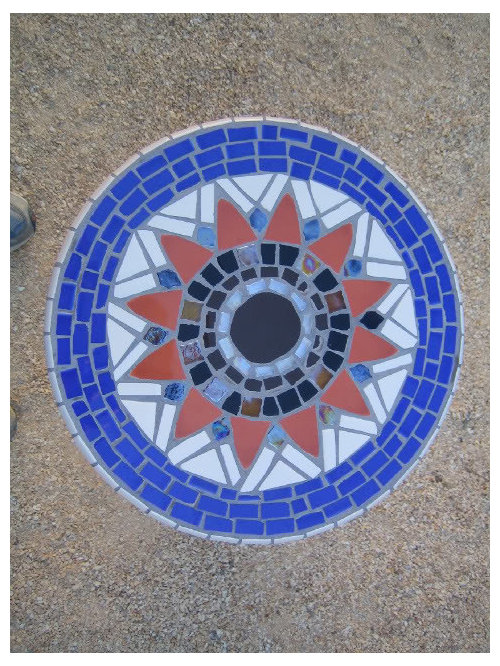
The garden stool is done!
loribee2
13 years ago

Related Stories
DECORATING GUIDESBean There, Done That: Coffee Table Alternatives
Get creative with these ideas for salvaged and DIY pieces that will get people talking
Full Story
DECLUTTERINGGet It Done: Clean Out Your Bedroom Closet
You can do it. Sort, purge, clean — and luxuriate in all the extra space you’ll gain — with this motivating, practical how-to
Full Story
GARDENING GUIDESMonochromatic Garden Magic Done 7 Ways
Discover intriguing ways to use color in your garden by unlocking the secrets of monochromatic design
Full Story
OUTBUILDINGSGet It Done: Overhaul and Organize Your Garden Shed
Consider these tips for outdoor storage space that’s accessible and attractive
Full Story
FURNITUREGlobal Icons: Chinese Garden Stools
See How to Use These Great Ceramic Side Tables Inside and Out
Full Story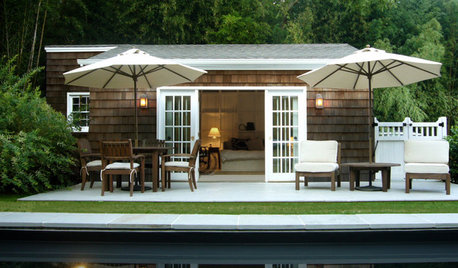
WINTER GARDENINGGet It Done: Winterize Your Patio
Let Sandy be a reminder for the rest of you: Time to clean, stow and protect outdoor furniture and accessories
Full Story
KITCHEN DESIGNKitchen Islands: Pendant Lights Done Right
How many, how big, and how high? Tips for choosing kitchen pendant lights
Full Story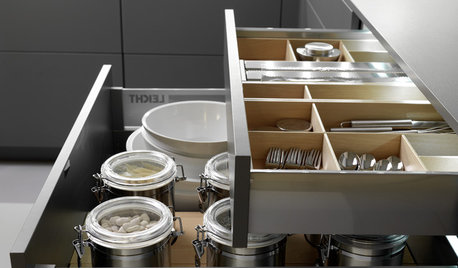
KITCHEN DESIGNGet It Done: Organize Your Kitchen Drawers
Clear 'em out and give the contents a neat-as-a-pin new home with these organizing and storage tips
Full Story
KITCHEN STORAGEGet It Done: How to Clean Out the Pantry
Crumbs, dust bunnies and old cocoa, beware — your pantry time is up
Full Story
HOUSEKEEPINGGet It Done: Store Decorations and Tidy Up Postholidays
Move on to New Year's with a clear conscience, knowing you've recycled thoughtfully and packed carefully to make setup next year easy
Full StorySponsored
texaswild
loribee2Original Author
Related Professionals
Martinez Glass & Shower Door Dealers · Central Islip Window Contractors · Edwardsville Window Contractors · Hawaiian Gardens Window Contractors · Marshfield Window Contractors · Aspen Hill Interior Designers & Decorators · Wanaque Interior Designers & Decorators · Aliso Viejo Custom Closet Designers · Appleton Custom Closet Designers · Vista Custom Closet Designers · Marietta Window Contractors · Baileys Crossroads Window Contractors · Holly Hill Window Contractors · Poinciana Window Contractors · Two Rivers Window Contractorsnanatricia
dtpforu
jenel
loribee2Original Author
oldcrafty
loribee2Original Author
silvamae
calinromania
flagtruck
angs_pool