


Klinger inspired Seashell light shade
Mermaid
15 years ago


Sort by:Oldest
Comments (17)
Related Stories
DECORATING GUIDESSummer Style: 20 Fresh Ways to Bring in the Season
From surfboards and seashells to mason jars and hammocks, keep that laid-back vibe going through summer and beyond
Full Story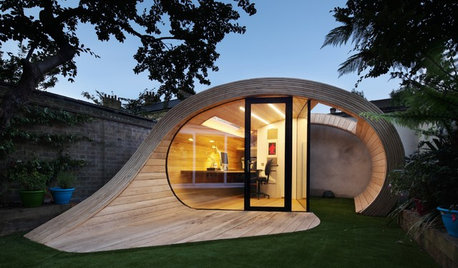
OUTBUILDINGSWorld of Design: 11 Inspiring Sheds From Santa Barbara to Stockholm
Outbuildings from around the world show how sheds and cottages set the scene for everything from baking in a sauna to beekeeping
Full Story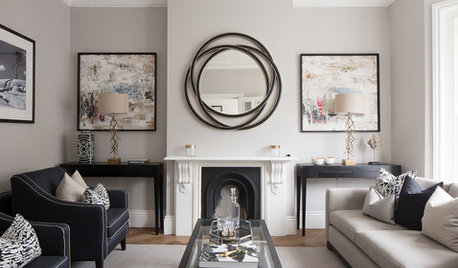
MOST POPULARWhat’s Your Neutral: Beige or Gray?
A designer shares 10 tips for using the neutral shade that works best for you
Full Story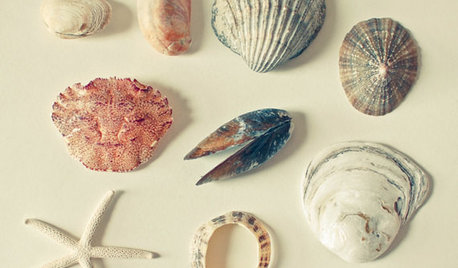
DECORATING GUIDESNature’s Color Wisdom: Lessons on Pink From the Great Outdoors
Leave your assumptions about pink at the princess playhouse door. Head outside instead for shades from shocking to subtle
Full Story
LIGHTINGThe Great Unsung Storyteller in a Room
A statement lamp can bring artistry, history and personality to your interior. Which of these styles speaks to you?
Full Story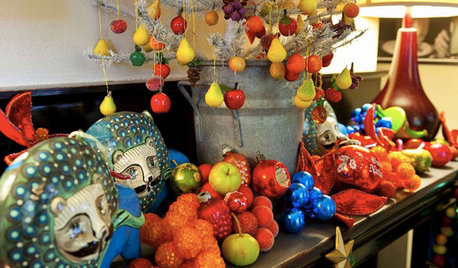
HOLIDAYS25 Gorgeous Holiday Mantels by Houzzers
Laden with boughs, lights and even lemons, these decorated fireplace mantels show a festive Christmas spirit and a creative approach
Full Story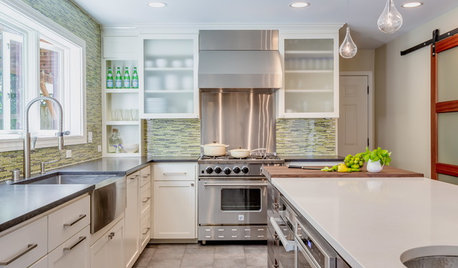
KITCHEN DESIGNKitchen of the Week: Taking Over a Hallway to Add Needed Space
A renovated kitchen’s functional new design is light, bright and full of industrial elements the homeowners love
Full Story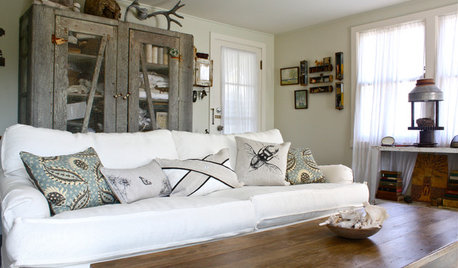
HOUZZ TOURSMy Houzz: 500-Square-Foot Charmer in Santa Cruz
Dreamy whites, antique finds and nature-inspired decor fill an interior designer's cozy lagoon-side home
Full Story
DECORATING GUIDESGreat Color Palettes: 8 Hot Bedroom Color Schemes
Go spicy, mild or a mix of both with warm and cozy hues in your bedroom
Full Story
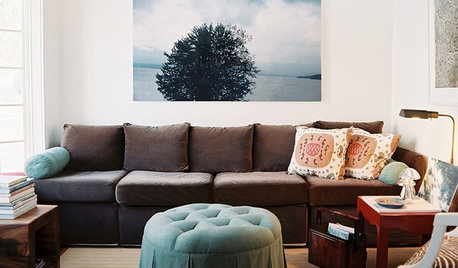
PRODUCT PICKSGuest Picks: Get Beachy With a Casual Coastal Living Room
Live easy in a room full of natural textures and colors borrowed from the sand and sea
Full Story
katkerri
shrty411
Related Professionals
Toms River Glass & Shower Door Dealers · Windsor Glass & Shower Door Dealers · Boise Window Contractors · Dayton Window Contractors · Mount Kisco Window Contractors · Fort Worth Custom Closet Designers · Santa Monica Custom Closet Designers · Shrewsbury Custom Closet Designers · West Hollywood Custom Closet Designers · Conyers Window Contractors · Coral Shores Window Contractors · Graham Window Contractors · Oviedo Window Contractors · Redwood City Window Contractors · Snoqualmie Window ContractorsCalamity_J
texaswild
MermaidOriginal Author
Dottie B.
MermaidOriginal Author
cindiloo
lovemosaics
texaswild
MermaidOriginal Author
texaswild
charocfl
MermaidOriginal Author
katishooked
bettycbowen
texaswild