Here's what I've been up to lately . . .
silvamae
9 years ago
Related Stories

LIFELate Again? Eliminate the Things Holding You Up in the Morning
If you find yourself constantly running late for appointments, work and get-togethers, these tips could help
Full Story
SMALL HOMES16 Smart Ideas for Small Homes From People Who’ve Been There
Got less than 1,000 square feet to work with? These design-savvy homeowners have ideas for you
Full Story
PRODUCT PICKSGuest Picks: You've Been Served
Serving utensils that complement every entertaining style can elevate even an everyday meal to a memorable event
Full Story
DECORATING GUIDESThe Dumbest Decorating Decisions I’ve Ever Made
Caution: Do not try these at home
Full Story
MOVINGRelocating? Here’s How to Make the Big Move Better
Moving guide, Part 1: How to organize your stuff and your life for an easier household move
Full Story

GARDENING GUIDESKeep Your Cool in the Garden — Here’s What to Do in August
Don’t let summer’s heat go to your head. These U.S. gardening guides will help you make sensible choices for all of your plantings
Full Story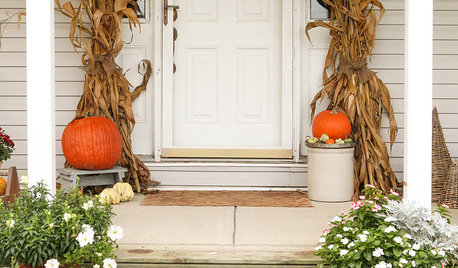
FALL AND THANKSGIVINGIt's Not Too Late to Decorate: Minimalist Fall Decor
No need to go all-out with autumn decorations. Nod to the season with just a few well-placed pumpkins and flowers
Full Story
KITCHEN CABINETSChoosing New Cabinets? Here’s What to Know Before You Shop
Get the scoop on kitchen and bathroom cabinet materials and construction methods to understand your options
Full Story
PRODUCT PICKSGuest Picks: What Could Your Kids Dream Up Here?
Create a crafting corner with these art supplies and furnishings, and watch eager imaginations take off
Full StorySponsored


loribee2
silvamaeOriginal Author
Related Professionals
Barrington Glass & Shower Door Dealers · Kissimmee Glass & Shower Door Dealers · Tallahassee Glass & Shower Door Dealers · Dallas Window Contractors · Town 'n' Country Window Contractors · Annapolis Window Contractors · Cutler Ridge Window Contractors · Mansfield Interior Designers & Decorators · Detroit Custom Closet Designers · Fort Collins Custom Closet Designers · Weehawken Custom Closet Designers · Mission Viejo Custom Closet Designers · Huntley Window Contractors · Mableton Window Contractors · Santa Cruz Window Contractorsnanatricia
loribee2
toomuchglass
oldcrafty
silvamaeOriginal Author
brokenbitmosaics
barbfrizzell1955
hoosierquilt USDA 10A Sunset 23 Vista CA
silvamaeOriginal Author
hoosierquilt USDA 10A Sunset 23 Vista CA
silvamaeOriginal Author
silvamaeOriginal Author