


mosaic over concrete patio - large project
phreckless
17 years ago
Related Stories

REMODELING GUIDESConcrete Driveways: Poring Over the Pros and Cons
Concrete adds smooth polish to driveways and a sleek look to home exteriors, but here are the points to ponder before you re-surface
Full Story
DECORATING GUIDESThe Faces Have It: Large Portraits Go Over Big
Oversize visages of celebrities and mere mortals make for double-take drama in interiors
Full Story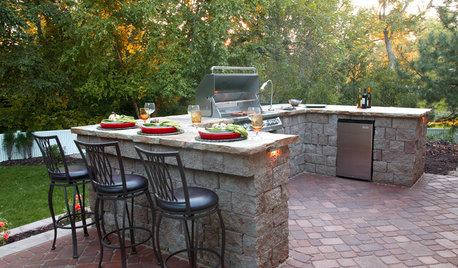
MOST POPULAR13 Upgrades to Make Over Your Outdoor Grill Area
Kick back on your patio or deck with a grill that focuses on fun as much as function
Full Story
GREAT HOME PROJECTSHow to Tear Down That Concrete Patio
Clear the path for plantings or a more modern patio design by demolishing all or part of the concrete in your yard
Full Story
PATIOSLandscape Paving 101: Cast-in-Place Concrete
A construction standard, cast-in-place concrete can be used for a wide variety of project types
Full Story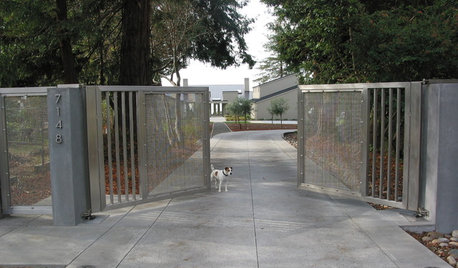
GARDENING AND LANDSCAPINGHouzz Tour: Indoor-Outdoor Harmony Over the Pacific
Landscaping for Wind, Water, Earth, Sky ... and Bocce Ball and Pizza Oven
Full Story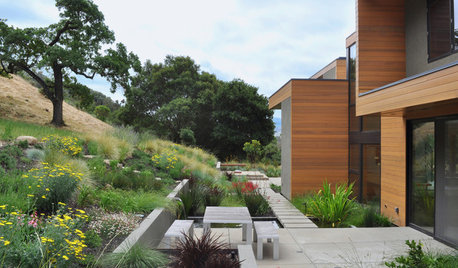
LANDSCAPE DESIGNOutdoor Style: Creative Ways With Classic Concrete
Have you cast concrete aside as being too dull or crack-prone? Learn about new design options along with the basics of using it outside
Full Story
DECORATING GUIDESMosaic Tile Designs That’ll Thrill You to Bits
Whether you go for simple stones or imaginative expressions, a mosaic can turn any surface into a work of art
Full Story
DECORATING GUIDESMosaics Bring a Classical Art Form Home
Tile Art Adds Personal Style to a Backsplash, Bathroom, Fireplace or Patio
Full Story
WORKING WITH PROSInside Houzz: An Art Mosaic Wall Banishes Dining Room Gloom
A glass mosaic created by Houzz pros gives a San Diego couple's condo a major design boost
Full Story
toomuchglass
andrea_san_diego
Related Professionals
Homestead Glass & Shower Door Dealers · Lynnwood Glass & Shower Door Dealers · Tukwila Glass & Shower Door Dealers · Hutto Window Contractors · Kearns Window Contractors · Westchester Window Contractors · La Grange Park Custom Closet Designers · Tallahassee Custom Closet Designers · Orangevale Custom Closet Designers · Dayton Window Contractors · Granite City Window Contractors · Meridian Window Contractors · Missoula Window Contractors · Plainview Window Contractors · Merriam Window ContractorsCalamity_J
gertrudemuramoto_hotmail_com
meandmydawg_cableone_net
phrecklessOriginal Author
shrty411
klinger
Calamity_J
barbfrizzell1955
d3bbi
crystal01
bamasusanna
texaswild
jaspersmommy
rosemarythyme
shellybelly26
stjohnsgypsy
chickeemama
phrecklessOriginal Author
madhabitz
phrecklessOriginal Author
madhabitz
bamasusanna
lyndalu
texaswild
shellybelly26
carolyncarmel