


Push and Squish, Oui
mfbpa
10 years ago
Sort by:Oldest
Comments (8)
Related Stories
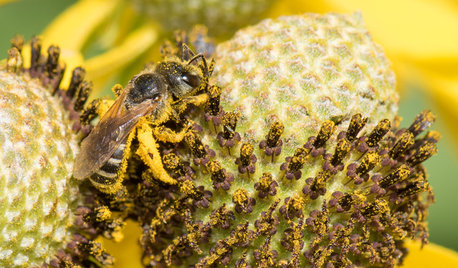
GARDENING GUIDESWelcome Sweat Bees to Your Garden Throughout the Growing Season
Look before you swat! These friendly sweat bees will feed on your sweat on a hot summer day, but their main buffet is flowers
Full Story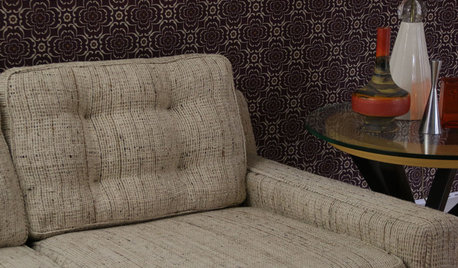
UPHOLSTERYFurniture Clinic: End the Curse of Slouchy Couch Cushions
Prolong the life of your couch with this inexpensive fix that’s so easy, even a beginning sewer can do it
Full Story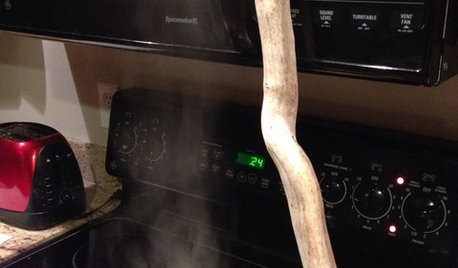
LIFEHouzz Call: Show Us Your Nutty Home Fixes
If you've masterminded a solution — silly or ingenious — to a home issue, we want to know
Full Story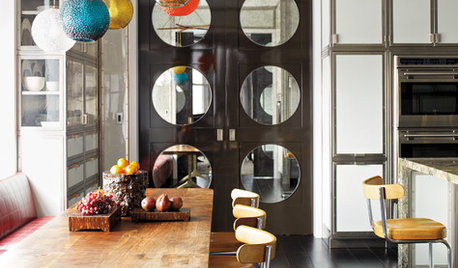
KITCHEN DESIGNTrend Alert: Swinging Doors Can't Miss for Convenience
Create accessibility and elegance in one fell swoop with a swinging door modernized for today's homes
Full Story
FEEL-GOOD HOME6 Design Ideas for Happy Pets
Keep your dog or cat feeling safe and in high spirits, and you'll all feel more at peace. Here's how
Full Story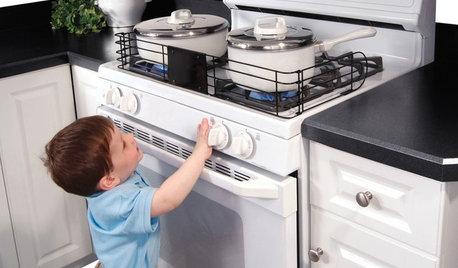
HEALTHY HOMEHow to Childproof Your Home: Expert Advice
Safety strategies, Part 1: Get the lowdown from the pros on which areas of the home need locks, lids, gates and more
Full Story
THE HARDWORKING HOMEHouzz Call: Show Us Your Hardworking Home Office
We’re looking to showcase workspaces that are well organized, tech savvy and comfortable. Share your pictures!
Full Story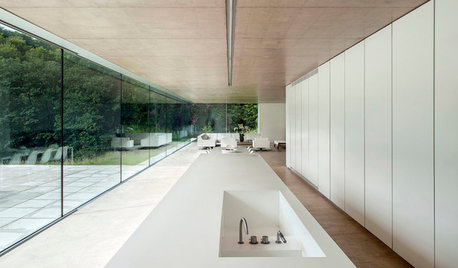
KITCHEN ISLANDSWhat to Consider With an Extra-Long Kitchen Island
More prep, seating and storage space? Check. But you’ll need to factor in traffic flow, seams and more when designing a long island
Full Story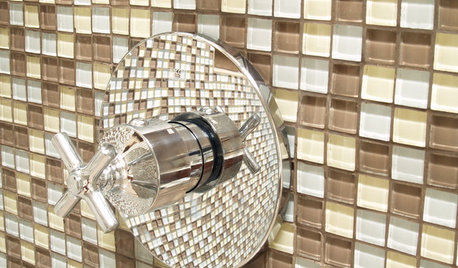
BATHROOM DESIGNConvert Your Tub Space to a Shower — the Fixtures-Shopping Phase
Step 2 in swapping your tub for a sleek new shower: Determine your mechanical needs and buy quality fixtures
Full Story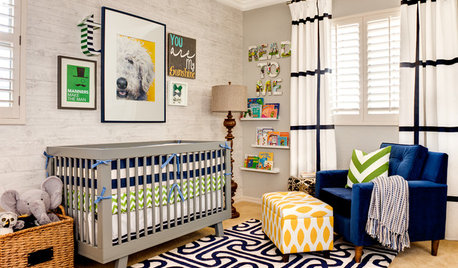
KIDS’ SPACESSee an Arizona Nursery That’ll Never Get Old
Age appropriate but not childish, this baby boy’s room will grow with him without a redesign
Full Story
texaswild
mfbpaOriginal Author
mfbpaOriginal Author
texaswild
barbfrizzell1955
wackyweeder
mfbpaOriginal Author
texaswild