


Mosaic Sphere Fountain
Imsunflwr1
12 years ago
Sort by:Oldest
Comments (96)
Related Stories
DECORATING GUIDESRound Out Your Home and Garden With Spheres
Circular pillows, spheres as art and rounded lighting fixtures are just a few ways to add graceful curves to any decor or landscape
Full Story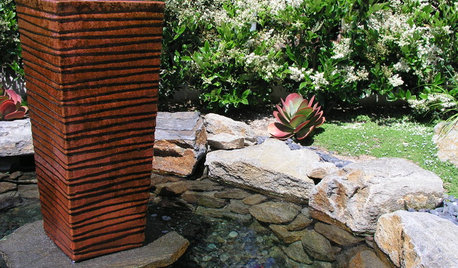
GARDENING AND LANDSCAPING35 Fabulous Fountains
Cool Off and Be Soothed With a Little Water Music In Your Garden
Full Story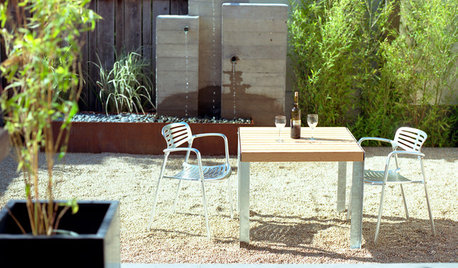
GARDENING AND LANDSCAPINGOutdoor Fountains Bring the River to You
Chill out with a custom or kit water feature for your patio or yard — there's even one for a furry friend
Full Story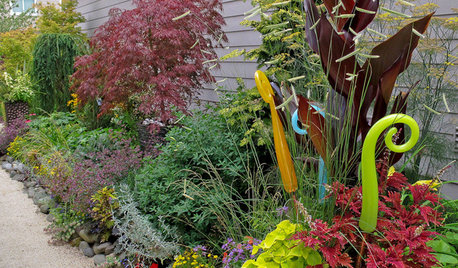
GARDENING AND LANDSCAPINGMake Your Garden Sparkle With Glass Art
Bring color, shine and even delightful sounds to your garden with glass sculptures, chimes and gazing spheres
Full Story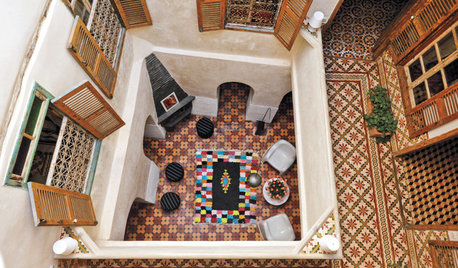
GARDENING AND LANDSCAPING10 Gorgeous Courtyards From Mod to Moroccan
Some have pools or fountains; some are awash only with greenery. These courtyards run the gamut of styles but have alluring looks in common
Full Story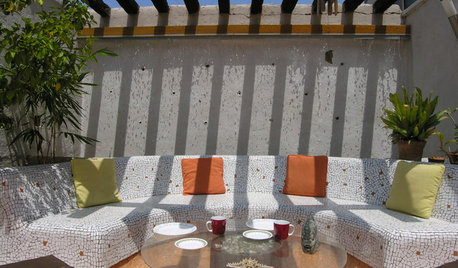
LANDSCAPE DESIGN13 Extra-Cool Things to Do With a Backyard
Sure, you could just plop down on a blanket. Or you could create a dragon’s lair, a mosaic gallery, a party in a jungle ...
Full Story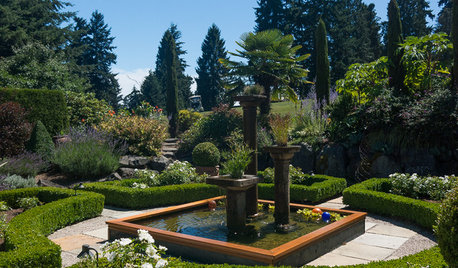
LANDSCAPE DESIGNGet a Mediterranean-Style Garden Even Far From the Sea
Some lavender here, a water feature there, and your garden just might feel transported to a balmy seaside locale
Full Story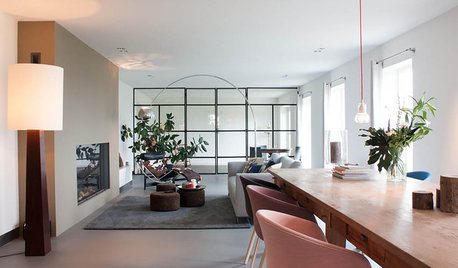
HOUZZ TOURSMy Houzz: Turning a Netherlands Barn Into a Country Home
Once a place for chilling milk, this Dutch home now lets the owners chill out in easygoing comfort
Full Story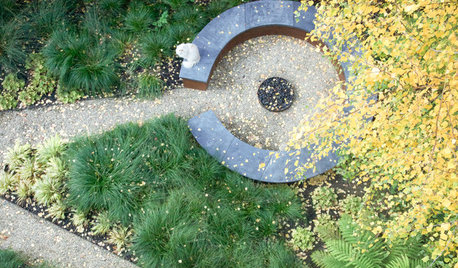
LANDSCAPE DESIGNCircle Round for Great Garden Design
Circular thinking can be a boon in creating eye-catching landscapes. Here's how to put the shape to best use
Full Story
LANDSCAPE DESIGNMake Your Garden Come Alive With a Sense of Movement
Master the illusion of motion for an exceptional garden that stirs emotions and the imagination
Full StorySponsored
Your Custom Bath Designers & Remodelers in Columbus I 10X Best Houzz
Imsunflwr1Original Author
rock_oak_deer
Related Professionals
Ashburn Glass & Shower Door Dealers · Barrington Glass & Shower Door Dealers · Palm Beach Gardens Glass & Shower Door Dealers · Boston Window Contractors · Bay Village Window Contractors · Goulds Window Contractors · Laurel Window Contractors · Naples Window Contractors · Opa Locka Window Contractors · Vero Beach Window Contractors · Milton Custom Closet Designers · New Lenox Custom Closet Designers · Seattle Custom Closet Designers · Ewa Beach Custom Closet Designers · Alexandria Window ContractorsCalamity_J
Imsunflwr1Original Author
texaswild
Imsunflwr1Original Author
loribee2
Imsunflwr1Original Author
loribee2
Imsunflwr1Original Author
texaswild
Imsunflwr1Original Author
loribee2
texaswild
Imsunflwr1Original Author
klinger
Imsunflwr1Original Author
texaswild
Imsunflwr1Original Author
texaswild
Imsunflwr1Original Author
texaswild
Imsunflwr1Original Author
concretenprimroses
Imsunflwr1Original Author
concretenprimroses
Imsunflwr1Original Author
klinger
Imsunflwr1Original Author
klinger
loribee2
Imsunflwr1Original Author
loribee2
Imsunflwr1Original Author
Imsunflwr1Original Author
concretenprimroses
loribee2
Imsunflwr1Original Author
loribee2
Calamity_J
Imsunflwr1Original Author
Imsunflwr1Original Author
texaswild
concretenprimroses
Imsunflwr1Original Author
rock_oak_deer
Imsunflwr1Original Author
texaswild
Imsunflwr1Original Author
concretenprimroses