


mama_goose, a question
TxMarti
11 years ago
Related Stories
BASEMENTSDesign Workshop: Is It Time to Let Basements Become Extinct?
Costly and often unnecessary, basements may become obsolete — if they aren’t already. Here are responses to every reason to keep them around
Full Story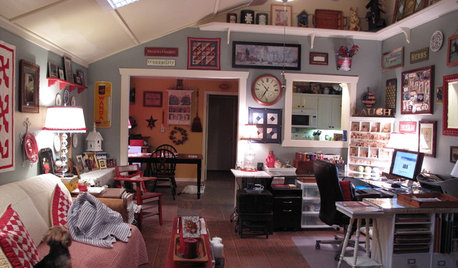
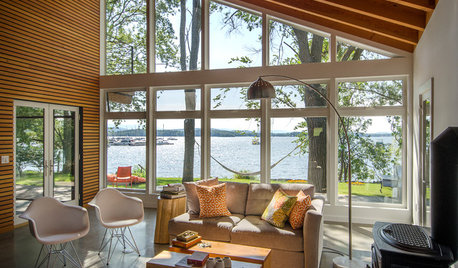
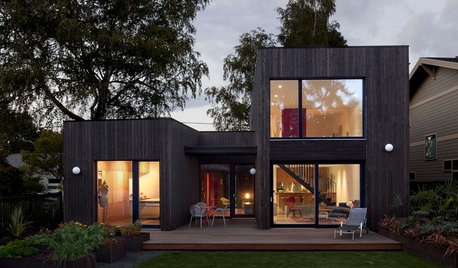
HOUZZ TOURSHouzz Tour: Flexing New Design Muscles on a Vermont Lake
A budding architect gets to build the home of her choice in an idyllic setting — and live there too
Full Story
INSIDE HOUZZA New Houzz Survey Reveals What You Really Want in Your Kitchen
Discover what Houzzers are planning for their new kitchens and which features are falling off the design radar
Full Story
EDIBLE GARDENSSummer Crops: How to Grow Tomatoes
Plant tomato seedlings in spring for one of the best tastes of summer, fresh from your backyard
Full Story
PRODUCT PICKSGuest Picks: Kids' Book Storage You've Got to Check Out
Keep little readers interested and books organized with 18 appealing ways to house all their favorite reads
Full Story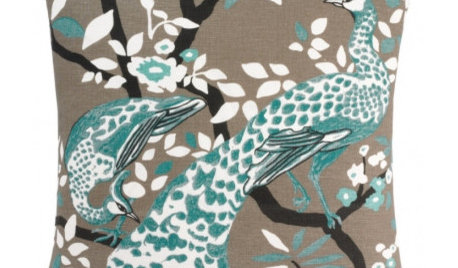
PRODUCT PICKSGuest Picks: Pretty as a Peacock
Fluff your nest with dramatic jewel-toned accessories inspired by this bird's bold feathers
Full Story
PRODUCT PICKSGuest Picks: 20 Fun Ways to Store Bath Toys
Keep bathroom clutter in check with kid-friendly containers, pouches and shelves for bath-time playthings
Full Story
PRODUCT PICKSGuest Picks: Decorative Tableware to Be Thankful For
Reap gratitude from the whole family by setting out these thoughtful place cards, decorations and more for Thanksgiving
Full Story
BEDROOMSGuest Picks: Make Your Bedside a Soothing Yet Useful Space
Set a romantic tone with vintage-style clocks, a textural carafe and nature-inspired accessories on your nightstand
Full StoryMore Discussions
mama goose_gw zn6OH
jannie
Related Professionals
Clayton Architects & Building Designers · Doctor Phillips Architects & Building Designers · Madison Heights Architects & Building Designers · Glenn Heights Home Builders · Highland Village Home Builders · New River Home Builders · Prichard Home Builders · Riverton Home Builders · Valencia Home Builders · Jacinto City Interior Designers & Decorators · East Hanover Interior Designers & Decorators · Sweetwater Interior Designers & Decorators · View Park-Windsor Hills Interior Designers & Decorators · Rosaryville Interior Designers & Decorators · Honolulu Design-Build Firmsmama goose_gw zn6OH