


Floor in my tiny kitchen
mommabird
15 years ago
Sort by:Oldest
Comments (5)
Related Stories
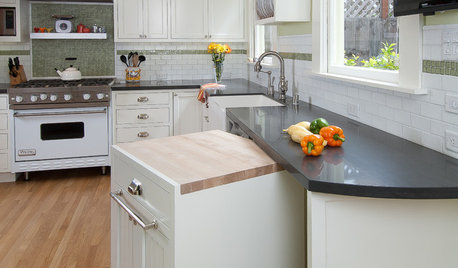
KITCHEN DESIGNTiny Kitchen Islands Take the Floor
What these kitchen islands lack in size, they make up for in hardworking function
Full Story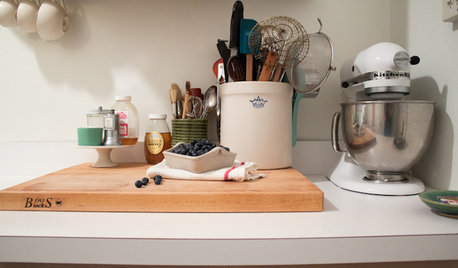
KITCHEN DESIGNKitchen of the Week: Tiny, Fruitful New York Kitchen
Desserts and preserves emerge from just a sliver of counterspace and a stove in this New York food blogger's creatively used kitchen
Full Story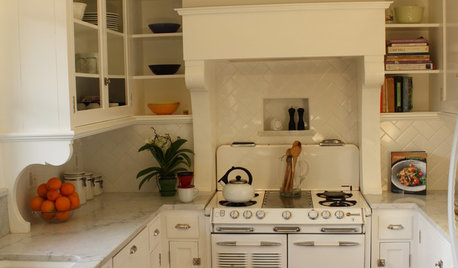
SMALL SPACES10 Tiny Kitchens Whose Usefulness You Won't Believe
Ingenious solutions from simple tricks to high design make this roundup of small kitchens an inspiring sight to see
Full Story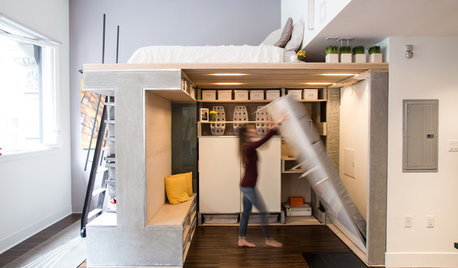
SMALL SPACESHouzz TV: You Won’t Believe Everything This Tiny Loft Can Do
Looking for more floor space, a San Francisco couple hires architects to design a unit that includes beds, storage and workspace
Full Story
FURNITUREDiscover the Big Benefits of Tiny Tables
Don't juggle drinks on a lap or litter a floor with books when a regular table won't fit. Small tables easily pull more than their weight
Full Story
WALL TREATMENTSA Tiny Powder Room Gets a Map-tastic Look
Creative cartography adds cheer and personality to the walls of a compact half bath
Full Story
HOUZZ TOURSHouzz Tour: A Rare Tiny-Home Specimen in Sweden
With a reptilian skin and unusual architecture, this small home focuses on nature and simple living
Full Story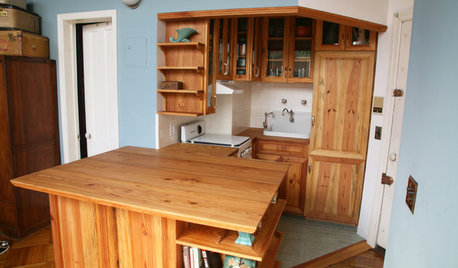
SMALL KITCHENSKitchen of the Week: Amazing 40-Square-Foot Kitchen
This tiny nook with almost all reclaimed materials may be the hardest-working kitchen (and laundry room!) in town
Full Story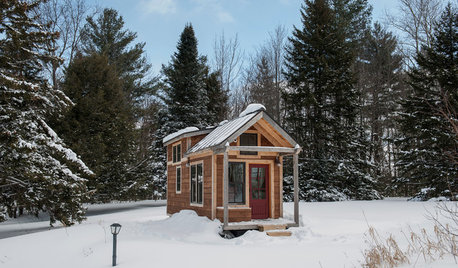
TINY HOUSESHouzz Tour: A Custom-Made Tiny House for Skiing and Hiking
Ethan Waldman quit his job, left his large house and spent $42,000 to build a 200-square-foot home that costs him $100 a month to live in
Full Story
SMALL SPACESCould You Live in a Tiny House?
Here are 10 things to consider if you’re thinking of downsizing — way down
Full StoryMore Discussions
lucy
emagineer
Related Professionals
Bonney Lake Architects & Building Designers · Glens Falls Architects & Building Designers · Parkway Architects & Building Designers · Providence Architects & Building Designers · Washington Architects & Building Designers · North Bellport Home Builders · Big Bear City Home Builders · Broadlands Home Builders · Evans Home Builders · McKinney Home Builders · Rossmoor Home Builders · Santa Cruz Home Builders · Linton Hall Interior Designers & Decorators · Tahoe City Interior Designers & Decorators · Shady Hills Design-Build Firmsjakkom
postum
meldy_nva