


Do you have time for a quick bit of advice?
young-gardener
13 years ago
Related Stories

LIFEGet the Family to Pitch In: A Mom’s Advice on Chores
Foster teamwork and a sense of ownership about housekeeping to lighten your load and even boost togetherness
Full Story
KITCHEN DESIGNSmart Investments in Kitchen Cabinetry — a Realtor's Advice
Get expert info on what cabinet features are worth the money, for both you and potential buyers of your home
Full Story
HEALTHY HOMEHow to Childproof Your Home: Expert Advice
Safety strategies, Part 1: Get the lowdown from the pros on which areas of the home need locks, lids, gates and more
Full Story
DECORATING GUIDES10 Design Tips Learned From the Worst Advice Ever
If these Houzzers’ tales don’t bolster the courage of your design convictions, nothing will
Full Story
FARM YOUR YARDAdvice on Canyon Farming From L.A.'s Vegetable Whisperer
See how a screened garden house and raised beds help an edible garden in a Los Angeles canyon thrive
Full Story
THE ART OF ARCHITECTURESound Advice for Designing a Home Music Studio
How to unleash your inner guitar hero without antagonizing the neighbors
Full Story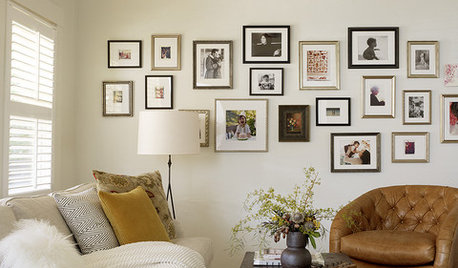
LIFEEdit Your Photo Collection and Display It Best — a Designer's Advice
Learn why formal shots may make better album fodder, unexpected display spaces are sometimes spot-on and much more
Full Story
DECORATING GUIDES8 Quick Changes for the Impatient Decorator
Change the Lampshade and Roll Up the Rug! A Fresh Look Can Be Easier Than You Think
Full Story
MONTHLY HOME CHECKLISTSYour Checklist for Quick Houseguest Prep
Follow these steps to get your home ready in a hurry for overnight visitors
Full Story
ENTERTAININGYour Pre-Entertaining Quick Cleanup Checklist
Here’s a plan to help you get your house in order before guests arrive
Full StoryMore Discussions
young-gardenerOriginal Author
young-gardenerOriginal Author
Related Professionals
Bell Gardens Architects & Building Designers · Ammon Home Builders · Bonita Home Builders · Centralia Home Builders · Dardenne Prairie Home Builders · Fredericksburg Home Builders · Hutto Home Builders · Ives Estates Home Builders · Syracuse Home Builders · Takoma Park Home Builders · Tustin Home Builders · Belle Glade Interior Designers & Decorators · Charleston Interior Designers & Decorators · Lake Elsinore Interior Designers & Decorators · Gardere Design-Build Firmslarke
young-gardenerOriginal Author
Shades_of_idaho
enigmaquandry
enigmaquandry
young-gardenerOriginal Author
User
young-gardenerOriginal Author
TxMarti
young-gardenerOriginal Author
fuzzywuzzer
fuzzywuzzer
eggplantlady