


Picture a small house...The saga continues
mushcreek
10 years ago


Featured Answer
Comments (62)

Shades_of_idaho
9 years ago
desertsteph
9 years agoRelated Professionals
Cloverly Architects & Building Designers · River Edge Architects & Building Designers · Ronkonkoma Architects & Building Designers · Syracuse Architects & Building Designers · Clayton Home Builders · Clearfield Home Builders · Cypress Home Builders · Fargo Home Builders · Fresno Home Builders · Home Gardens Home Builders · Kaysville Home Builders · Valencia Home Builders · Salisbury Home Builders · East Patchogue Interior Designers & Decorators · Garden Acres Interior Designers & Decorators
Nancy in Mich
9 years agoUser
9 years agomushcreek
9 years agoschoolhouse_gw
9 years agoUser
9 years agodesertsteph
9 years agoUser
9 years agolavender_lass
9 years agoschoolhouse_gw
9 years agoidie2live
9 years agomushcreek
9 years agoShades_of_idaho
9 years agowritersblock (9b/10a)
9 years agomushcreek
9 years agowritersblock (9b/10a)
9 years agodesertsteph
9 years agomushcreek
9 years agoUser
9 years agoNancy in Mich
9 years agolavender_lass
9 years agoschoolhouse_gw
9 years agodesertsteph
9 years agomushcreek
9 years agoShades_of_idaho
9 years agowordie89
9 years agolookintomyeyes83
9 years agoShades_of_idaho
9 years agoUser
9 years agouncledave_ct
9 years agolookintomyeyes83
9 years agolavender_lass
9 years agomushcreek
9 years agomushcreek
9 years ago
Lavender Lass
9 years agomushcreek
8 years agomissouribound
8 years ago
Susan
8 years ago
handmethathammer
8 years ago
Rosefolly
8 years agopowermuffin
8 years agomushcreek
7 years agoschoolhouse_gw
7 years ago
murraysmom Zone 6a OH
7 years ago


Related Stories
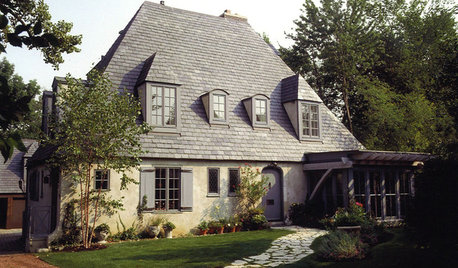
ARCHITECTURERoots of Style: French Eclectic Design Continues to Charm
Hip roofs, towers, quoins ... if your house includes architectural elements like these, you might trace its design lineage to France
Full Story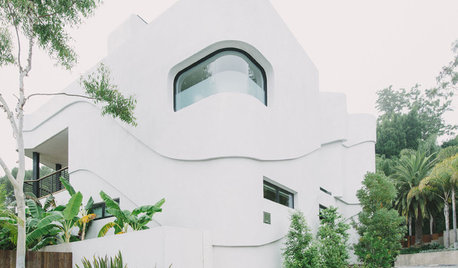
HOUZZ TOURSHouzz Tour: A Photographer's Picture-Perfect Home Comes Into Focus
An ultramodern house in the Hollywood Hills is a study in contrasts: curvy and boxy, forward thinking and retro
Full Story
ORGANIZINGSmall Steps to Organizing Success
Take care of bite-size projects, and your home's big picture will be an organized dream before you know it
Full Story
SMALL SPACES25 Ways to Stay Sane in a Small House
Get more storage, better light and a feeling of spaciousness with these savvy — and sometimes surprising — strategies
Full Story
MOST POPULARHouzz Tour: Going Off the Grid in 140 Square Feet
WIth $40,000 and a vision of living more simply, a California designer builds her ‘forever’ home — a tiny house on wheels
Full Story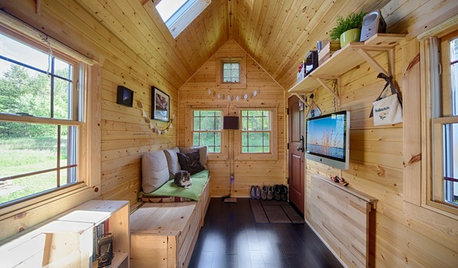
SMALL HOMESHouzz Tour: Sustainable, Comfy Living in 196 Square Feet
Solar panels, ship-inspired features and minimal possessions make this tiny Washington home kind to the earth and cozy for the owners
Full Story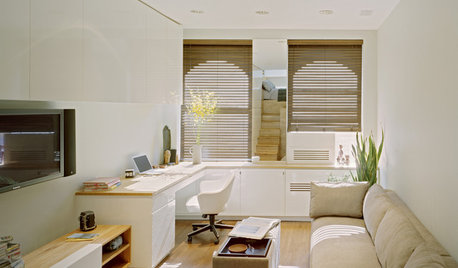
SMALL HOMESCan You Live a Full Life in 220 Square Feet?
Adjusting mind-sets along with furniture may be the key to happiness for tiny-home dwellers
Full Story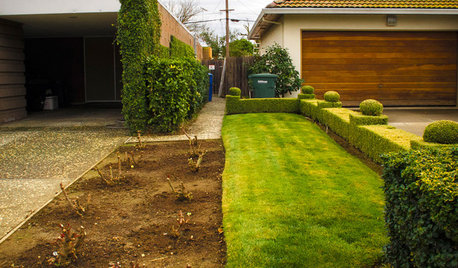
EXTERIORSWhere Front Yards Collide: Property Lines in Pictures
Some could be twins; others channel the Odd Couple. You may never look at property boundaries the same way again
Full Story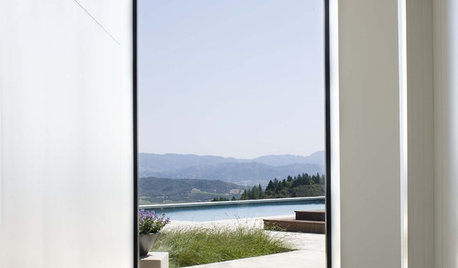
WINDOWSExpand Your View with Picture Windows
Minimal, pane-free windows make a clear connection between indoors and out
Full Story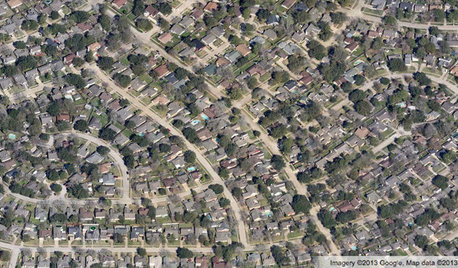
COMMUNITYGet a Bird's-Eye View of America's Housing Patterns
See the big picture of how suburban developments are changing the country's landscape, with aerial photos and ideas for the future
Full Story
Nancy in Mich