


How to finish/end this welting on a cushion?
woodenzoo
14 years ago

Related Stories
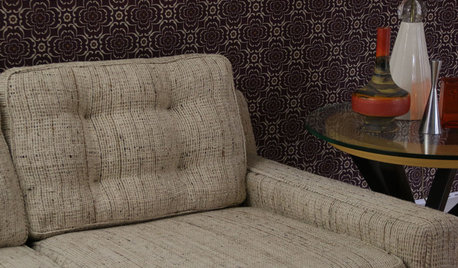
UPHOLSTERYFurniture Clinic: End the Curse of Slouchy Couch Cushions
Prolong the life of your couch with this inexpensive fix that’s so easy, even a beginning sewer can do it
Full Story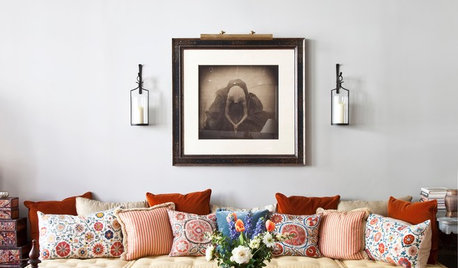
DECORATING GUIDESPillow Talk: Learn the Lingo of Cushions
Don't get boxed in between just square and round — get to know the wider world of cushion options for padding for your pad
Full Story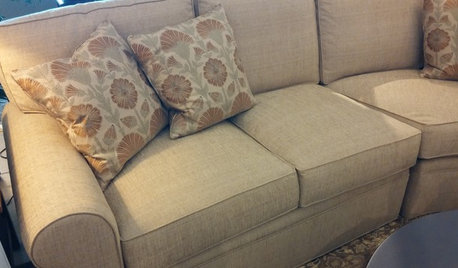
FURNITUREHow to Choose the Right Sofa Cushion
Shopping for a sofa? Here’s what to know about the basic cushion options — and the all-important test you must do for yourself
Full Story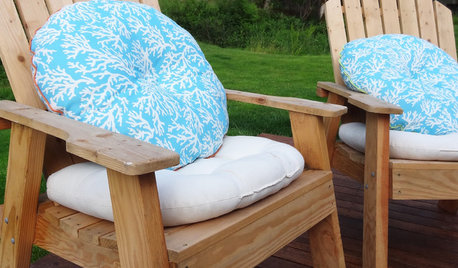
CRAFTSDIY: Easy Outdoor Cushions
Accessorize your outdoor area in a jiffy with these simple and versatile cushions
Full Story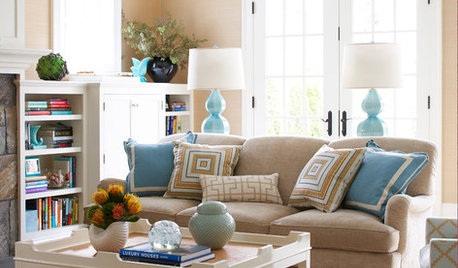
FURNITUREKnow Your Sofa Options: Arms, Cushions, Backs and Bases
Get your sock arm straight from your track arm — along with everything else — to choose the sofa that’s right for you
Full Story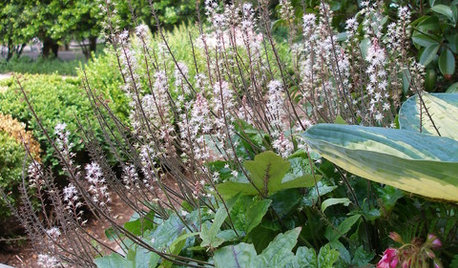
GARDENING GUIDESGreat Design Plant: Foamflower Cushions Shady Garden Areas
Try evergreen ground cover Tiarella cordifolia for a soft look all year — one the rabbits and deer won’t mess with
Full Story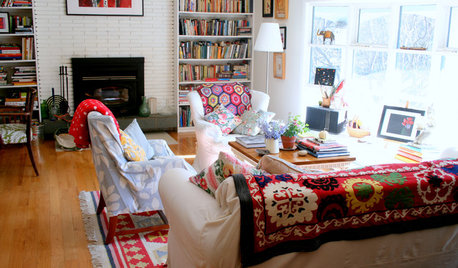
ACCESSORIESFinish Your Look With a Fun Mix of Textiles
Why box yourself into a design corner when you can spread out ever-changing throws, rugs and even bags?
Full Story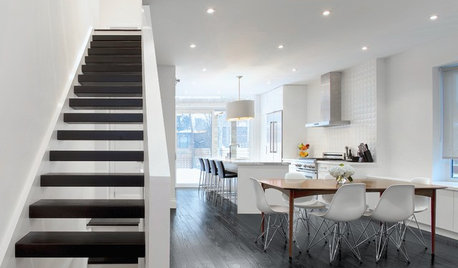
HOUZZ TOURSMy Houzz: High End Meets Budget Friendly in Toronto
Splurging selectively and saving elsewhere, a Canadian family gets a posh-looking home that matches their vision
Full Story
SMALL KITCHENSThe 100-Square-Foot Kitchen: No More Dead Ends
Removing an angled peninsula and creating a slim island provide better traffic flow and a more airy layout
Full Story
REMODELING GUIDESFinish Your Remodel Right: 10 Tasks to Check Off
Nail down these key details to ensure that everything works properly and you’re all set for the future
Full StoryMore Discussions
oilpainter
woodenzooOriginal Author
Related Professionals
Manhattan Furniture & Accessories · Detroit Furniture & Accessories · Fallbrook Furniture & Accessories · Sudbury Furniture & Accessories · Hagerstown Interior Designers & Decorators · Washington Interior Designers & Decorators · Greer Furniture & Accessories · Los Angeles Furniture & Accessories · Miami Furniture & Accessories · Portage Furniture & Accessories · Asheville Furniture & Accessories · Park Ridge Furniture & Accessories · Wilmington Furniture & Accessories · New Hope Furniture & Accessories · Orange County Staircases & Railingsoilpainter
oilpainter
woodenzooOriginal Author
clt3