


Evening Dress - Part 3
Laurie
14 years ago
Related Stories
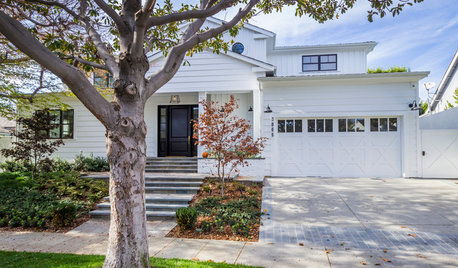
TRANSITIONAL HOMESHouzz Tour: Part Traditional, Part Modern and All Family Friendly
With clean lines, vintage touches and durable surfaces everywhere, this Los Angeles home balances tastes and needs beautifully
Full Story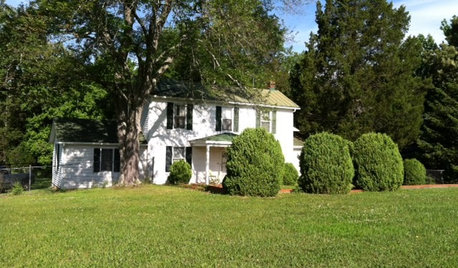
LIFETime Travel to Houzzers' Childhood Homes, Part 3
See postwar homes built by family members, rural farmsteads, cold-water flats and much more
Full Story
DOORSKnow Your House: Interior Door Parts and Styles
Learn all the possibilities for your doors, and you may never default to the standard six-panel again
Full Story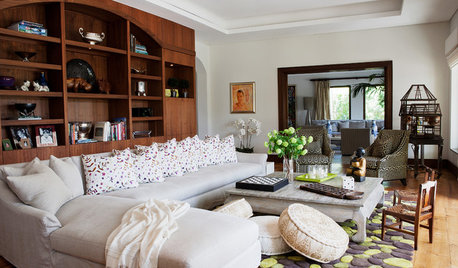
HOLIDAYSHoliday Party Prep: Add Sneaky Seating
Worry no more about where guests will sit. These 10 seating options can hide in plain sight
Full Story
DECORATING GUIDESGetting the Room Right: Part I
Great Spaces Show How to Avoid the Top 10 Decorating Mistakes
Full Story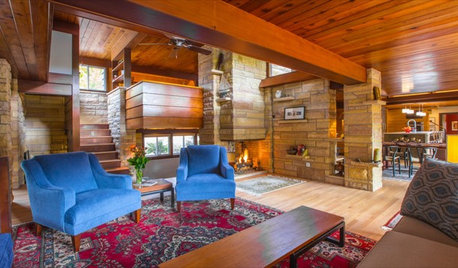
HOUZZ TVHouzz TV: This Dream Midcentury Home in a Forest Even Has Its Own Train
Original wood ceilings, a cool layout and, yes, a quarter-scale train persuaded these homeowners to take a chance on a run-down property
Full Story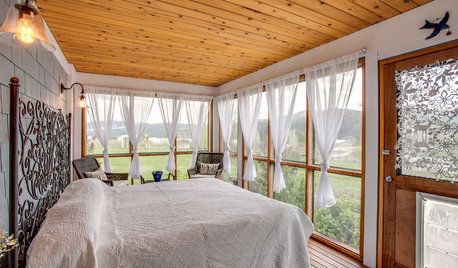
GARDENING AND LANDSCAPING11 Ways to Make Your Sleeping Porch Even Better
Turn off that air conditioner and tune in to the delights of slumbering in the nighttime breeze
Full Story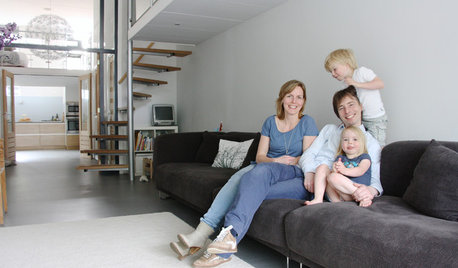
REMODELING GUIDESHow to Protect (Even Enhance!) Your Relationship While Renovating
No home improvement project is worth a broken heart. Keep your togetherness during a remodel with this wise advice
Full Story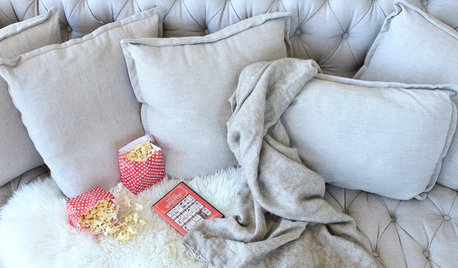
LIFEEasy Valentine’s Day Touches for Even the Least Romantic
Consider these simple and noncliché ways to show your loved one some affection
Full Story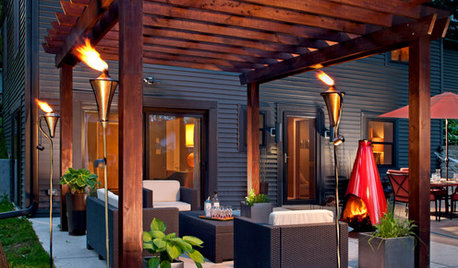
GARDENING AND LANDSCAPINGLight Your Patio, Extend Your Evening
Cast a magical spell on a summer night with decorative outdoor lighting as sleek or as rustic as you please
Full Story
pattiohio
oilpainter
Related Professionals
Englewood Furniture & Accessories · Marietta Furniture & Accessories · Savannah Furniture & Accessories · St. Louis Furniture & Accessories · Farmington Furniture & Accessories · Chaska Furniture & Accessories · Rogers Furniture & Accessories · San Juan Capistrano Furniture & Accessories · Urbandale Furniture & Accessories · Arkansas Interior Designers & Decorators · Evanston Furniture & Accessories · Fort Wayne Furniture & Accessories · Port Chester Furniture & Accessories · Wilmington Furniture & Accessories · Holliston Furniture & Accessoriesoilpainter
pattiohio
LaurieOriginal Author
pattiohio
oilpainter
sheesh
gininmn
LaurieOriginal Author
young_sistersdress_com
budster
budster
LaurieOriginal Author
TxMarti
talley_sue_nyc