


Evening Dress - Part 2
Laurie
14 years ago


Related Stories
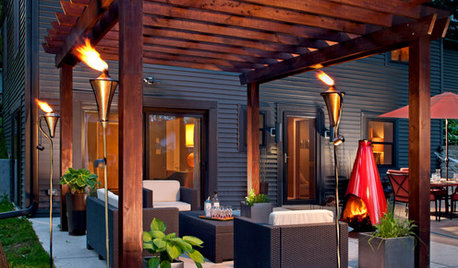
GARDENING AND LANDSCAPINGLight Your Patio, Extend Your Evening
Cast a magical spell on a summer night with decorative outdoor lighting as sleek or as rustic as you please
Full Story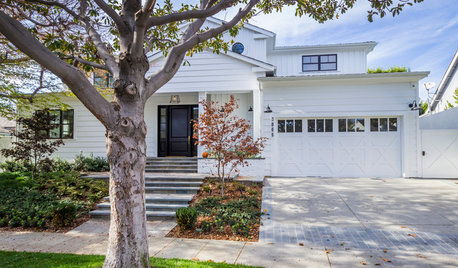
TRANSITIONAL HOMESHouzz Tour: Part Traditional, Part Modern and All Family Friendly
With clean lines, vintage touches and durable surfaces everywhere, this Los Angeles home balances tastes and needs beautifully
Full StoryHOW TO PHOTOGRAPH YOUR HOUSETake Better Photos of Your House in a Snap: Part 2
Think like a professional photographer and learn to capture stunning images of your home
Full Story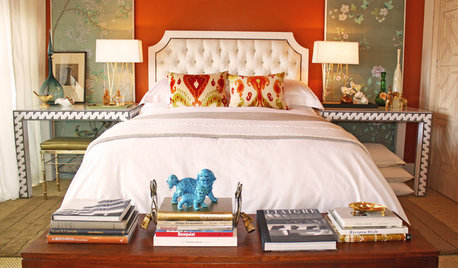

COFFEE WITH AN ARCHITECTAn Architect's Calling Cards: Part 2
In the battle against social awkwardness, an intrepid architect calls upon ... what else? His design skills
Full Story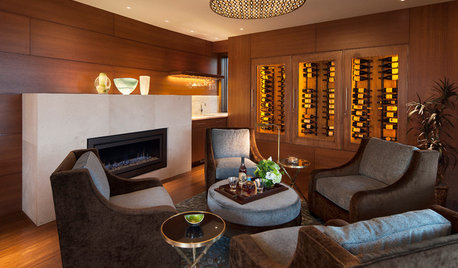
WINE CELLARSKey Measurements for a Wine Cellar, Part 2
Wine connoisseurs: A wine cellar can add a spectacular feature to your home
Full Story
LIFETime Travel to Houzzers' Childhood Homes, Part 2
Catch a glimpse of kit houses, bungalows, Tudors and more just as they were way back when — and listen in on the intriguing personal stories
Full Story
DOORSKnow Your House: Interior Door Parts and Styles
Learn all the possibilities for your doors, and you may never default to the standard six-panel again
Full Story
DECORATING GUIDESGetting the Room Right: Part I
Great Spaces Show How to Avoid the Top 10 Decorating Mistakes
Full Story
KITCHEN DESIGNKitchen of the Week: A Part-Time Space Fully Satisfies
A scaled-down approach doesn't mean sacrificing, in this heavenly white kitchen with all the modern conveniences
Full StoryMore Discussions
oilpainter
pattiohio
Related Professionals
Bronx Furniture & Accessories · Carlisle Furniture & Accessories · Fort Wayne Furniture & Accessories · Lake Arrowhead Furniture & Accessories · Sahuarita Furniture & Accessories · Sugar Hill Furniture & Accessories · Nashville Interior Designers & Decorators · Lorton Furniture & Accessories · San Diego Furniture & Accessories · Highland Park Furniture & Accessories · La Mirada Furniture & Accessories · Vail Furniture & Accessories · La Palma Staircases & Railings · Ocean County Staircases & Railings · Hawthorne Staircases & Railingsoilpainter
LaurieOriginal Author
oilpainter
pattiohio
oilpainter
LaurieOriginal Author
pattiohio
pattiohio
LaurieOriginal Author
oilpainter
pattiohio
LaurieOriginal Author
oilpainter
LaurieOriginal Author
oilpainter
pattiohio
oilpainter
pattiohio
LaurieOriginal Author
pattiohio
oilpainter
sheesh
oilpainter
pattiohio
sheesh
pattiohio
LaurieOriginal Author
oilpainter
pattiohio
LaurieOriginal Author
pattiohio
oilpainter
pattiohio
LaurieOriginal Author
pattiohio
oilpainter
pattiohio
LaurieOriginal Author
pattiohio
LaurieOriginal Author
pattiohio
LaurieOriginal Author
oilpainter
pattiohio
sheesh
sheesh
pattiohio
TxMarti