


Evening Dress - for wedding
Laurie
14 years ago
Related Stories
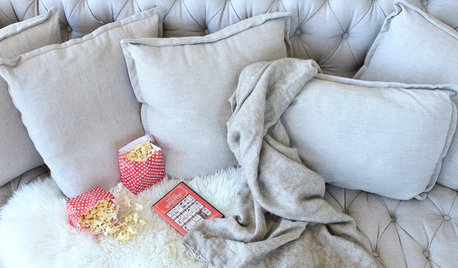
LIFEEasy Valentine’s Day Touches for Even the Least Romantic
Consider these simple and noncliché ways to show your loved one some affection
Full Story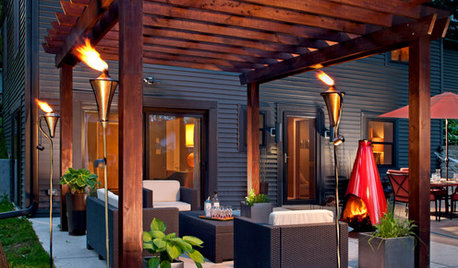
GARDENING AND LANDSCAPINGLight Your Patio, Extend Your Evening
Cast a magical spell on a summer night with decorative outdoor lighting as sleek or as rustic as you please
Full Story
DECORATING GUIDESWedding Fever: Brit Design on the Mind
Union Jacks and More Fly High as Royal Wedding Draws Near
Full Story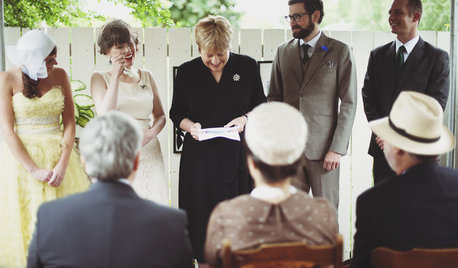
WEDDINGSHouzz Call: Show Us Your Backyard Wedding!
Did you say ‘I do’ at home? We want to hear and see everything about it. Share your photos and you could be featured in an upcoming ideabook
Full Story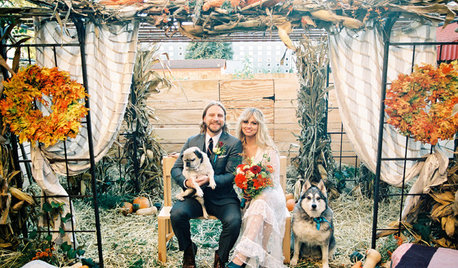
WEDDINGSHow One Couple Got a Perfectly Intimate Backyard Wedding
Vintage pieces, natural materials and close family and friends are an ideal combination for a Pittsburgh couple
Full Story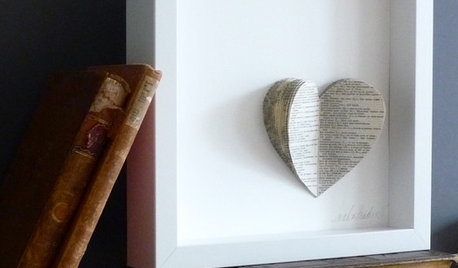
DECORATING GUIDESSay 'I Do' to Beautiful Wedding Memory Displays
You'll love and cherish these creative vignettes, artwork and more that keep the happiness of your special day at hand
Full Story
THE POLITE HOUSEThe Polite House: Can I Put a Remodel Project on Our Wedding Registry?
Find out how to ask guests for less traditional wedding gifts
Full Story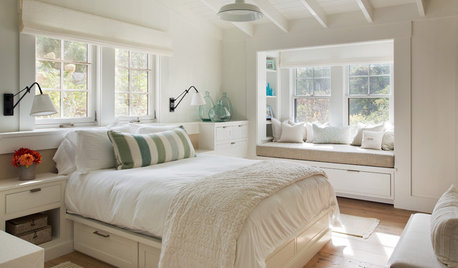
BEDROOMSTrending Now: 25 Bedrooms We’d Love to Fall Asleep In
Looking for a comfortable and calm space? Consider some of the most popular new bedroom photos on Houzz
Full Story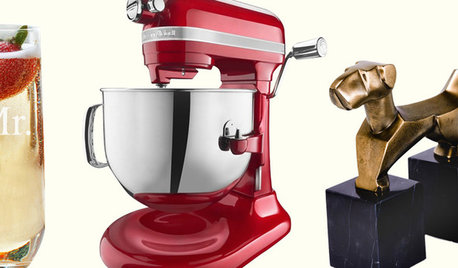
SHOP HOUZZHouzz Products: Great Wedding Gifts for Modern Couples
Give newlyweds a gift as memorable as the day itself, to have and to hold in a special place at home
Full Story
GARDENING GUIDESHow to Create a Rustic Garden, Even on a Tiny City Plot
Flea market and salvaged finds can give even the most urban garden the look and feel of a rural retreat
Full StoryMore Discussions
oilpainter
LaurieOriginal Author
Related Professionals
Lebanon Furniture & Accessories · Tulsa Furniture & Accessories · Farmington Furniture & Accessories · Holliston Furniture & Accessories · Charleston Interior Designers & Decorators · Bend Furniture & Accessories · Paramus Furniture & Accessories · Simpsonville Furniture & Accessories · Springdale Furniture & Accessories · Farmington Furniture & Accessories · Detroit Furniture & Accessories · Zionsville Furniture & Accessories · New Hope Furniture & Accessories · North Bellmore Furniture & Accessories · SeaTac Staircases & Railingspattiohio
LaurieOriginal Author
pattiohio
LaurieOriginal Author
oilpainter
pattiohio
LaurieOriginal Author
pattiohio
LaurieOriginal Author
oilpainter
oilpainter
pattiohio
LaurieOriginal Author
pattiohio
oilpainter
LaurieOriginal Author
pattiohio
oilpainter
LaurieOriginal Author
oilpainter
oilpainter
oilpainter
pattiohio
oilpainter
pattiohio
oilpainter
pattiohio
oilpainter
LaurieOriginal Author
oilpainter
oilpainter
oilpainter
pattiohio
oilpainter
pattiohio
oilpainter
pattiohio
LaurieOriginal Author
pattiohio
LaurieOriginal Author
pattiohio
oilpainter
LaurieOriginal Author
pattiohio
oilpainter
LaurieOriginal Author
pattiohio
TxMarti