


Great Idea For Fabric Selection!
dailycollector
16 years ago
Related Stories
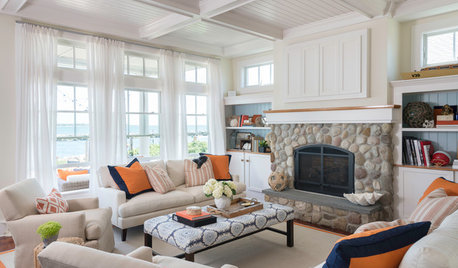
UPHOLSTERYFabric Focus: Make Your Interiors More Durable With Outdoor Fabric
Indoor-outdoor fabric is strong and beautiful, whether in the backyard or the living room
Full Story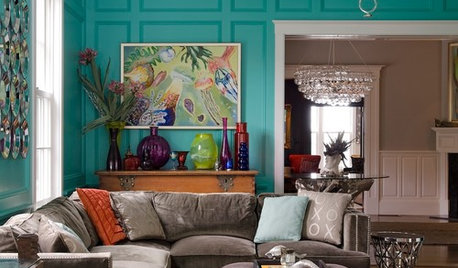
COLORSpeed-Dial Color Selection to Get the Best Result
You’ve belabored your color decisions and are still stuck. Here is how to evaluate your space and make choices that are right for you
Full Story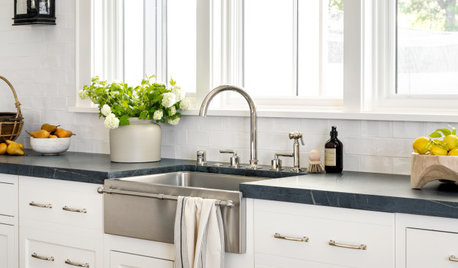
KITCHEN DESIGN8 Kitchen Sink Materials to Consider
Learn the pros and cons of these common choices for kitchen sinks
Full Story
UPHOLSTERYFabric Focus: 6 Ways to Bring Ticking Stripe Fabric Home
From window treatments to upholstery and more, here are ways you can decorate with this decorative workhorse of a fabric
Full Story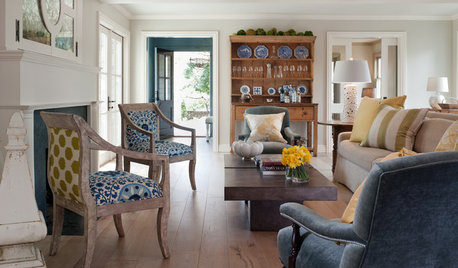
DECORATING GUIDES1 Chair + 2 Fabric Patterns = 1 Fabulous Look
Pair two contrasting fabrics on an upholstered chair to bring edge and an element of the unexpected to your interior decorating
Full Story
LANDSCAPE DESIGNYour Mini Guide to Great Garden Edges
Get the scoop on trenches to the skinny on bender board, to help keep your garden beds as tidy as you like
Full Story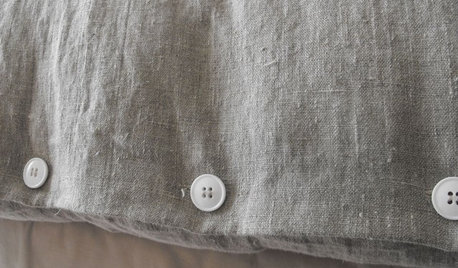
UPHOLSTERYFabric Focus: There's Nothing Quite Like Linen
Classic, understated, durable and mildew-resistant, linen is a casual fabric fit for any home
Full Story
PRODUCT PICKSGuest Picks: 20 Outdoor Fabrics With Indoor Style
Dress up a patio with fabrics that can stand up to nature in a most stylish fashion
Full Story
Pro Corner: Selecting a Style for the Photos in Your Projects
Learn the key architectural and decor features to look for when categorizing your photos by design style
Full Story
GARDENING AND LANDSCAPINGPatio Details: Sliding Fabric Panels Filter the Light Just Right
Stepping up to the harsh sun and heat of the desert Southwest, this intimate patio is an exotic escape right outside
Full Story
User
dailycollectorOriginal Author
Related Professionals
Midland Furniture & Accessories · Port Charlotte Furniture & Accessories · Eau Claire Furniture & Accessories · Alpharetta Furniture & Accessories · Eureka Furniture & Accessories · Hagerstown Interior Designers & Decorators · Hilton Head Island Furniture & Accessories · Oshkosh Furniture & Accessories · Rockville Furniture & Accessories · Sioux Falls Furniture & Accessories · West Palm Beach Furniture & Accessories · Woodbury Furniture & Accessories · Bull Run Specialty Contractors · Little Elm Staircases & Railings · Oak Harbor Staircases & RailingsdailycollectorOriginal Author