


Jewelry Bags...
susie53_gw
16 years ago
Sort by:Oldest
Comments (23)
Related Stories
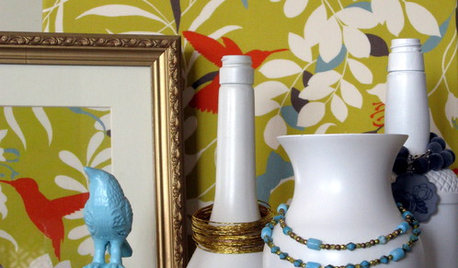
ORGANIZINGJewelry Storage: 8 Pretty, Practical Organizing Ideas
Keep beads and bangles handy with these budget-friendly storage and display tricks
Full Story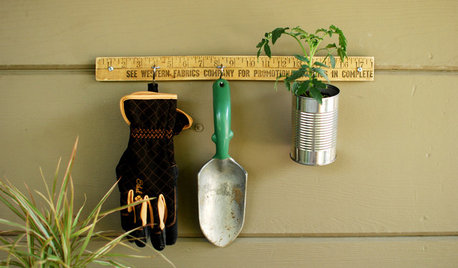
CRAFTSRule Your Organizing With a DIY Yardstick Hanger
With just a ruler and some hardware store staples, you can craft a handy wall organizer for tools, plants, jewelry and more
Full Story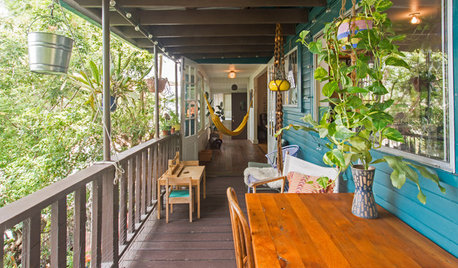
ECLECTIC HOMESMy Houzz: A Treehouse-Like Dwelling in Los Angeles
Fragrant breezes, chirping birds and glorious sunsets provide a beautiful live-work setting for this design couple and their kids
Full Story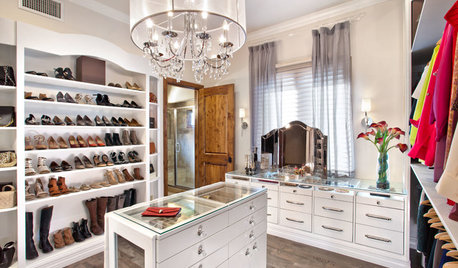
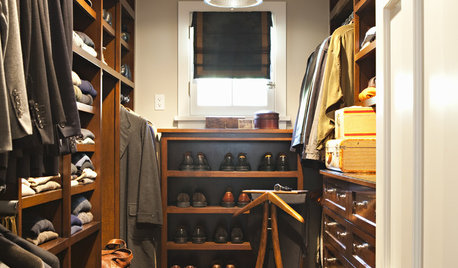
STORAGEMan Space: A Guy Likes a Nice Closet, Too
If clothes make the man, shouldn't a man make a great space for the clothes? Take inspiration from these dream closets for dudes
Full Story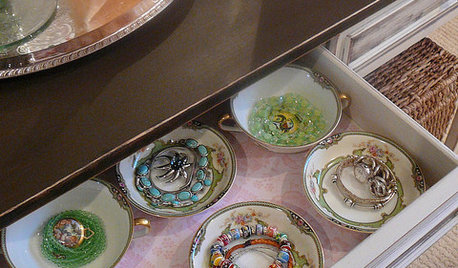
DECORATING GUIDES13 Ways to Spiff Up Your Closet — and Your Dressing Routine
Be a wardrobe mistress or master with these decorating, storage and dressing inspiration ideas
Full Story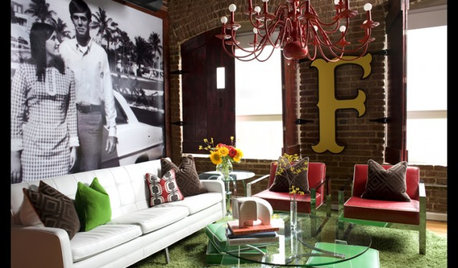
SALVAGE12 Ways to Get in the Spirit of Old Stuff Day
Vintage heads into the limelight on March 2. What pieces could you cast in a different role?
Full Story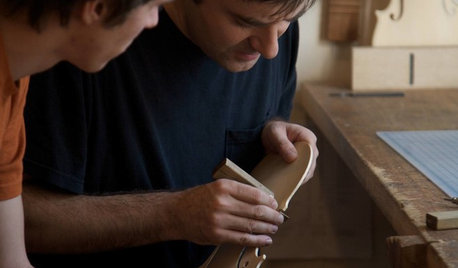
DIY PROJECTSAre You a Maker? There's a Fair for You
Get inspired, show your work or just enjoy the amazing creativity at events around the world devoted to the art of hand crafting
Full Story
MODERN STYLEThe Best Design Shopping in Palm Springs
Don’t miss these insider-favorite design shops and a one-off warehouse sale if you’re heading to Modernism Week
Full Story
bamasue
User
Related Professionals
Owensboro Furniture & Accessories · Reston Furniture & Accessories · Roswell Furniture & Accessories · Spartanburg Furniture & Accessories · Wilmington Furniture & Accessories · Wilmington Furniture & Accessories · Mahwah Furniture & Accessories · View Park-Windsor Hills Interior Designers & Decorators · Charleston Furniture & Accessories · Glenview Furniture & Accessories · Hampton Bays Furniture & Accessories · Temple Terrace Furniture & Accessories · Urbandale Furniture & Accessories · Vail Furniture & Accessories · Oak Harbor Staircases & Railingssusie53_gwOriginal Author
bamasue
grittymitts
susie53_gwOriginal Author
User
barker_tx
susie53_gwOriginal Author
susie53_gwOriginal Author
User
susie53_gwOriginal Author
bamasue
keepeminstitches
susie53_gwOriginal Author
pattico_gw
pattico_gw
jayokie
susie53_gwOriginal Author
fiddlekate
danaoh
susie53_gwOriginal Author
msmarion