


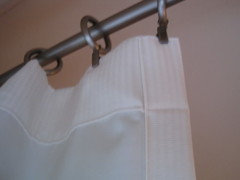
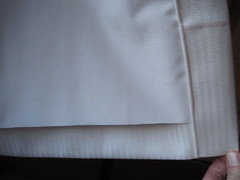
Blackout Drapery Lining - Sewing Together 2 Widths
Laurie
11 years ago
Featured Answer
Sort by:Oldest
Comments (10)

kathi_mdgd
11 years agoLaurie
11 years agoshadylady2u
11 years agoLaurie
11 years agoshadylady2u
11 years agoLaurie
11 years agoLaurie
6 years agoLaurie
6 years ago
Related Stories
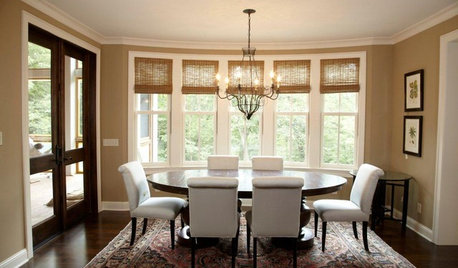
Woven Wood Shades Tie Rooms Together
Contrasting sharp modern edges or complementing a contemporary look, these window shades are a lovely finishing touch for any room
Full Story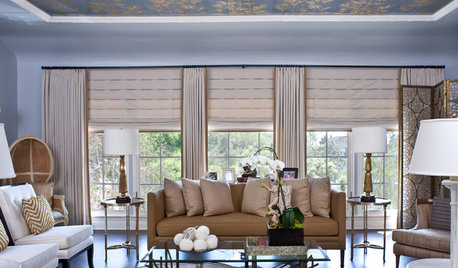
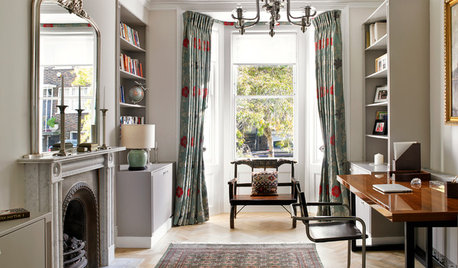
WINDOW TREATMENTSThe Drapery Diary: The Case for Custom
Use this handy guide to discover the ins and outs of customized drapery
Full Story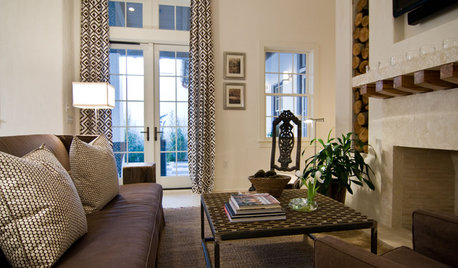
WINDOW TREATMENTSThe Case for Stationary Draperies
Curtains that open and close are great in some situations, but stationary draperies can give you a better view (and save money too)
Full Story
DECORATING GUIDESThe Art of the Window: Drapery Solutions for Difficult Types and Shapes
Stymied by how to hang draperies on a nonstandard window? Check out these tips for dressing 10 tricky window styles
Full Story
WINDOW TREATMENTSDrapery Diary: Stationary Styles
These window treatments are designed for looks instead of function
Full Story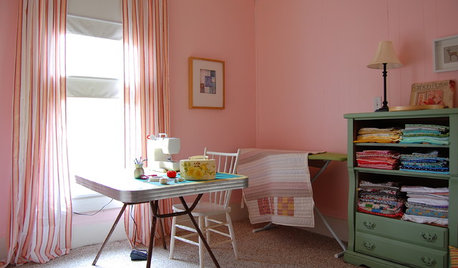
STUDIOS AND WORKSHOPSA Stitch in Time: Creative Sewing Spaces
Sewing rooms have become popular again as people of all ages embrace simple crafts they can do at home
Full Story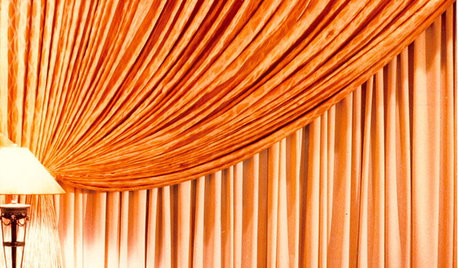
DECORATING GUIDES22 Divine Draperies That Indulge and Delight
Yards of luscious fabrics, luxuriously swagged and layered, create drapes that gratify the senses
Full Story
WINDOW TREATMENTSLearn the Lingo of Drapery Rods and Accessories
Understanding these drapery hardware options is essential to window treatments that hang properly and look polished
Full Story
WINDOW TREATMENTSThe Drapery Diary: Tab and Tie Tops
Discover the best ways to work these casual curtain styles into your home
Full Story
shadylady2u